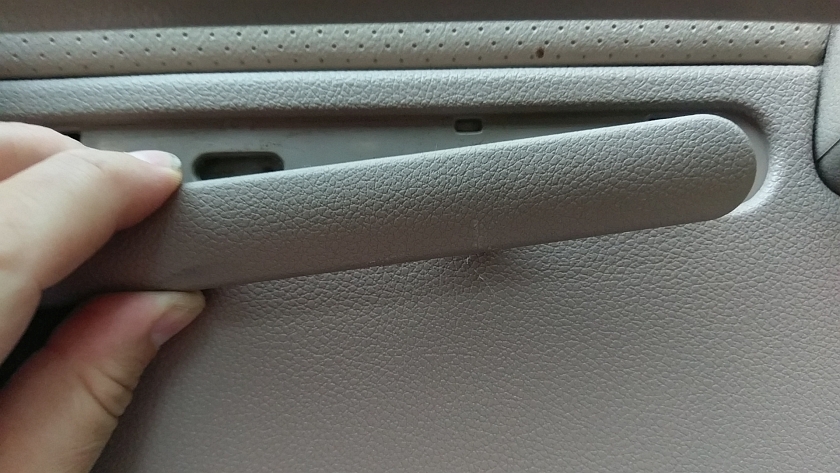
Expedition Side Mirror Replacement
Ok, who hasn't busted up a side mirror on their car or truck? Well this time it wasn't me! My wife got the passenger mirror on the 2004 Ford Expedition tangled up and broke up pretty bad. I picked up a replacement mirror and once again did more work that I would rather not... Well no choice here, and really wasn't that bad.
This should work on most all Ford Expedition vehicles, I think 2004-2006 Expeditions are the same, but really you will get the idea on how to do it.
This is to replace the ENTIRE mirror assembly not just the glass. If you only had a minor smash you can usually find the glass portion of the mirror and replace that, but odds are you crushed the entire housing so this is the place for you to learn how to replace it after you smash it up big time. (It's inevitable...)
Cost is under 200 bucks for a complete electric mirror assembly. MAKE SURE you get the correct style. Some come with turn signal lights, some without, some heated some not so JUST BE SURE YOU GET THE SAME ONE THATS ON YOUR SUV!
Parts
Replacement Mirror or Mirrors if you had a really bad day (Amazon or eBay is a good bet)
Amazon Link for Right Side
Amazon Link for Left Side
Tools needed
Ratchet and Metric Sockets 7mm and 11mm, Deep Sockets are better!
Phillips Head Screwdriver
Torx bit set (I can't remember the size)
Scraper or other think tool to pop things off with
3M Blue Tape (As I have said many times 'it ain't a project without blue tape')
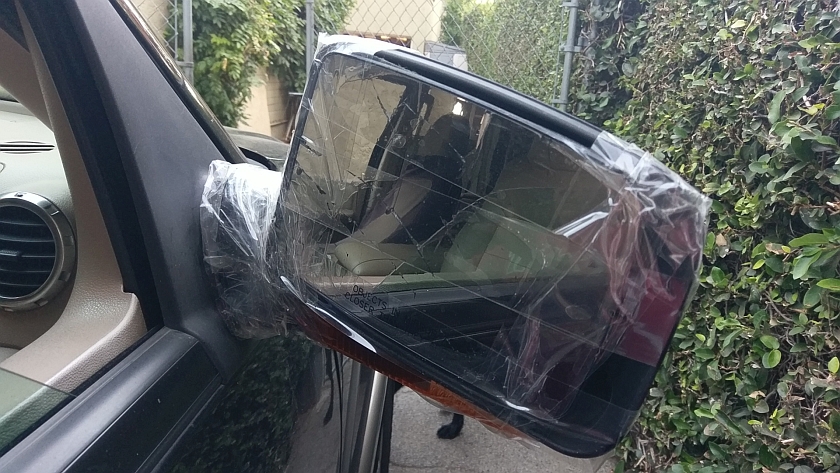
Expedition Busted Side Mirror
So you thought it would be a good idea to repair it with packing tape? Think again!
This did make it a couple of weeks before I got the time and the parts to replace it. Note this is a heated turn signal style mirror, yours may vary a bit depending on your vehicle.
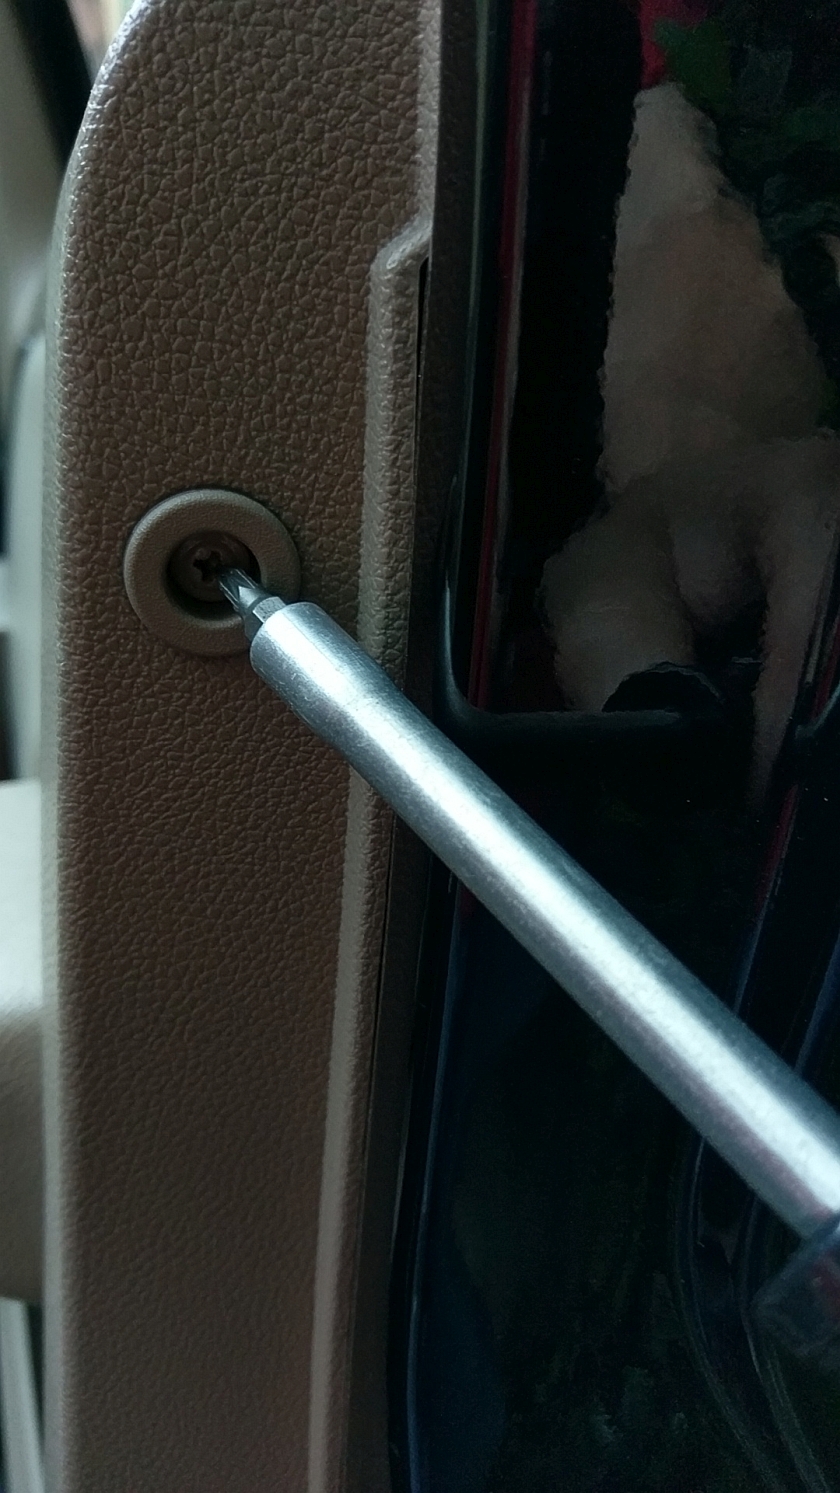
Door Panel Side Screws
On the side of the door panel you will find this, remove the screw (might be more than one I forget) This is just a phillips head drive.
Remember put all your parts in a cup or attach to a magnet so they don't get lost!
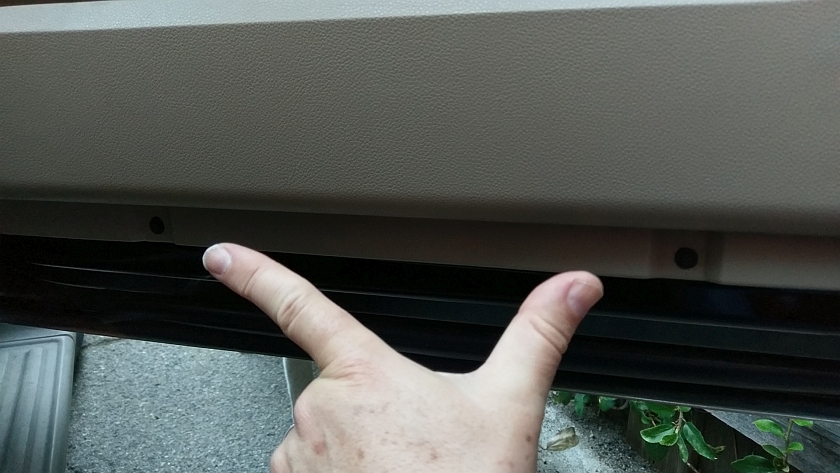
Bottom Door Screws
Remove these bottom 2 door screws. These might be the 7mm bolt, or phillips head. You will figure it out :)
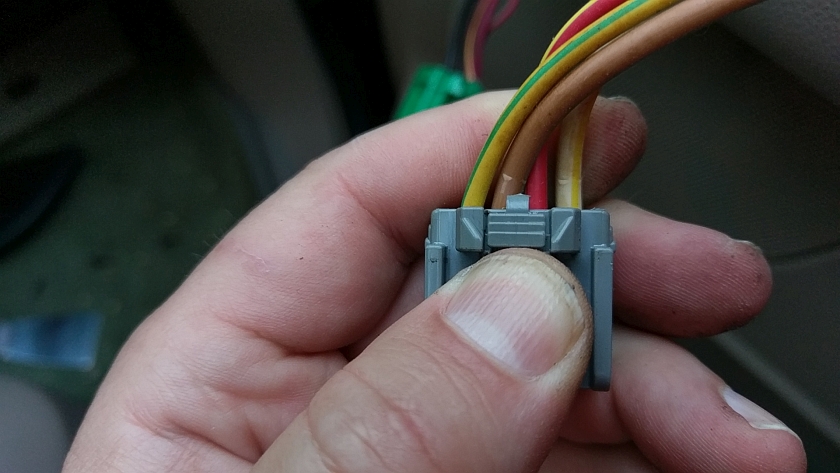
Removing Switch Connectors
Once you get the switch panel detached from the door panel, you will need to remove the harness from the switches. Both have a small tab that needs to be pressed in, then you can wiggle the connector out. Make sure you hold the tab in until the connector is clear of the switch.
Hidden Door Panel Screws
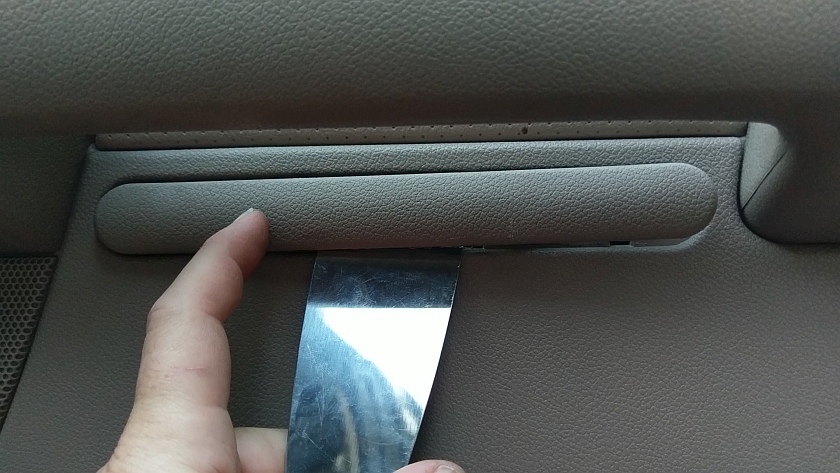
Ok, still a few more things to do before you can get the door panel off. Right under the door pull you will see this snapped in panel. Using a scraper or other thin tool you can pop it up a bit and pull it out. It will expose some more Torx screws to remove.
Expedition Side Views Ready For Action
Conclusion
Just make sure you keep track of your screws and nuts and any clips that may pop off. Don't get too crazy with force on any of the plastic parts or your will brake the clips or mounts. If you do your are screwed. eBay is your friend if you need replacement parts now a days.
Oh, and I can't remember where you need a 7mm socket but likely a bolt for the door panel, but hey I got you this far your should be able to figure it out. Might be the bottom 2 door screws are really bolts, that sounds about right.
Also this should apply to the drivers door mirror (left) as well. Their may be other stuff in the drivers door but the basic operation is the same. I hope that I don't have to find out!
Happy Motoring and get your projects done!
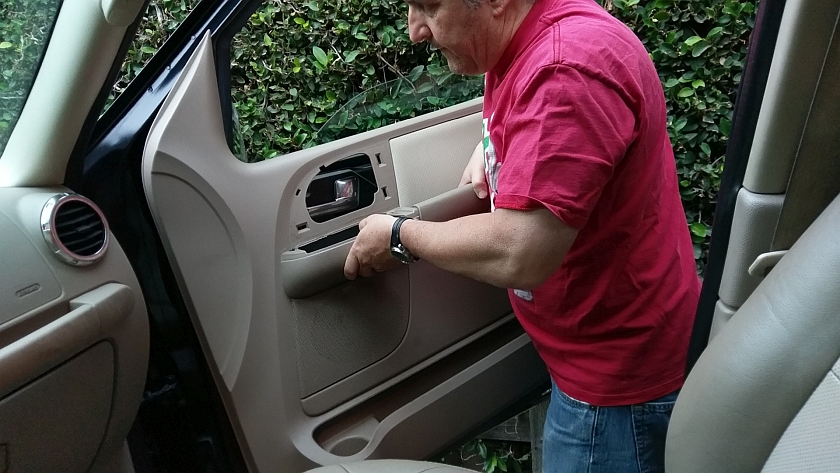
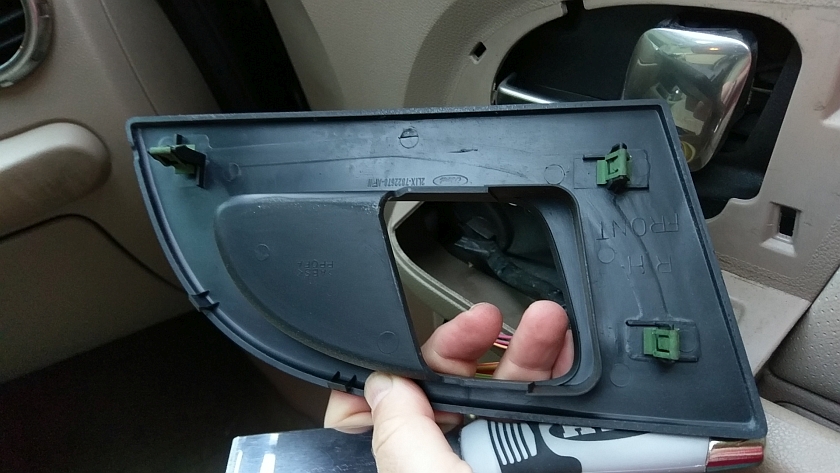
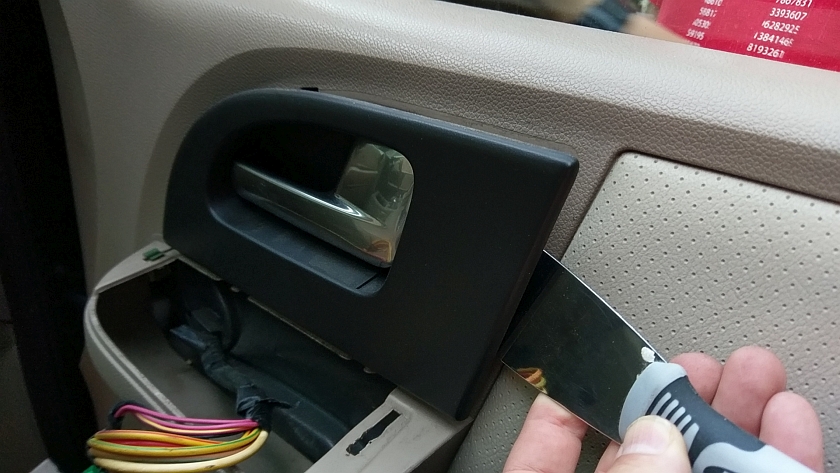
Door Handle Trim Removal
Using your scraper (It's a thicker style one and very handy) pry up the back side a bit until you can grab it. The trim has 3 of those snap in clips like the window control panel.
Also If you can look up far left you can see where the clip stayed in the window panel, it need to be removed and placed back on the panel if this happens.
You can see the location of the clips on the trim panel to help with removing it. It's a little tricky to get it to come of and you may have to pull the door handle out a bit to maneuver it.
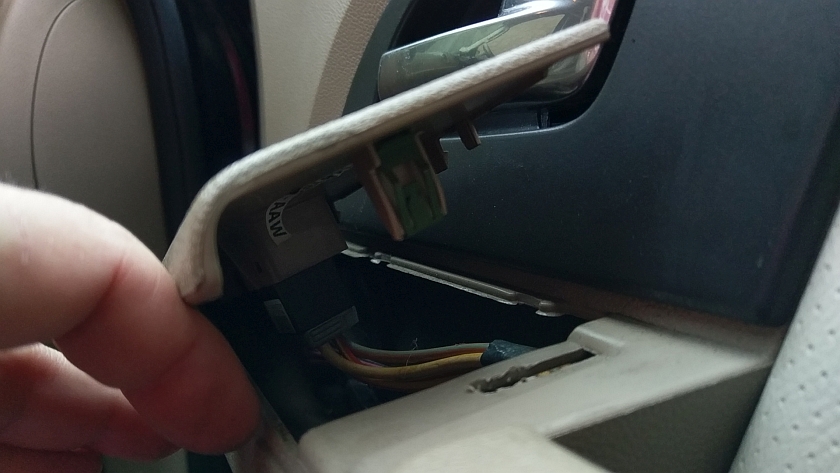
Window Controls
This is where it could get sad if you get too enthusiastic about removing things. The panel that hold the window switch and door lock controls is snapped in. These usually don't go well for me, often one side or the other breaks off. I use the flat scraper to pry up a but and then try to lift out with a 'jerking' motion. You might also try a small pry bar to lift it up protecting the interior. The front has a similar clip, try to get one loose, not lifting too high then get the other.
As a side note Shoe Goo can work good to glue things down if you really botch things up.
Finally Remove The Door Panel
Once all the crap is out of the way, push the wires in and lift UP the door panel. Once it lifts a bit you can pull it away from the door. Make sure the door lock is clear of the door too (it may be sticking up). The panel should easily come off. If it seems hug on something DON'T FORCE IT look for a forgotten screw or anything else that may have been missed.
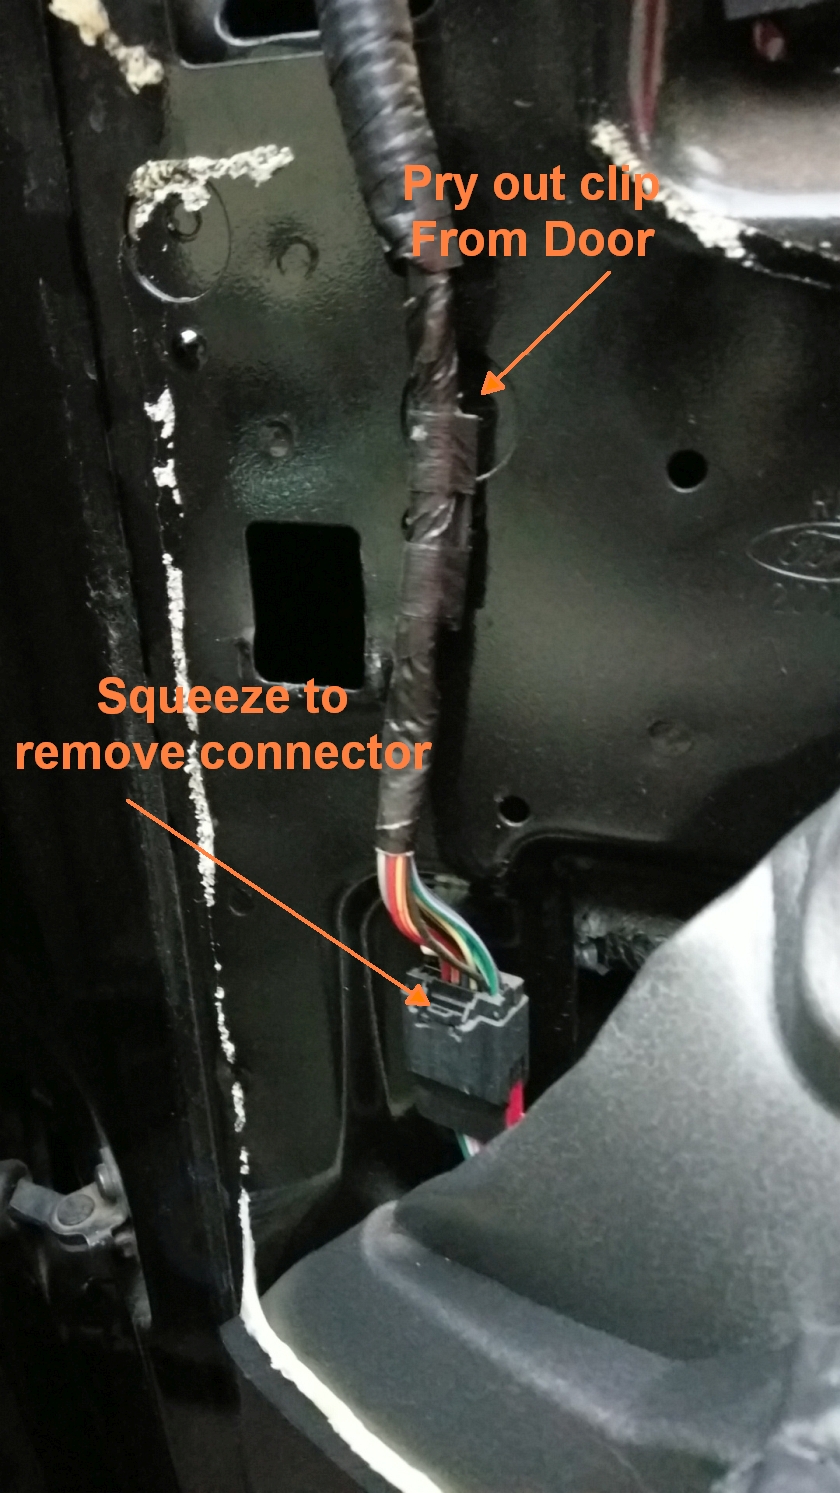
Undo the Mirror Wiring Harness Connector
You should have peeled back the door panel a bit too to expose the harness. You need to squeeze the release lock on the connector and wiggle it apart. Then pull the plastic clip holding the harness to the door. You may have to wrestle the clip a bit.
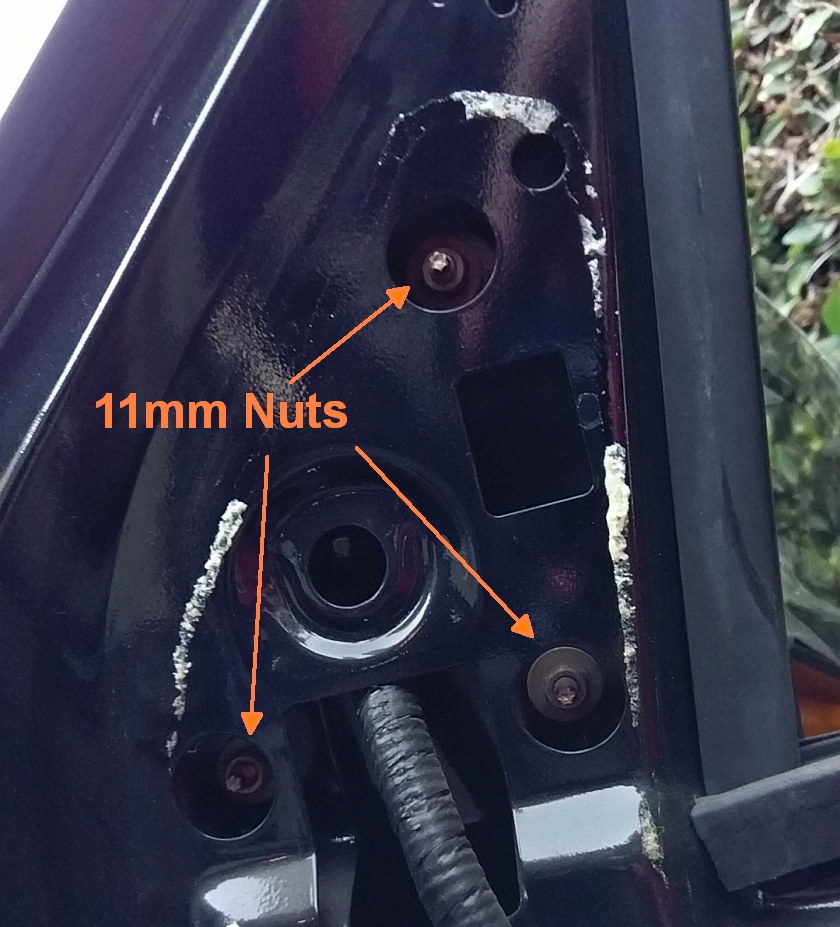
Remove Mirror Mounting Nuts
Using an 11mm long reach socket start unscrewing the 3 mirror mounting nuts. Make sure someone is ready to catch the mirror or it will likely fall on the door and scratch it up. If you don't care, then have at it! Once all the nuts are removed you can pull the mirror off the door. It may require a bit of moving around to get it to come off, but you are on the home stretch.
Get ready to do the installation of your new mirror. Most of this just goes in reverse but a few helpful tips are below
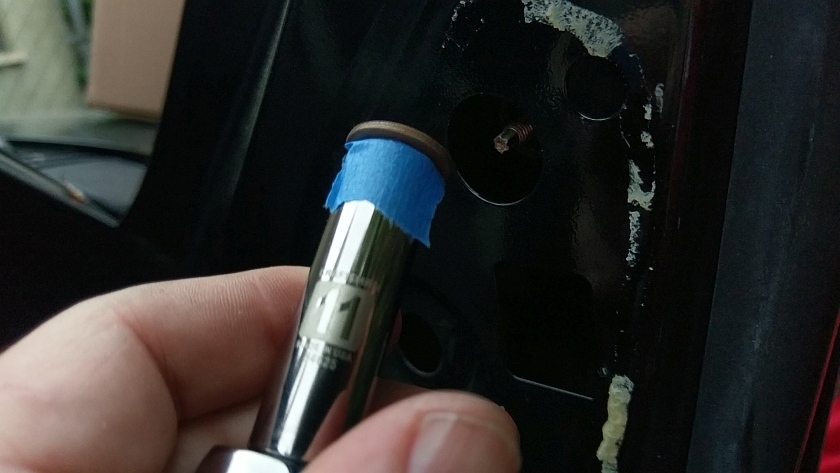
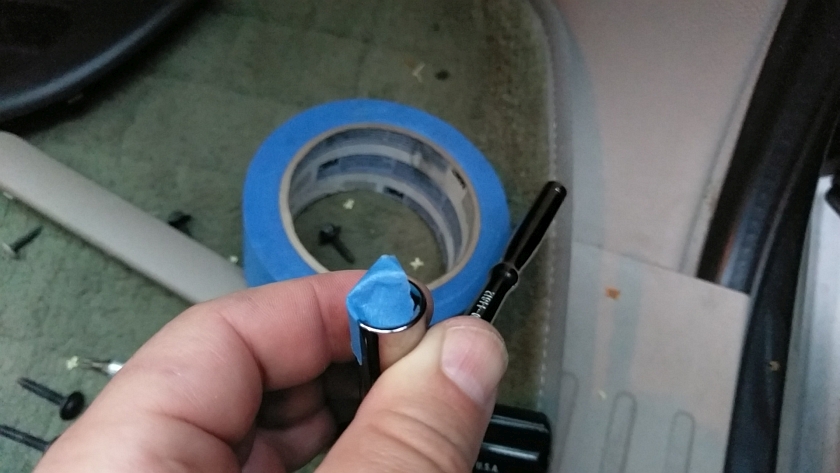
Holding Mirror Nuts In The Socket
You can do this even when taking the mirror off if you are nervous of dropping the nuts into the door. I use some blue tape and make the fit of the nut and socket tight so the nut will not fall off when starting it up on the new mirror studs.
You will likely need someone to hold the mirror in place until you get a couple of the nuts started. Fitting the mirror could be a bit tricky until you realize that their is a guide that holds it in (I think the center hold in between all the nuts). Again take your time as to not scratch up your door. A helping hand is most useful here. Tighten things up solid here.
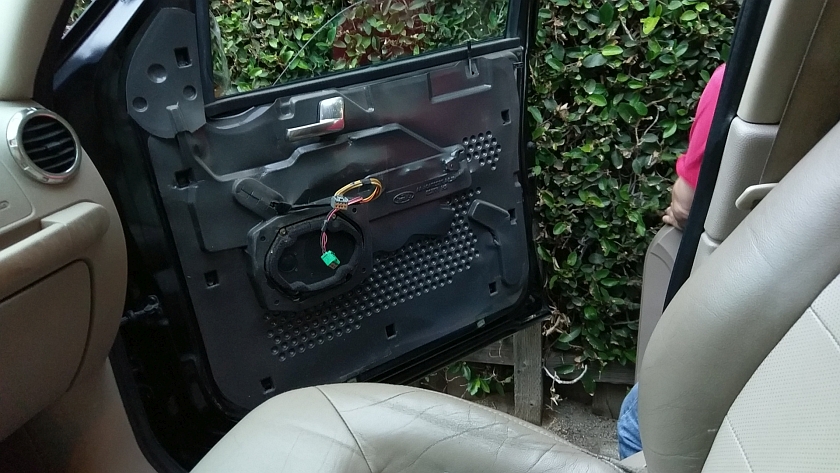
Expedition Exposed Door
This is what you get when you pull the door panel off. Lots of nice black foam. Note clips and tape that hold the harness in place and how they poke through the insulating panel.
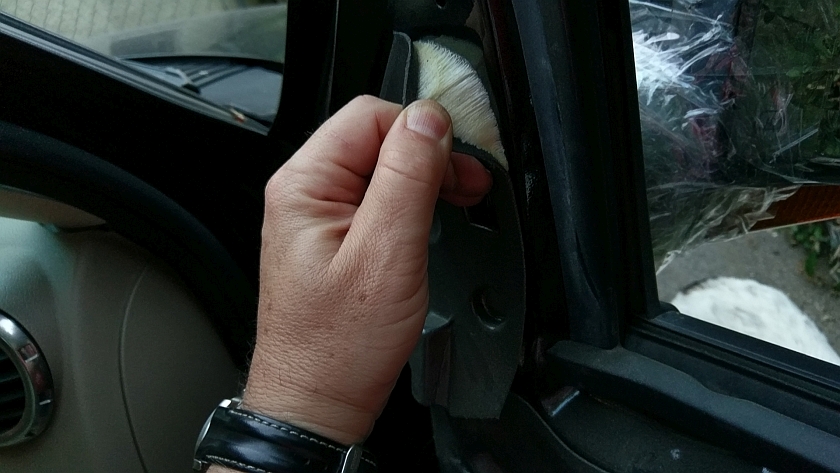
Peel Insulation over Mirror Area
Carefully or Slowly pull the corner of the foam backing to expose the mirror bolts. It has some sticky stuff on the back side. Don't worry too much if it rips you can patch it with duck tape (or blue tape) if you need to. You will also need to peel pack the upper corner of the door insulation to get to the harness clips for the mirrors wiring.
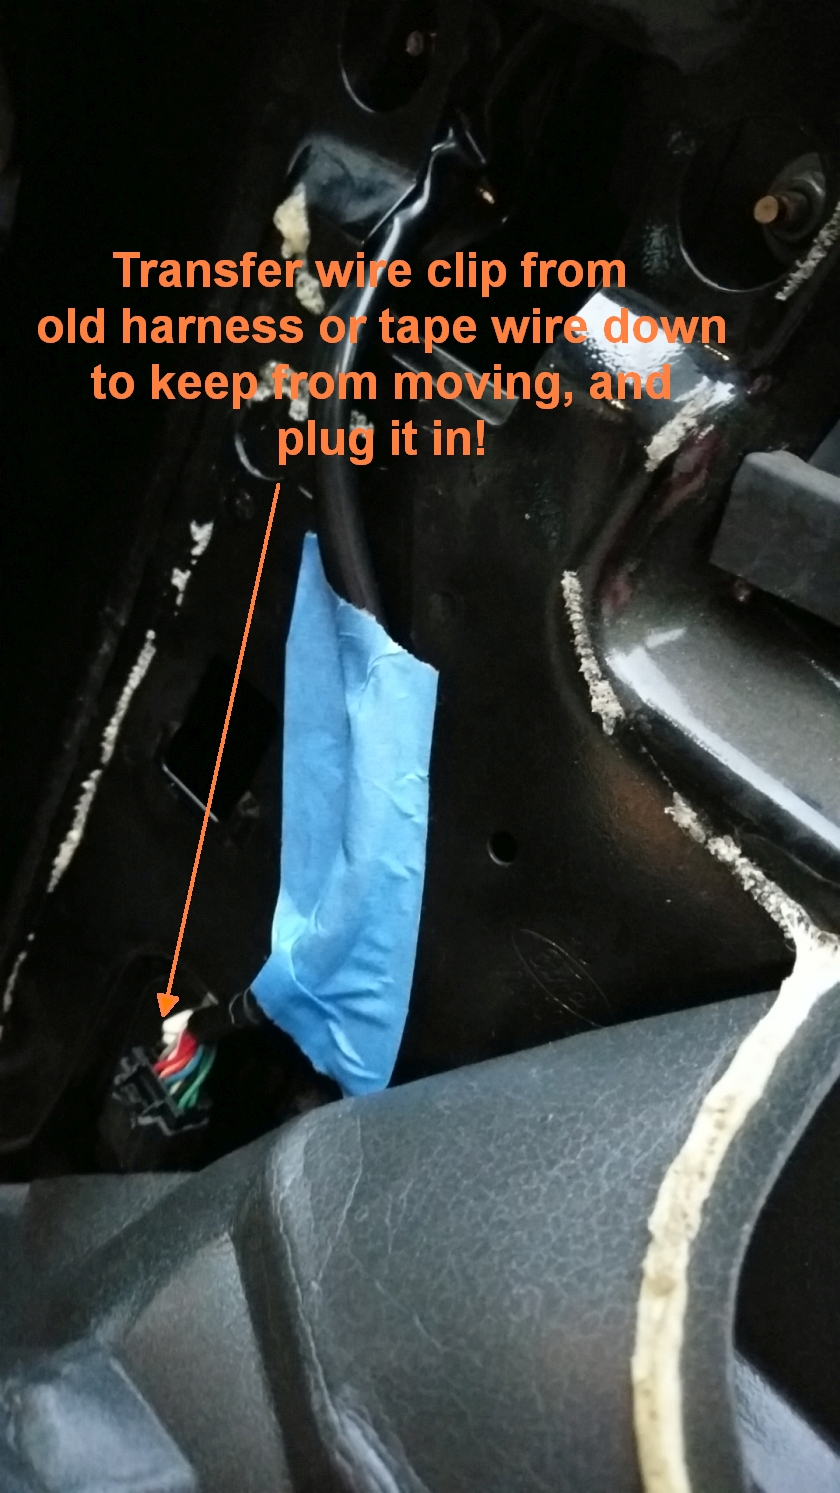
Reconnect The Harness
Once the mirror is bolted in, you need to start reconnecting the harness. The new mirror will not likely have the plastic harness clip on it. If you got it off without breaking it you can transfer it to the new harness (tape). If you destroyed it on removal they use some tape to secure the wire to the panel. Duct tape is a better way to go then Blue Tape in this instance, but hey, I would have had to walk back into the garage to get some...
**** NOW TEST THE MIRROR TO SEE IF IT WORKS, LIGHTS AND SUCH AS WELL ****
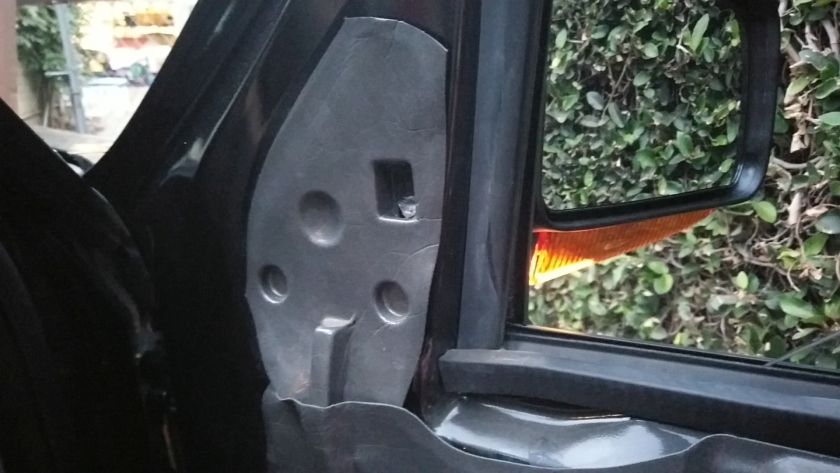
Replacing The Door Liner
After the harness is secured, put the foam liner back over the mirror area, then fold back over the main liner over that. You can see how things line up as their is a grove that the wiring harness travels though. The glue on the door is plenty sticky and should hold things back up just fine. Otherwise Duct Tape.
Align And Install The Door Panel
Time to get the door panel back on. Only a couple of tricky things, the window switch wiring and the door lock. As you get ready to install the door panel move it close to the door and above it, you will want to align the door lock into alignment of the opening. It helps if the lock is pulled up. Also you need to make sure you can get the 2 harnesses for the windows and door lock up into the opening of the arm rest. A helper can help here :) Once you have the door lock aligned up you need to do the reverse, basically drop the door panel in and down. It might take a couple of tries but most of the problem is the door lock alignment.
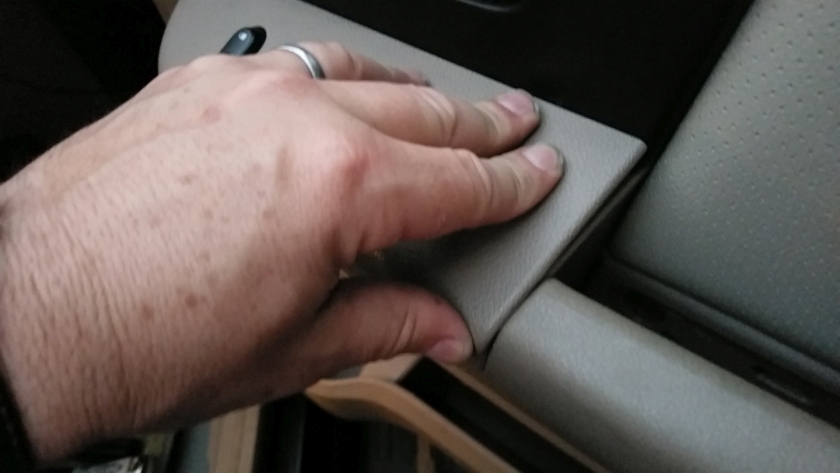
Snap Window Control Panel and Door Handle
Toss in all the door screws side, bottom and middle under the door pull. Now reconnect the 2 connectors to the window control panel (they should lock in) and align the tabs and mash it down. It's a 50/50 chance it will go well. if it does the panel will be flat and tight to the door panel. Next is the door handle trim. You will need to articulate it over the handle (you may have to pull it out) and snap that in with your hand or bottom of fist. These should snap in like the window control panel.
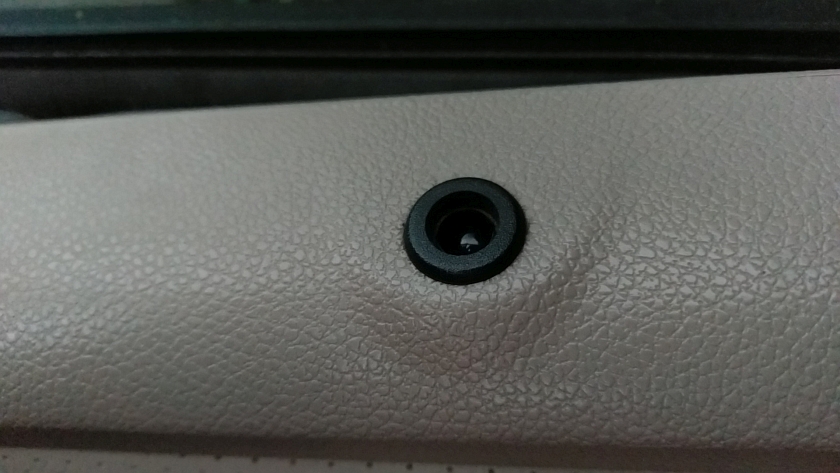
Snap Torx Screw Cover
This just snaps in, but NOTE it can only go one way, so before you start wailing on it, make sure it is correctly oriented!
