Ford Explorer Radiator Replacement - Page 6
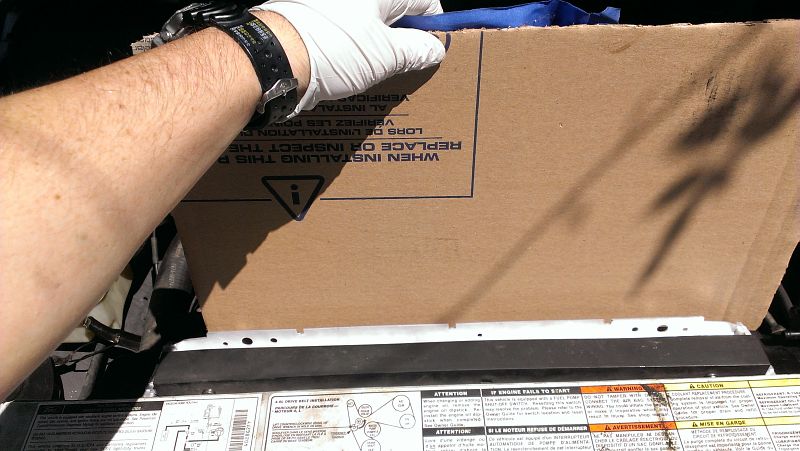
On the home stretch. Time now to drop the radiator back in. The procedure is basically reversed. Don't forget to pull off the cardboard or you may have a new cooling problem.
You can Navigate to any of the pages in this project by the BELOW drop down menu or use the NEXT or PREV links
Install Radiator and Remove Cardboard
You now can carefully drop in the radiator into the car. The radiator sits on two ledges that hold the bottom in. You may have to push a bit to get them to seat into the groves. Once it's situated in you can put in the top two 10mm bolts into the rubber mounts that came with the new radiator. Be careful of the transmission lines when you install the radiator, they want to tangle with the fittings as it slides in. After it's bolted up, pull out the cardboard.
Ford_Explorer_Radiator_2.html
Install Wrap Up
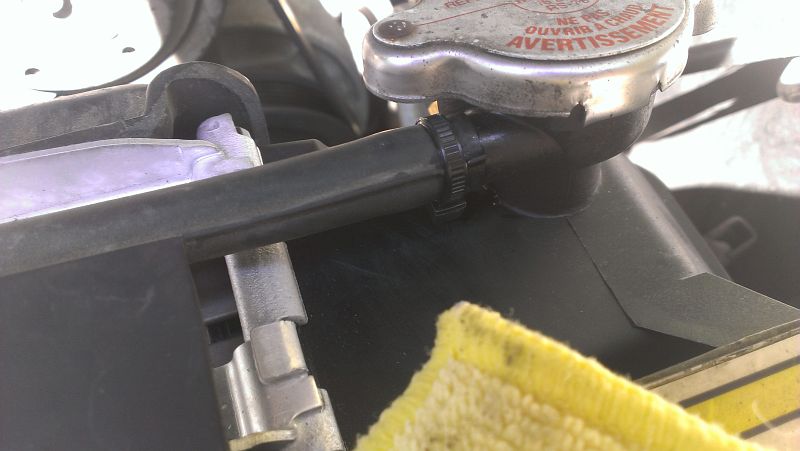
After you have the radiator installed, time to start hooking up the lines. Start with the transmission oil lines. When tightening them up make sure you HOLD the fitting that goes into the radiator with a 19mm wrench while you tighten up the lines coming in so it does not twist as you tighten it up.
Then re-install the radiator hoses with NEW clamps, get rid of the spring clamps unless you don't care about leaks.
Re-install the overflow tube and fasteners. The make sure the overflow hose is tight fitting on the overflow spout. If not you have a couple of options, one is to cut a bit of the hose end off if you have the slack or use a small tiewrap as a hose clamp around the hose.
Next carefully put back on the fan shroud. The bottom of the shroud sits in groves in the radiator and the top is held with two 10mm bolts, so put it all back as you found it.
Next attach the rubber intake back to the engine and tighten up the band clamp. The re-assemble the air filter clamping the filter back into place. You may have to spin the locking band around until it aligns up into the correct position.
Don't forget the connector to the sensor that goes into the intake track. Also check to make sure any tubes and breathers are still connected.
If everything is back together, time to get a funnel and fill the radiator with Antifreeze. Try not to spill it as you fill it up so you can see if you have any leaks. Fill to the top, reconnect battery, start motor (if all tools, etc are out of the way) let it run for a couple of minutes, shut it down and add more coolant as needed. You will need close to 3 gallons to refill the system. Replace cap, fill overflow with coolant to the FULL mark and let the car run. Check for leaks in the hose area and in the area where the transmission cooler lines are connected.
Check all fittings and hose clamps a final time.
Check all bolts one last time to be sure you got them all.
You are good to go, drive it around and check for leaks. It is also a good idea to check the coolant overflow tank as it may need more coolant as the air purges out.
If you find anything wrong or omissions and of course just plain old errors shoot me a line by using the Contact Page. I'll do my best to fix and get the site updated!