Ford Expedition Front Brakes - The Dirty Work
We get into it here, removing the caliper bracket, installing new shims/slides and towards the end of the page we start getting things back together. Keep things clean as you mess with the new rotor and pads, you do not want any grease on those parts other then where noted. Also make sure you use care when handling the caliper as the rubber brake line is still attached.
Get back to it!
Remove Caliper Bracket
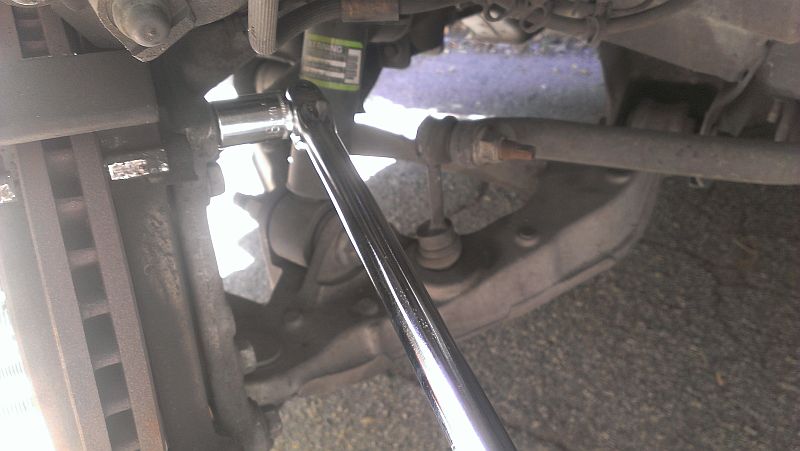
Time to remove the Caliper Bracket. This is held on by two 18MM bolts. They are the topmost and bottommost bolts on the back of the assembly. These are usually very tight, so use an impact, breaker bar or similar to get them loose. Remove both of the bolts and you can remove the bracket.
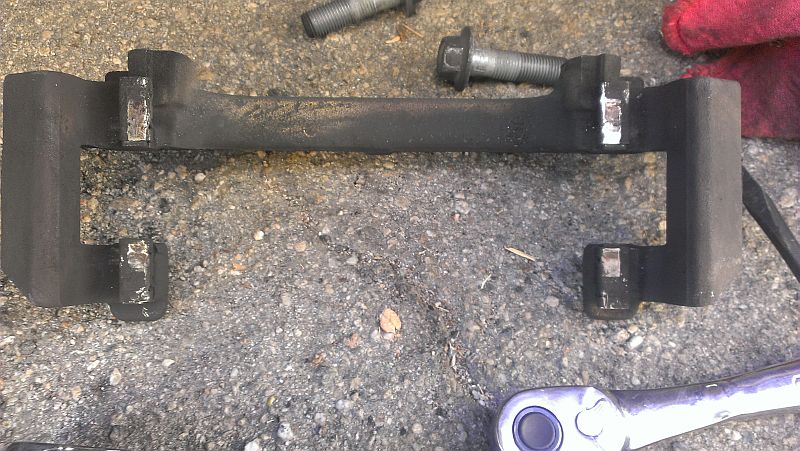
Caliper Bracket Removed
This is the caliper bracket. You can see the slides that the pads ride on. These, hopefully are included in your new pad kit. If not they need to be cleaned up. If you do have them we will remove them with a flat blade screwdriver, they should just pop off.
Replacing Brake Shims
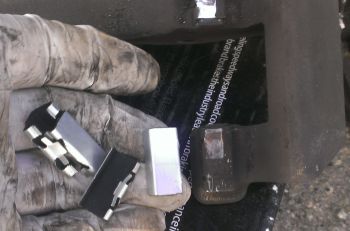
Depending on your brake pad kit you will have a bag of shims. Some may be attached to your pads already. The ones on the caliper bracket should be replaced if you have them, otherwise clean them up with brake cleaner and a rag. If you do replace them or knock one loose, they fit with the tabs into a matching slot into the bracket.
Greasing the Shims
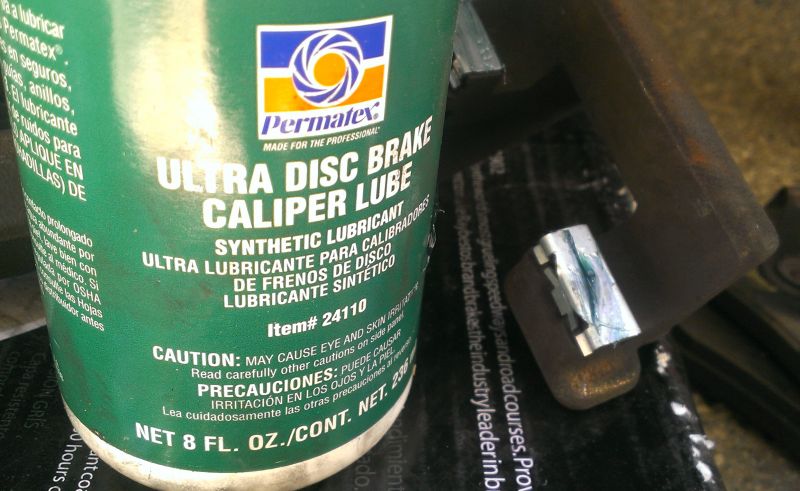
The shims or slides as they may actually be need to get a light coat of disk brake grease. Sometimes the pads come with a packet of this goo, sometimes not. I do enough free labor brake jobs to have a king side jar of it. LIGHTLY grease the tops and the smooth sides of the shims with grease. Try not to get it blobbing near the edges as you will find that this will get onto the new rotor when you install it. I find that after dealing with cleaning the excessive grease it's time to swap out the dirty gloves so I don't track crap on the new pads and rotors when I install them.
Clean Your New Rotor
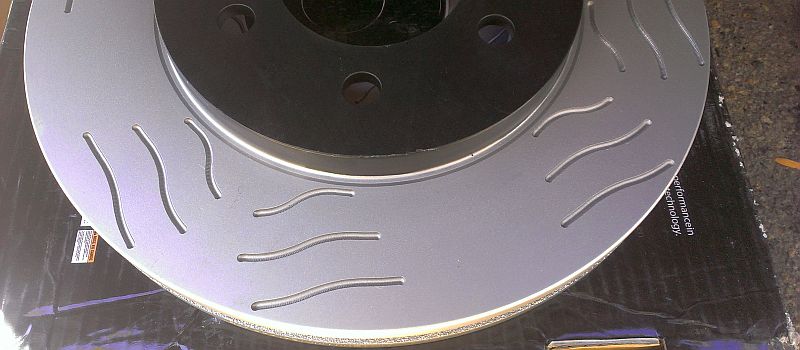
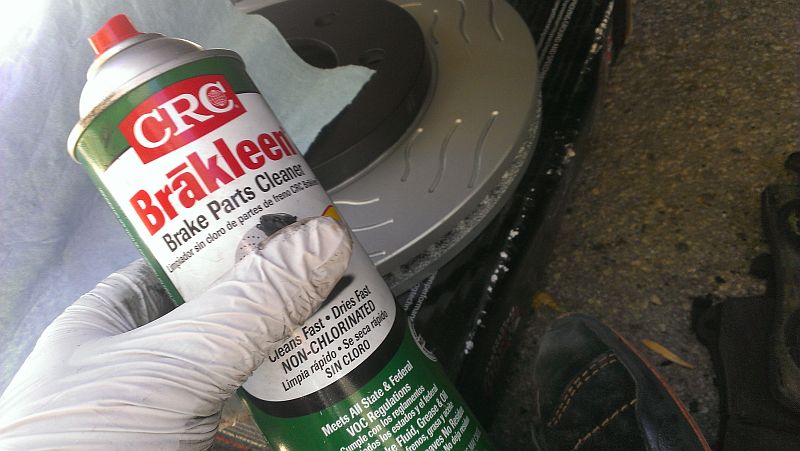
Using Brake or Carb cleaner to spray the surface and clean with a paper towel or other grease free cloth. Do this for both sides. New rotors often have a caked on coating of grease or anti-rust coating that MUST BE REMOVED. The odd thing is that the Raybestos Performance rotors had a plating or paint (not sure) and was grease and rust free. I did clean them just to be sure.
Install New Rotor
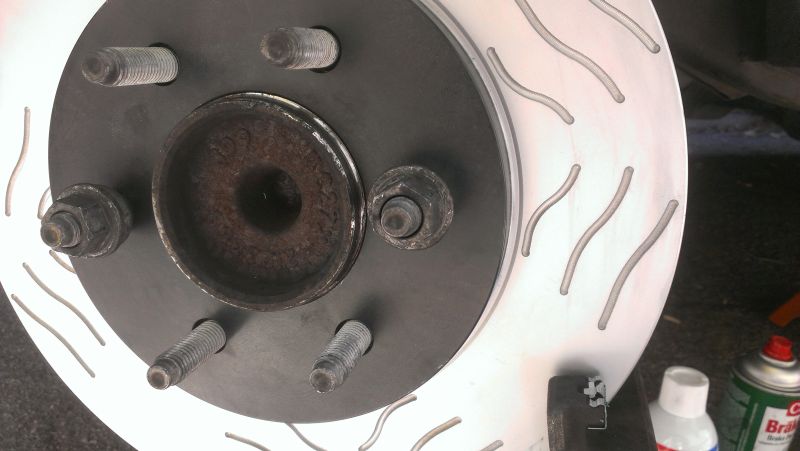
Remove the old rotor being CAREFUL not to knock the caliper off the top of the dust shield. If the rotor is rusted on you will have to whack it with a mallet or something to break it free of the rust. WD40, Kroil or just a squirt of oil can help. If you are re-using your rotors you will have to be careful not to damage the surface, otherwise wail on it. Once the old one is off clean the surface of rust and put the new prepped clean rotor on. Use a couple of lug nuts to hold it in place. MAKE SURE it is fully seated or you will NOT be able to get the caliper on.
Re-Install the brake caliper bracket. Make sure you don't grease up the new rotor, if you do wipe the grease off with some brake cleaner and a clean rag. Torque the both of 18mm bolts to 145 Ft/Lbs with a torque wrench. You will have to look carefully when putting the bolts back in as it's hard to seed, but just catch one in at a time.
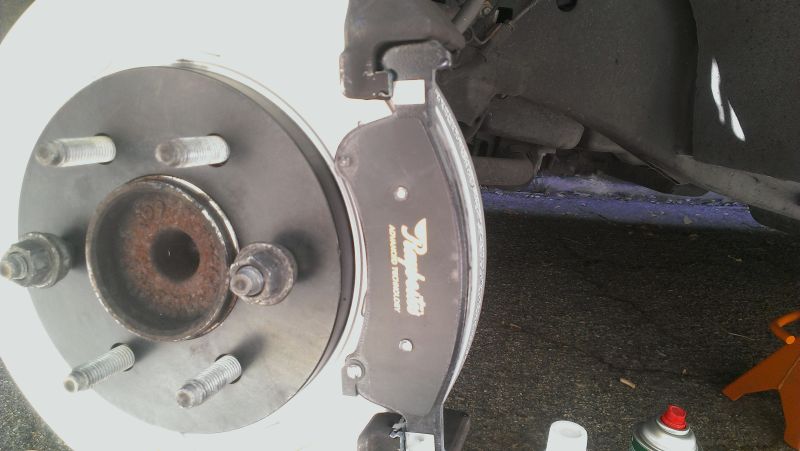
Outer Pad Installed
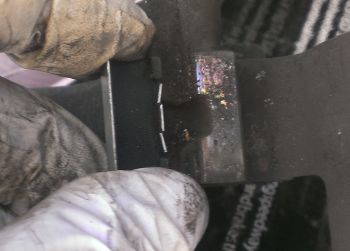
The outer pad is ready to install. Don't grab the surface of the pads with your greasy paws. Just slip it over the slides as shown, it will stay in place. Again use a couple of hand tight bolts to help keep the rotor seated.
You can Navigate to any of the pages in this project by the BELOW drop down menu or use the NEXT or PREV links
Install Pad in Caliper
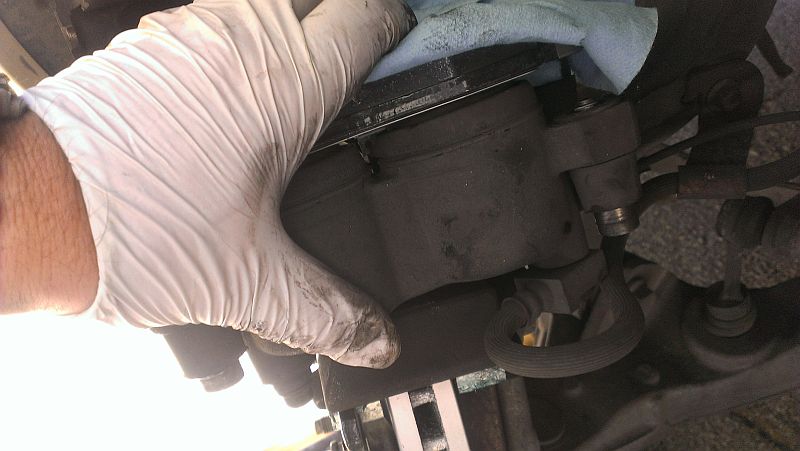
Time to install the pad in the caliper. The 3 finger springs need to all be centered in each of the pistons before you press them in. It's a good time for clean gloves or a clean rag to keep grease from getting on the pad. These take some force to squeeze in, but they will pop right in if centered up right. Again be careful of the brake line.


