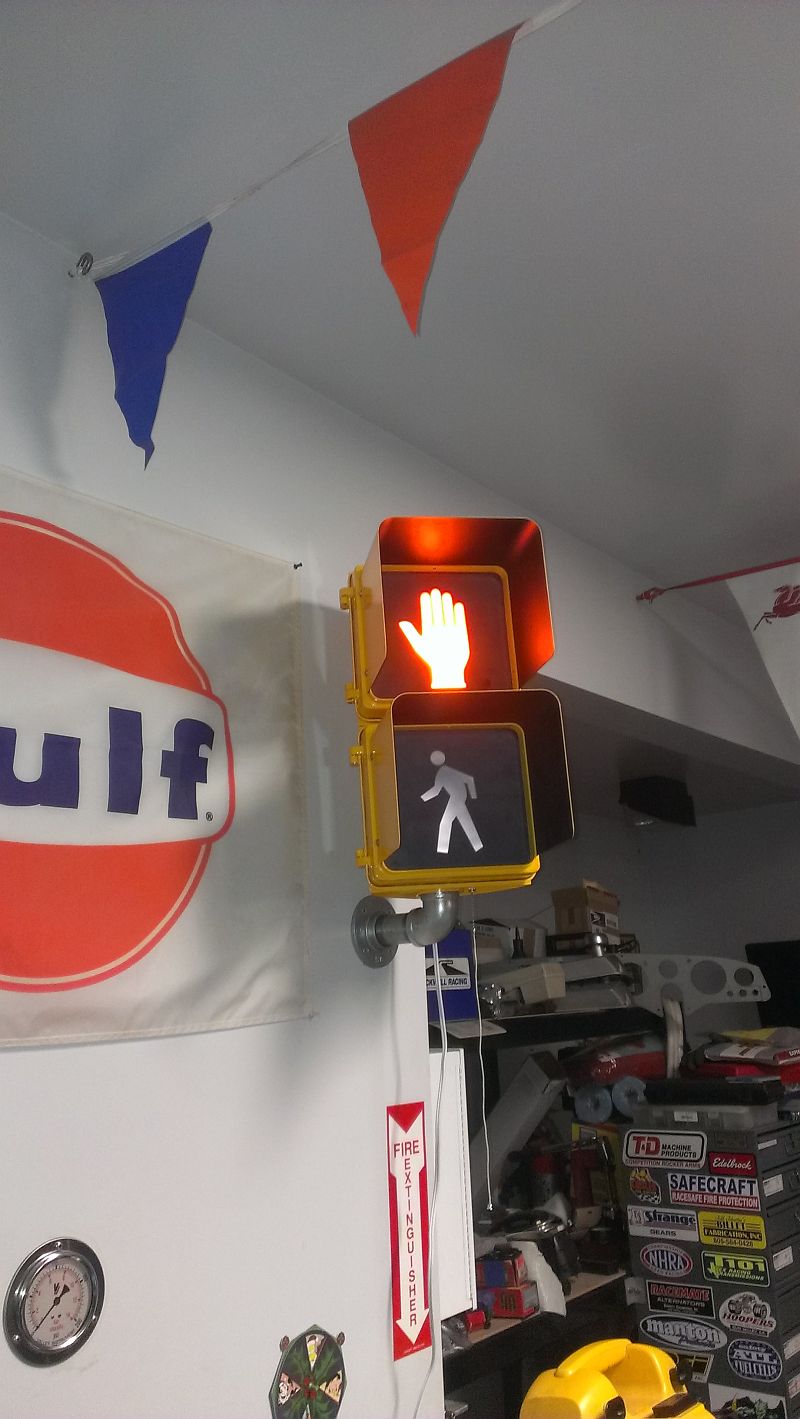

Don't Walk Sign - Garage Eye Candy
Most of the 'stuff' that has been added to the garage has been functional. This is one addition that is more fun and you can add you commercial street fixtures for a reasonable amount of money. I picked up this Pedestrian sign (Walk / Don't Walk) sign from eBay shipped for about $140 bucks. It was NEW in the box, all aluminum and glass construction so something that is cool looking and not made of plastic. The 'Ped' sign is also an old school style with 2 boxes, each about 9" square. The vendor also offered a larger 12" version of the sign for a few bucks more but figured the smaller ones would be perfect. They have a regular light bulb socket so you can use any type of small lamp. I fitted mine with a couple of small LED Bulbs for ceiling fans or refrigerators. I got them the LED Bulbs from Amazon. I also had picked up a flasher module from eBay a for another project and decided I would use one in this. The flasher is hooked up to the 'Walking Man' section of the sign which will blink when on. I though I would leave the red stop 'Hand' on as a non blinking light. You can also pick up an actual traffic controller that will simulate a signal, even has provisions to hook up a cross walk button. This can be found here, at Traffic Controls and it's well made and a really good traffic light controller/simulator. For mounting it's expensive to get the mounting poles and such, so I hit a hardware store and picked up some pipe and flange to make the mounting. Worked well. Last touch was a pull chain switch with a long pull so I can turn it off and on. The sign was manufactured by the Eagle electric company, and is a nice piece.
Don't Walk Traffic Signal Mounted
This is the finished mounting on the wall. I found a 15' white extension cord that I cut off the receptacle end and it was cheaper then getting bulk wire and a plug. Save a bit of time too. You can see the pull switch cord dangling from the bottom as well. The pipe flange mounting was to a solid stud in the wall with some long and heavy wood screws.
Inside of the Pedestrian Signal
The signal has some room, not a lot, but enough to add a flasher and switch. Make sure that where you mount them that it does not interfere with the reflector or lamp socket. The power wire comes through the back and has a rubber grommet to keep the wire from getting cut up by the metal. The pull switch is a SPST switch available from you local hardware store or even Amazon, if you get fancy you can do a multi-way switch that would control both lamps. I kept my goals modest... The signal has a nice terminal strip on the top for most of the connections.


