Sunbeam Frame Bushing Tool
This simple tools will help remove and install the rear frame bushings that attach to the shackles. The Sunbeam Tiger, and likely Sunbeam Alpine, that I'm guessing use the same 1" rear bushings (It does on the Tiger any-a-ways). These are in a tough spot to pull or push out. Some folks have drilled them and resorted to a hack saw to cut a notch, other air impact chisels. All are a pain to deal with. This can also work on any car with some modifications to the sizes of pipe and pilot.
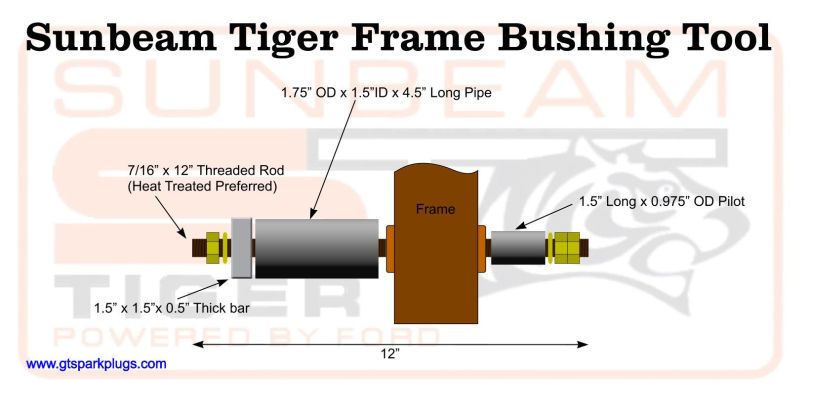
This simple tool with a few parts will do the task of removing and later installing the bushings.
Parts List
(most was scrap steel or from McMaster Carr)
1 - 7/16" x 12" of All thread (or threaded rod). Prefer heat treated. Fine or coarse threads OK, just match bolts
3 - 7/16" thread bolts
2 - 7/16" washers
1 - 4" long x 1.75" OD x 1.5" ID Pipe. Size can vary a bit, but must be able to fit into the hole in the trunk and over the bushing sleeve.
1 - 1.5" long x 1.00" OD x 1/2" ID Pipe have the OD turned down to .975" (also 1" round bar could be drilled)
2 - 1.5" x 1.5" x 0.5" plate. I cut some bar stock for this.
Hardest part is to get the pilot made. I had some small thick pipe that I turned down to .975" which slips through the frame mount, but will hit the sides of the bushing. The size is not super critical as long as it is smaller then the bushings hole and larger then the ID of the bushing edges. You might get lucky with an old SBF piston pin. Otherwise hit a shop with a lathe and have a 1" round bar drilled with 1/2" hole and have them turn it to 0.975" OD.
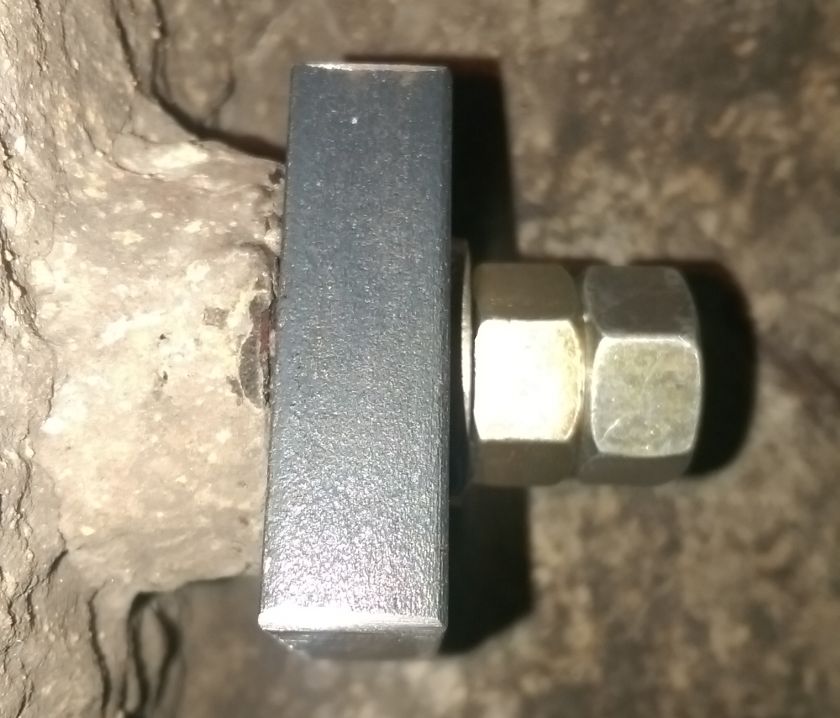
Drill out holes in the center of the 1.5" square plates. I drilled 1/2".
Note about the treaded rod. I got some grade 8 hardened rod from McMaster Carr. It comes in 1' lengths and is a few bucks more then the soft hardware store style which might work fine. I avoided any issues by getting the stronger rod fearing a fight with the rusty bushings.
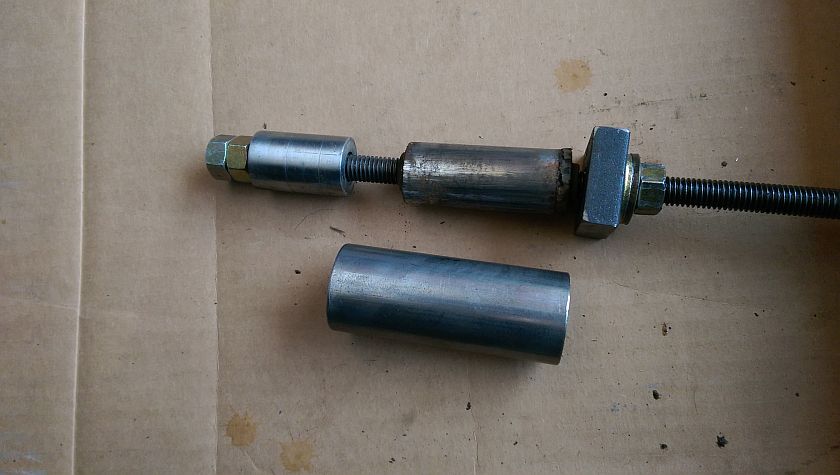
Assemble parts and grease things up on anything that moves, ie the bolt, washer, and threaded rod. See the picture below for how it all works. The picture shows the tool in removal mode. To make it install just get rid of the larger pipe and pilot, use 2 of the square plates and press the bushing back in... Well if you are using a stock bushing you will have to make sure you get it in as I recall flush to the trunk side, but you should have checked before you pulled it.
A few tips -
Lube up the threaded rod and washers that spin.
Use 2 nuts to tighten up against each other and hold them with a wrench as you tighten up the tool. (single nut side in the picture).
Grind the corners off of one of the 1.5" squares to it fits with more room into the access hole in the trunk.
Make sure the bolt and washer on the pilot side is smaller then the hole
Have someone help hold the wrench to keep the threaded rod from spinning
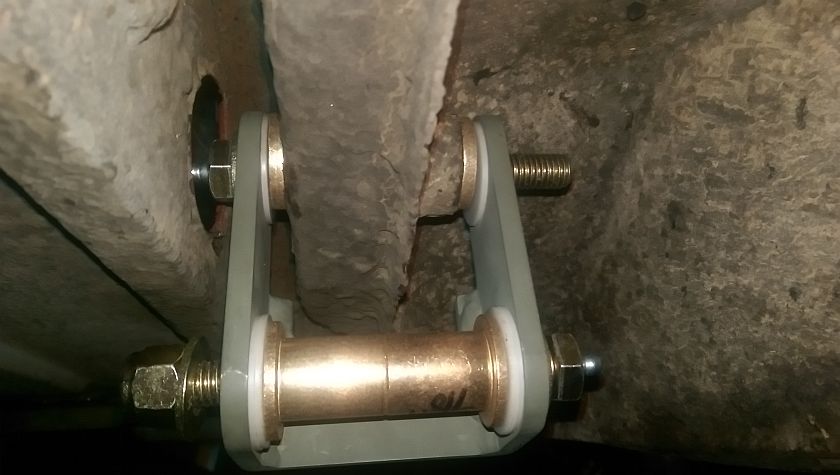
My install is a bit different, but still works the same way. I'm using 2 bronze flanged bushings that press in from each side which is a bit different then the stock single rubber bushing that came in the car. Don't ask how to remove the flanged bushings once installed...
Happy Motoring!
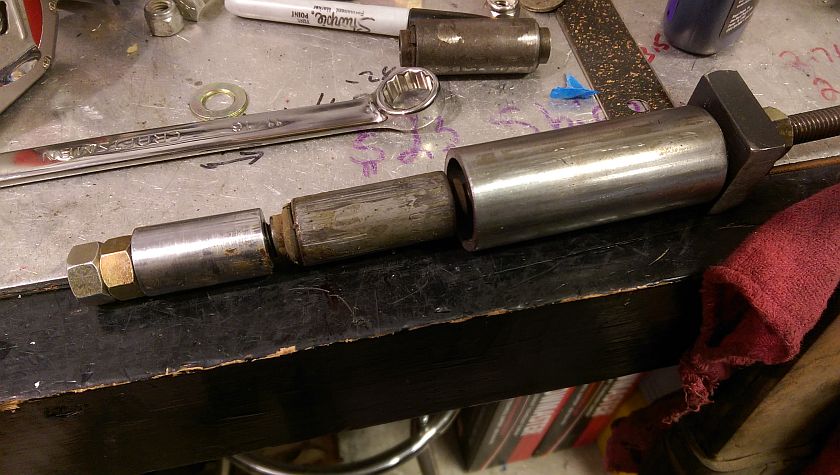
Made in U.S.A. Bushing Remover
Well if you are in the UK and make one, update the title. The picture above is the basic construction of the tool. It's pretty simple and will come in handy for other tasks with some changes to pipe and pilot size.
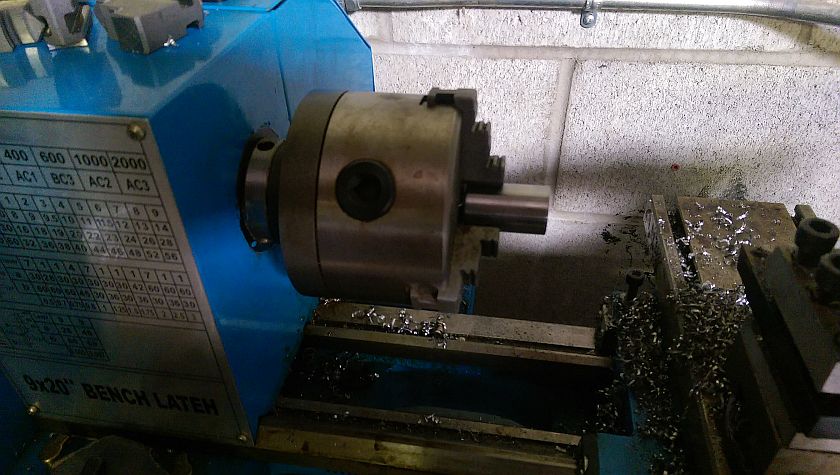
Turning down the Pilot
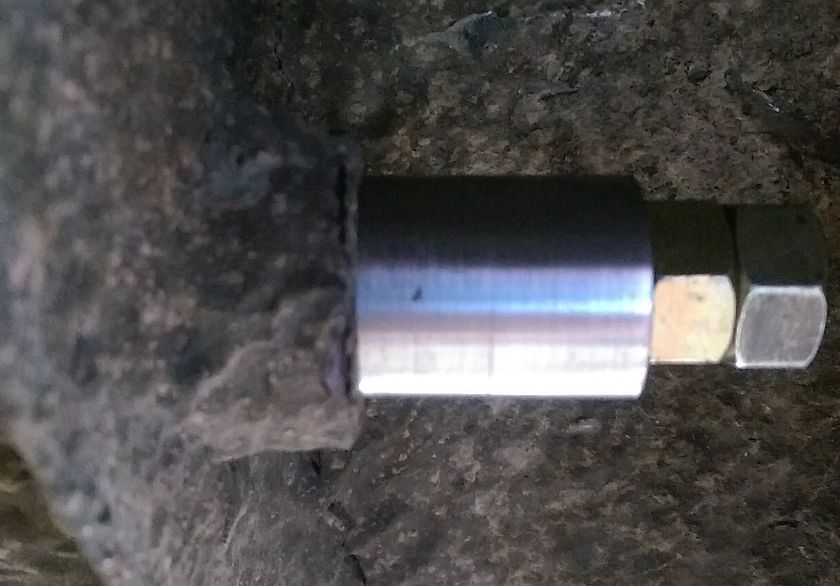
The pilot needs to be less then 1.00" in diameter, at 0.975 it seems like it would work just fine with no interference in the tube that holds the bushing and yet will still catch the edge of the bushing to pull it out.
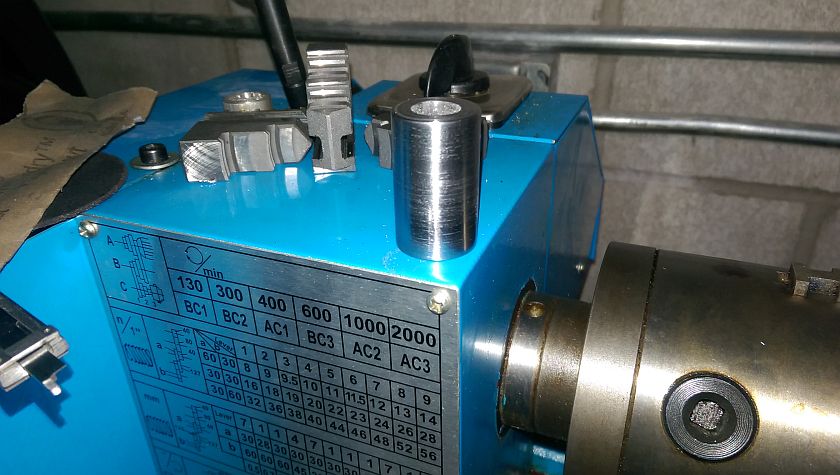
Completed Pilot
This is the part completed. Note I stared off with some 1" OD x .5" Id x 1.5" length of pipe. If you just have round bar stock, it would be a good time to also drill a 0.5" hole in the center. That's enough work on the Jr. Lathe for now.
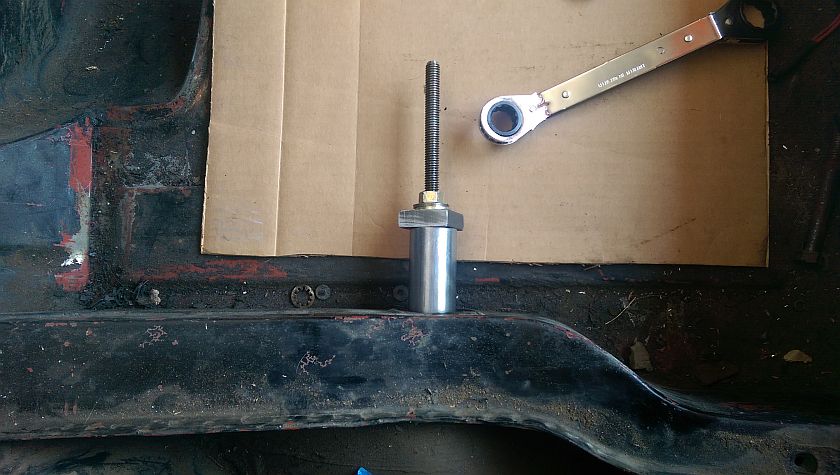
Tool Set Up
This picture shows how the tool is set up. Note that the double bolts are smaller then 1" and will pull through just fine. The bushing would be the frame of the car would be. Rest is pretty self explanatory.
Start Pulling!
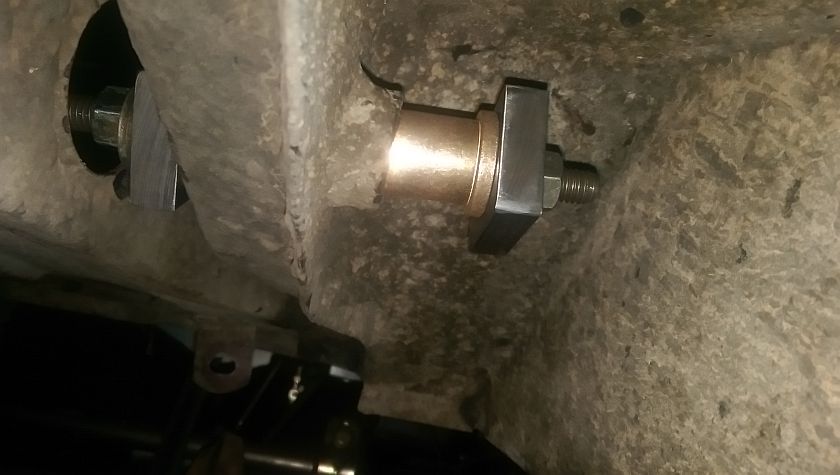
Set up the tool like this, from the trunk side is where you will be pulling the bushing into.
Step ONE pull the bushing flush with the frame tube
This is the first step to a clean full pull! The trick here is to pull the exposed bushing (it's exposed about 1/4") out of the tube. So with the flat plate pull the bushing flush to the frame. This will make it MUCH easier to use the pilot to pull the bushing out. One you get to this point pull the tool a part and remove the steel plate and swap it with the pilot.
Step TWO pull the bushing through with the Pilot
Carefully align the pilot straight (you may need a helper to hold it) and again begin tightening the trunk side nut until the bushing pulls all the way through
Full Pull!
Once it comes out this it what it all looks like. Mine were not super rusted and were not in bad shape. Don't worry about is the bushing, toss it as it should not be reused.
Installing Bronze Bushings
Since this is going to be predominantly a track car all rubber must go. Installing some bronze Oilite (SAE 841) flanged bushings. I pulled one in at a time just in case of any issues. I used 1" OD x 3/4" ID flanged bushings that will be used with 3/4" OD x 1/2" ID Delrin tube and ultimately 1/2" shackle bolts. Note stock Tiger uses 7/16" shackle bolts.
Test Fit Shackle
This is just a quick test fit. I need to run a reamer through the frame bushings as it's a bit tight on the Delrin insert where the 2 bushings meet (or close to it) in the center. So the pic might look a bit off on the top since it's without the insert. These are the custom shackles I made for the Tiger, they retain the same dimensions except for the 1/2" bolt holes. Also note the bolts have been drilled and fitted with zerk fittings for oil. Might not really need them but what the heck.
Double Duty Puller
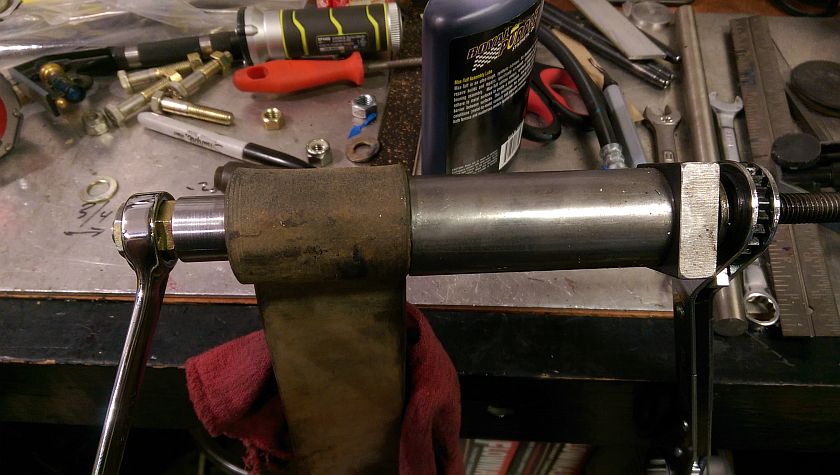
My Tiger leaf springs are old CAT club style and have 7/8" bushings. So I hit the Jr. Lathe and cut a smaller pilot to use for that. Worked like a champ.
Conclusion
This simple tool mostly made of scrap metal can do a lot of work in pulling pressed in bushings. With a little creativity I make most of it out of scrap metal and the only precision part is the pilot which must be turned down a on a lathe. This can save you a trip to the machine shop to use a hydraulic press in many cases. Have at it and if you find another use for it shoot me an email by clicking the tiny spark plug all the way at the top of the page.


