Excursion and Super Duty Steering Stabilizer Replacement
If you have an Excursion you know of the happy wagging tail that you sometimes get in it. Just not the best feeling.
Some fixes are rear swaybar and good tires. I has also heard that some people say that the stock steering stabilizer
can be a problem too. This is for my 4x4 7.3 PSD Excursion, I'm sure the procedure is similar for 2x4 and other Super
Duty Trucks.
So this DIY project is swapping out the stock Ford stabilizer with one an aftermarket one from Bilstein. This bolts up to
the STOCK brackets.
This is a really easy upgrade and while it's really subjective, I think it does make steering a bit better, again might be in
my head, but what I also found was that my stock stabilizer was damage with a huge dent, not sure how well it was
really even working.
The Bilstien stabilizer is slightly pressurized like the shocks and I'm sure that helps as well.
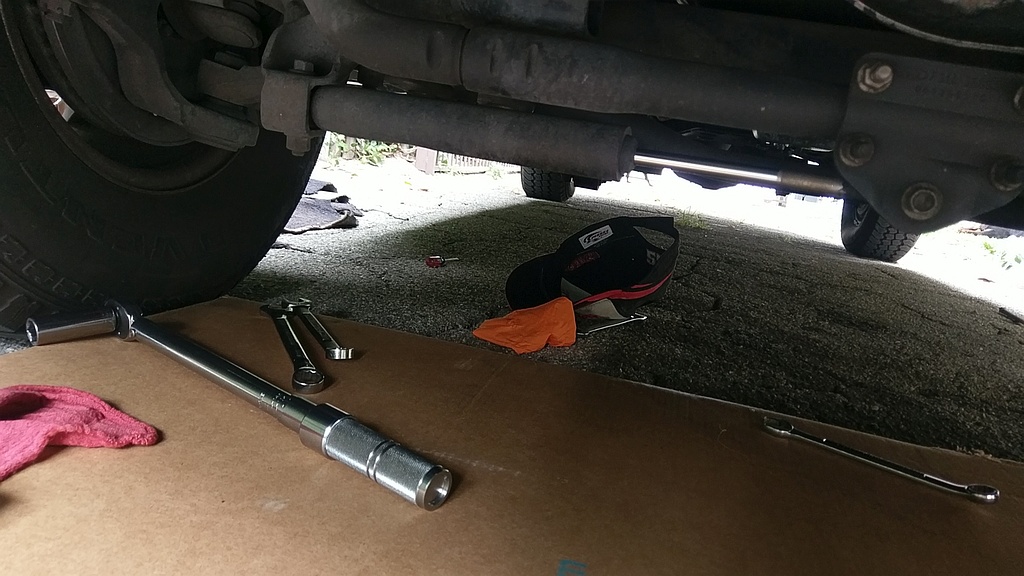
Needed Tool and Supplies
Metric Sockets 1/2" Drive as the bolts are pretty tight
Metric Open End Wrenches
Torque Wrench
Tape Measure
Parts (2003 Excursion and Super Duty 4X4)
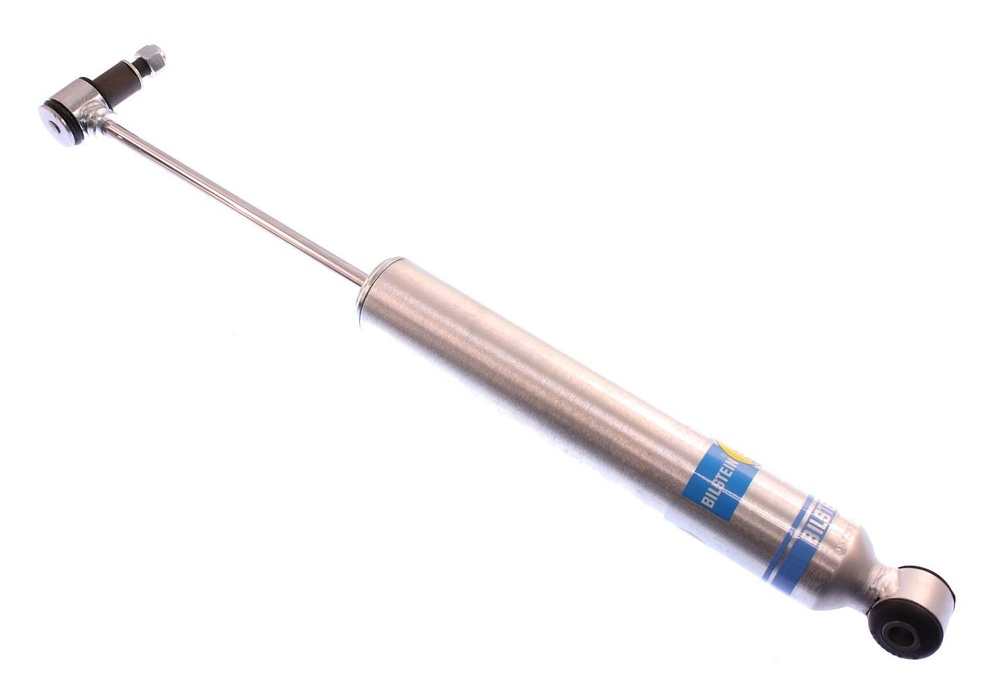
Bilstein Steering Stabilizer for the Excursion
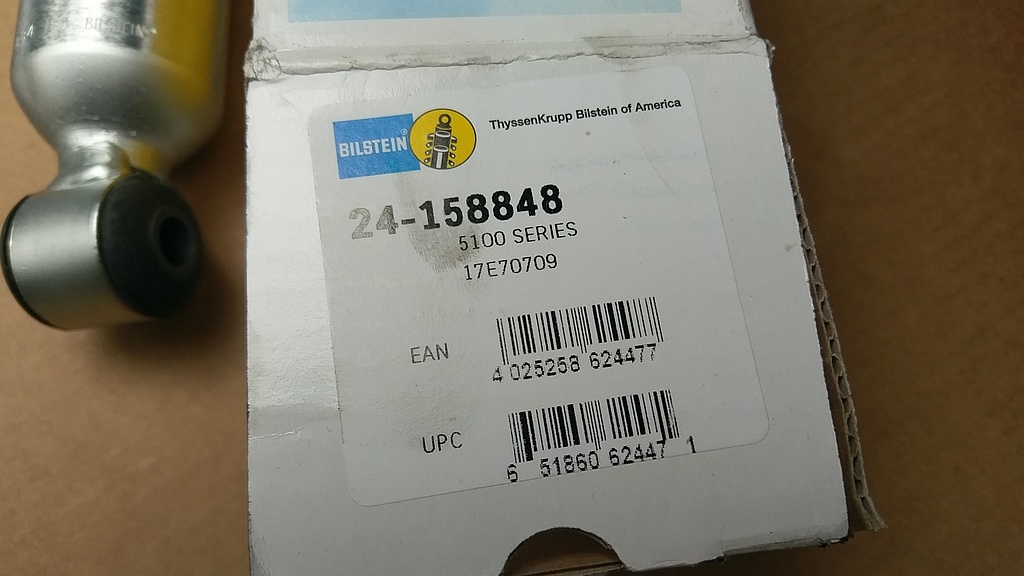
This is the part number I picked up from Amazon. Pretty much a shock absorber like device.
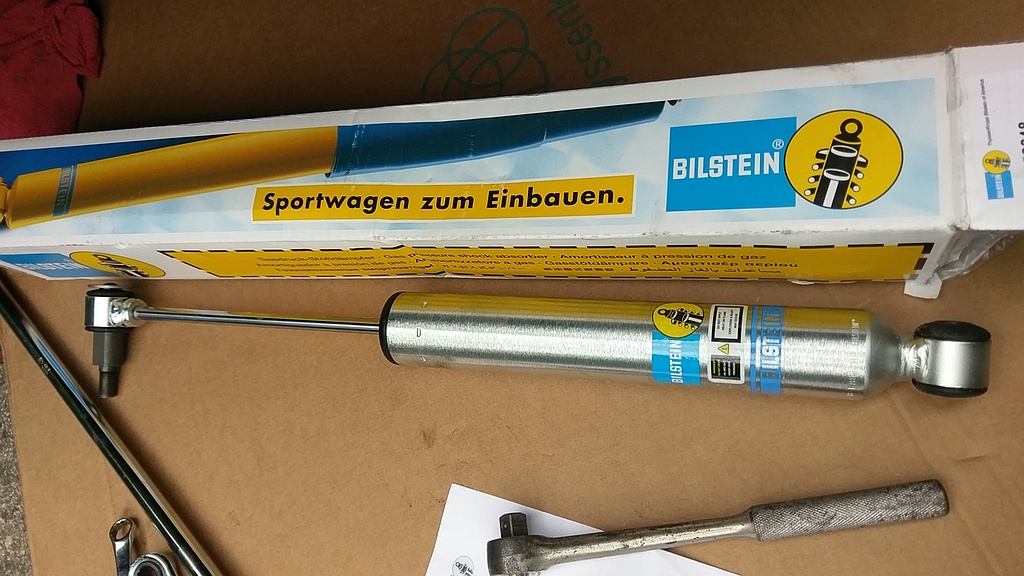
Bilstein Image of the 24-158848
Basically a shock absorber with a stud and spacer. Pretty much as expected. It has a nice finish and hardware seems well made too.
Remove first side of stabilizer
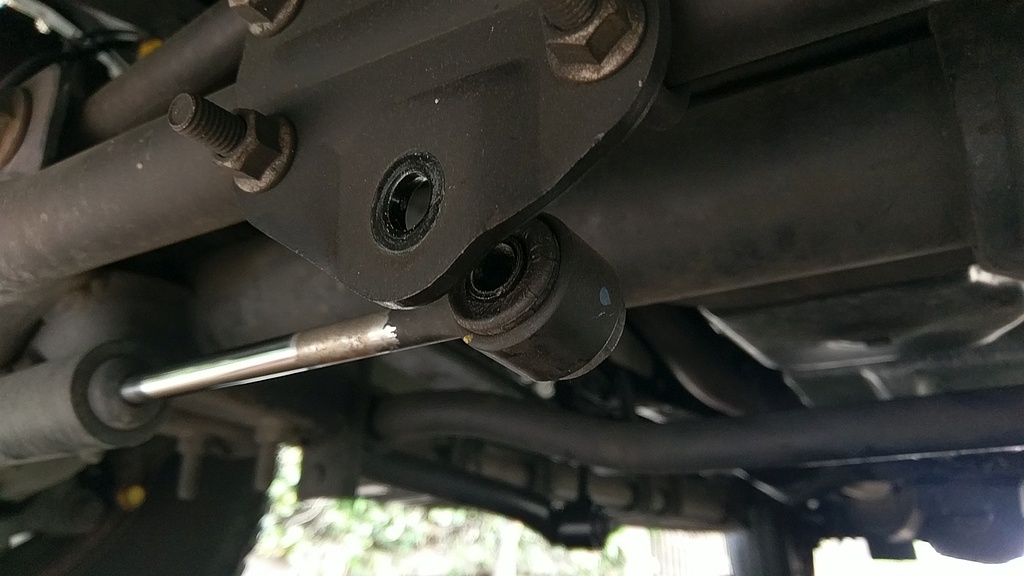
Remove the bolt from the Center Link Bracket. This was pretty tight, so you make have to use the bar or larger handle socket to break loose. Air or electric impact might be nice here too.
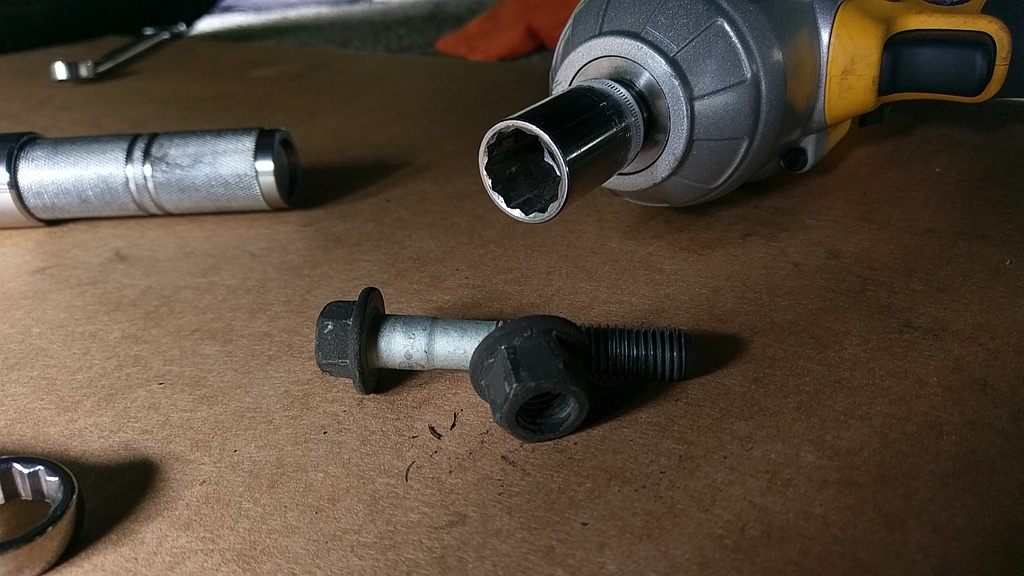
Stabilizer Bolt One
This is what I pulled of the bracket (drivers side). Nothing ordinary, just put it up incase you are doing other work and have a box of bolts as I often do. Note use of the Dewalt Impact, made for short over of removing the bolt.
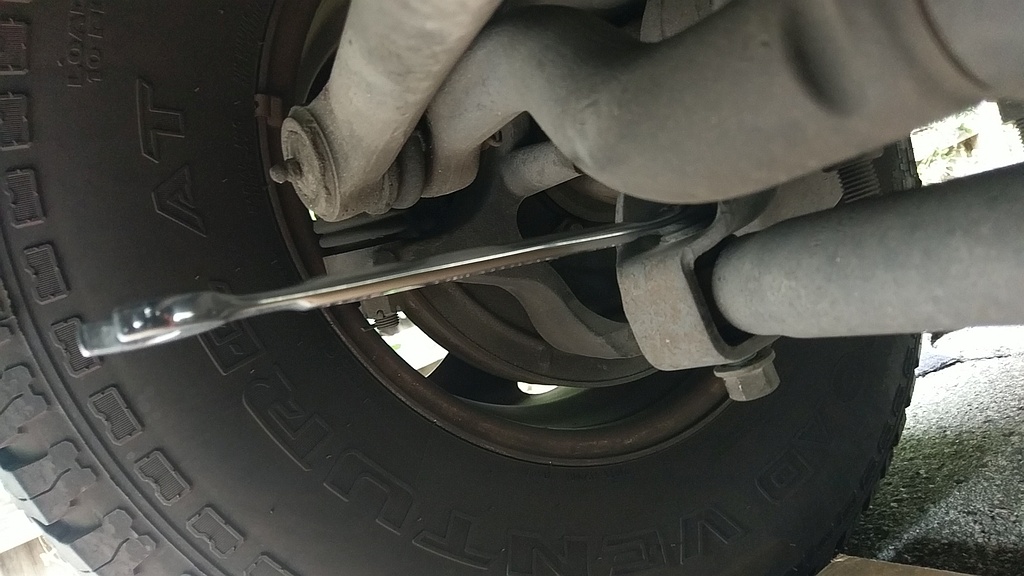
Stabilizer Bolt Two
This is the other bolt that holds the stabilizer on the suspension. This on you will need an open end wrench to get into the top and hold the bolt while you undo it from the bottom. Again impact is your friend here.
Ready To Install
Cracked open the box and found a bag with the hardware, some badly copied instructions. Ready to install. You will need your metric tools for this job, open ends and sockets. Torque wrench too if you are paranoid.
Stock steering stabilizer about to be removed
This is what my front end looks like. If you have sharp eyes you can see a dent in the stabilizer
Install Measurements
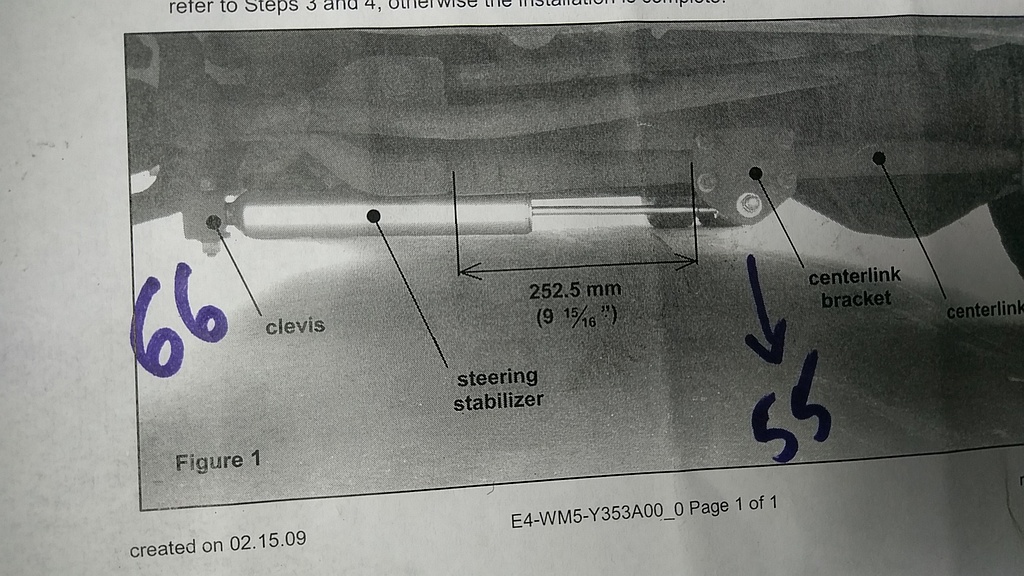
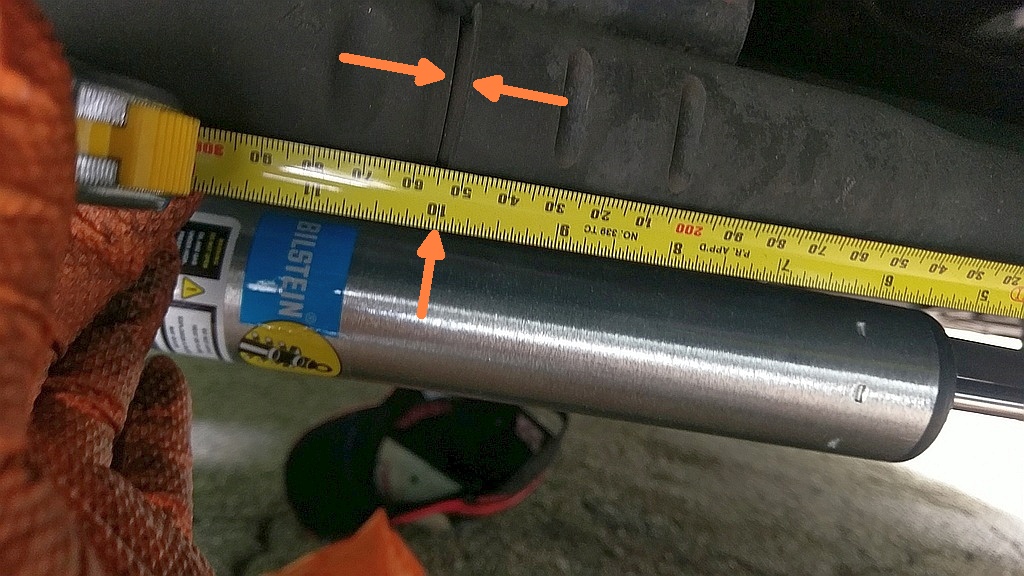
This is the only possible glitch on an easy install. Bilstein specifies a 9 15/16" measurement from the END of the centerlink bracket to the notch in the centerlink. If you bracket is not close you will have to loosen the 4 bolts on the bracket and move it. Also trying to keep things simple I wrote the bolt torques (ft/lbs) for each bolt on the picture.
Checking the Measurement
While it was a bit hard to see in the paper instruction, this is what I made it out to be. The longer notch in the bar is where you need to measure to. Mine came in at 10" (a little parallax in the picture). I figured close enough to 9 15/16". Hell I'm using a tape measure how accurate can I really be? I better have some plus/minus tolerance more than 1/16 of an inch.
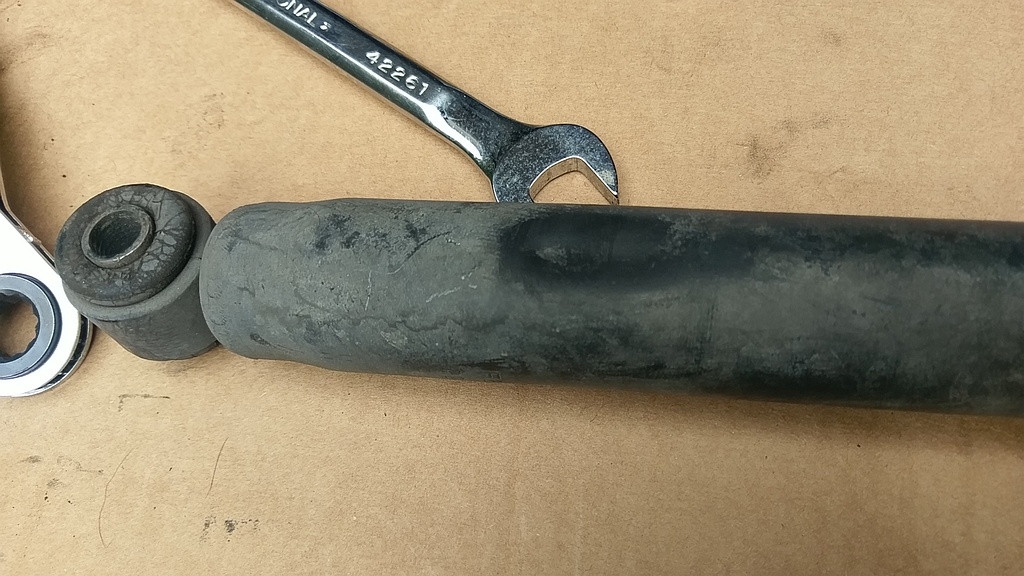
Damaged Stabilizer
Pretty good dent, not sure how it got in but likely hit something on the road, or was hitting something while it was on the lift getting engine work. Not sure if these are double walled but this definitely would be a problem.
Torque Bolts and Done!
Same picture as before, just torque both the bolts and you are ready to test it out. Center Link Bolt is 55ft/lbs and Clevis side is 66 ft/lbs. It would be a good idea also to have someone watch things while you turn the wheel end to end just to make sure you have nothing binding or otherwise F'd up. Safety First, it's your truck and life.
Conclusion
This was a pretty easy project. As mentioned it may be slightly more difficult if you have to adjust the centerlink bracket. Other Super Duty trucks might have a slightly different system depending on 2wd or 4wd, check for the proper part number as well since my install was from a 7.3L 4wd Excursion.
Happy Motoring!
