Sunbeam Tiger Roll Cage
I had a plan... Well it started out that I was going to build the cage with my buddy that is a good TIG welder. I had a lot of DOCOL R8 shipped an assembled a hydraulic tubing bender with a couple of Pro-Tool dies (1.75" and 1.675").
I bent the main hoop and started thinking that this is going to take a long time given my time and my friends time. So I found a local shop, and took the car in. No shame in wanting to get the car done!
Mayhem Metal Works in Simi Valley, CA
Here is my thoughts...
FANTASTIC WORK, METAL ART!
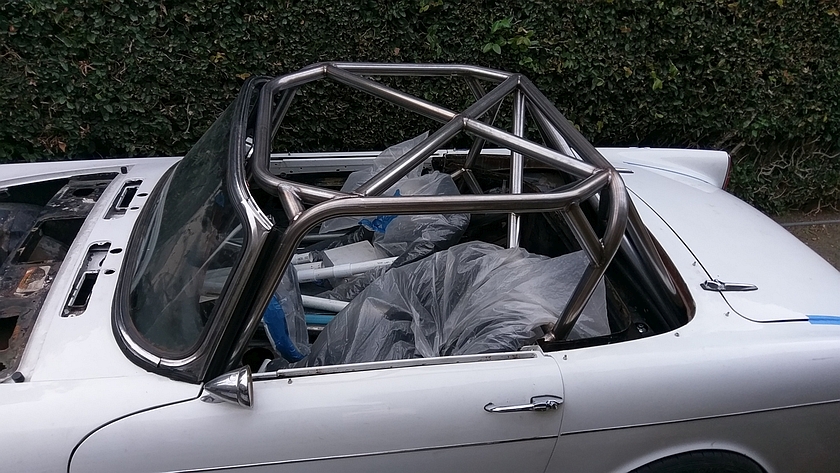
Andrew is the owner and Matt did a lot of work on the cage. I had some ideas how I wanted it to be done, and after some chatting with Andrew we came up with a better plan. Matt and Andrew added a lot of finishing bits that made it fantastic looking and very safe. About 80 feet of Docol R8 was 1.75" x 0.095" Wall and was from AED Motorsports. Check out AED if you want to know more about it, almost looks like Stainless until it rusts :)
The entire cage was TIG welded with ER80SD2 filler as recommended
Below are the photos, not much commentary since they did most all of the work. My rear hoop got cut and used, and my side hoops made it into the door bars. My progress first, then Mayhem Metal's.
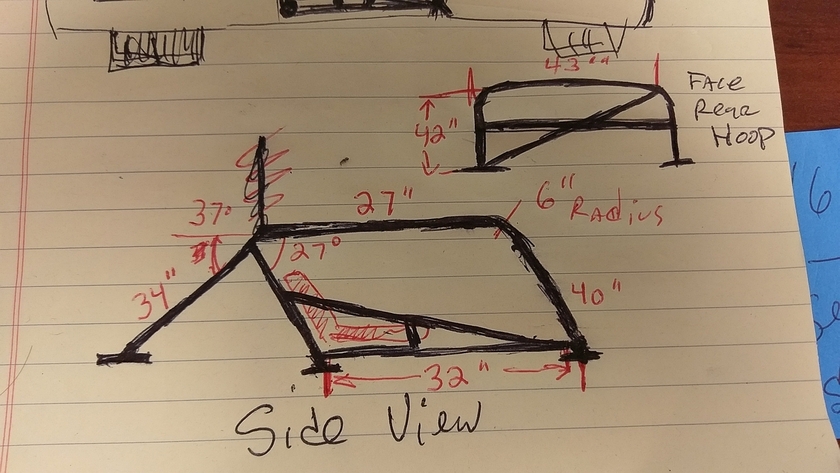
Sunbeam Tiger - Initial Sketch of Roll Cage
This is the initial sketching of the roll cage (Not to scale!). The angles and such were measured with some bent tubes mocked up. This was the original design where the rear hoop went behind the seat to the lower floor, not the package tray behind the set. Also note the door bar, this was also changed as the tiny sized Tiger would not be easy to get out without a swing out bar, and I didn't want one. Many changes coming with the help of Andrew at Mayhem Metal Work!
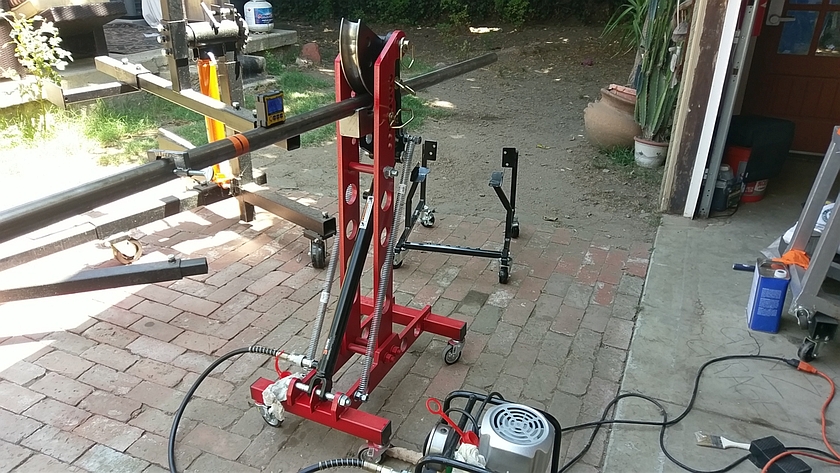
Tool - Hydraulic Tubing Bender
This was a tubing bender kit I built. It had a nice feature in that it did not need to be bolted to the ground and could be broken down by undoing a couple of bolts. I ordered it with a hydraulic ram instead of the Harbor Freight special hand pump or air-actuated pump and later picked up a Chineesium Hydraulic pump and foot switch. Was the way to go. By the way it's cheaper to take your car to someone then buy all these tools if you haven't figured that out yet.
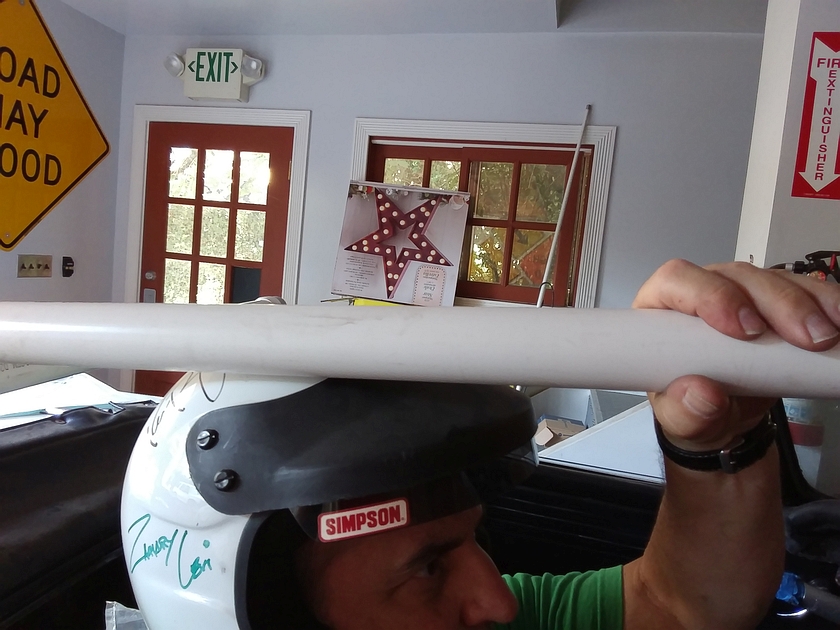
Trying Some Heights with Helmet
Trying to guess the height it needs to be with a helmet and room for some SFI rated padding is hard when you are trying to do it and take a photo. That was my outdated SNELL helmet that I used to get signatures of folks I had met. I think that is Zachary Levi's and maybe Christi Edelbrock.
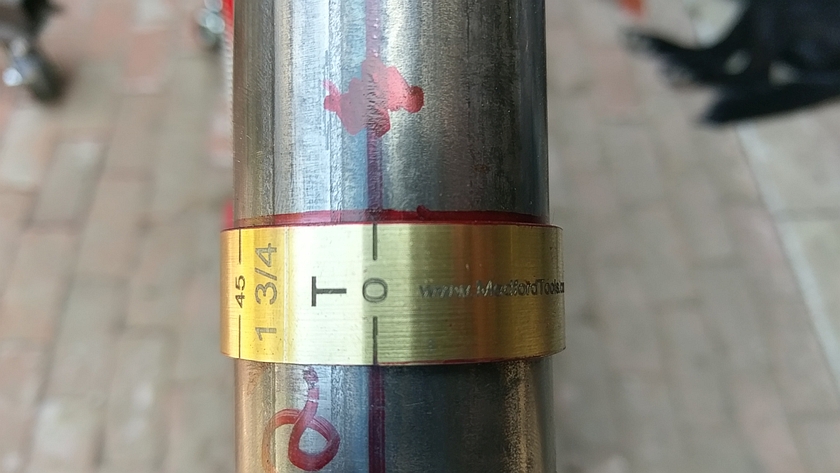
Tool - Tubing Scribe
This little brass half-circle ring is super useful too. It snaps on your tubing (comes in a few sizes) and has markings at different angles. Helpful to scribe the centerline on tubing as well as other angles. I got this when I purchased the die for the tubing bender from Medford Tools. They call them 'Snap Collars'
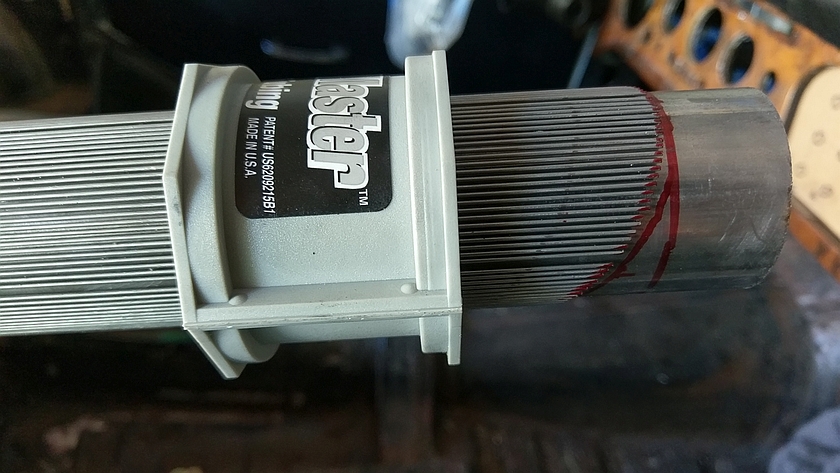
PipeMaster Tubing Tool
This tool is super helpful if you are cutting tubing at odd angles or trying to fit up against irregular surfaces such as other tubes and such. You can find these at Jegs, Summit and Amazon
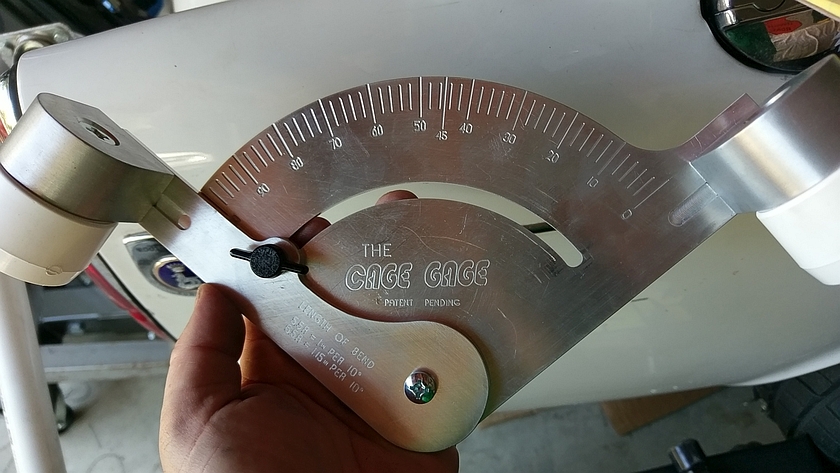
Tools - The Cage Gauge
This was the most helpful tool that I wasted money on. It fits a PVC tubing to help simulate how the bends will be and then you can use the Digital Protractor to bend exactly the same. I got 2 of these and they were really helpful since I can't bend tubing by eye and make it fit... The guys at Mayhem Metal Works did not use these, they were really good at their work! Cage Gauge Website.
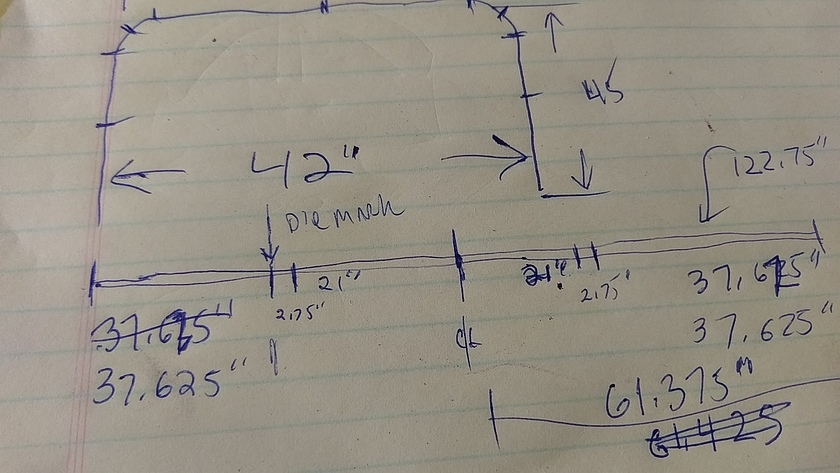
Main Hoop Design and Dimension
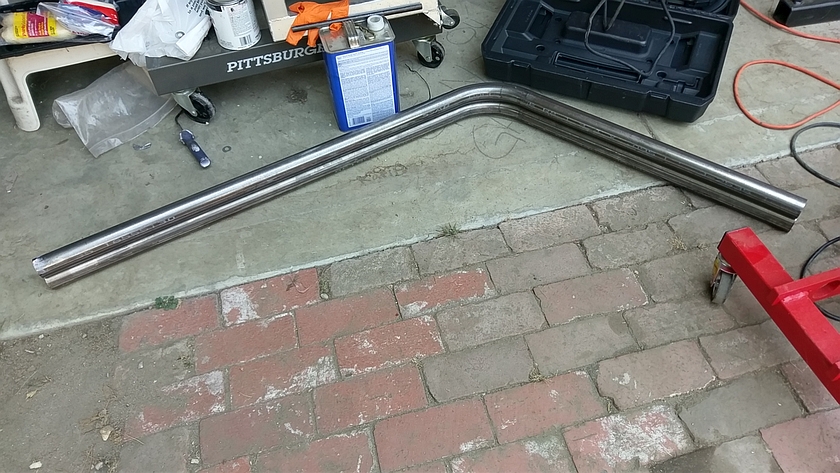
Using the tube bending guide from Pro-Tools I figured out how to set up the bending points for the main hoop. It's not hard for simple bends like this. I did bend the edges to 88 degrees instead of 90 so the bottom would fit better. The hoop was originally designed to mount to the floor just behind the seats. After some work with Mayhem Metal Works they had a better idea and the bar was slightly chopped and fitted to the rear package shelf where it could hit some more meaty metal (well at least Tiger metal).
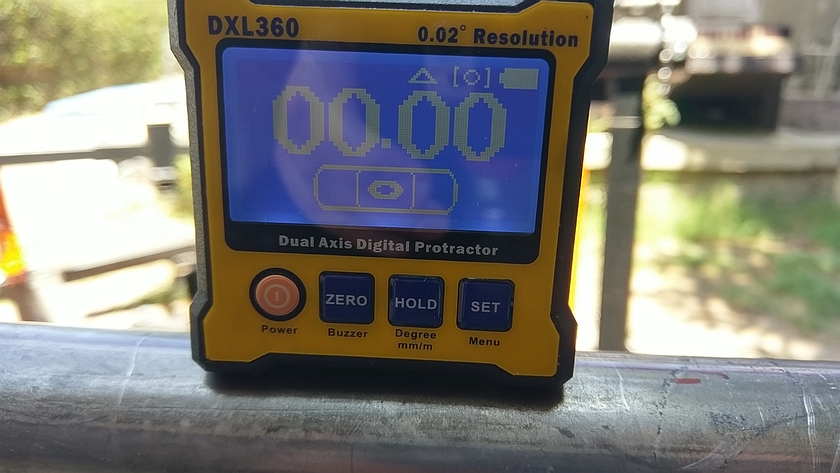
Tools - Digital Protractor
This is an awesome shop tool. It's really accurate and repeatable. I have used this on many projects including getting the pinion angle and other related metal work where things are not quite 90 Degrees. If you don't have one of these in your tool box I highly recommend one. I had picked this one and second more advanced model from AMAZON-Floureon Dual Axis Protractor. Again, these are awesome!
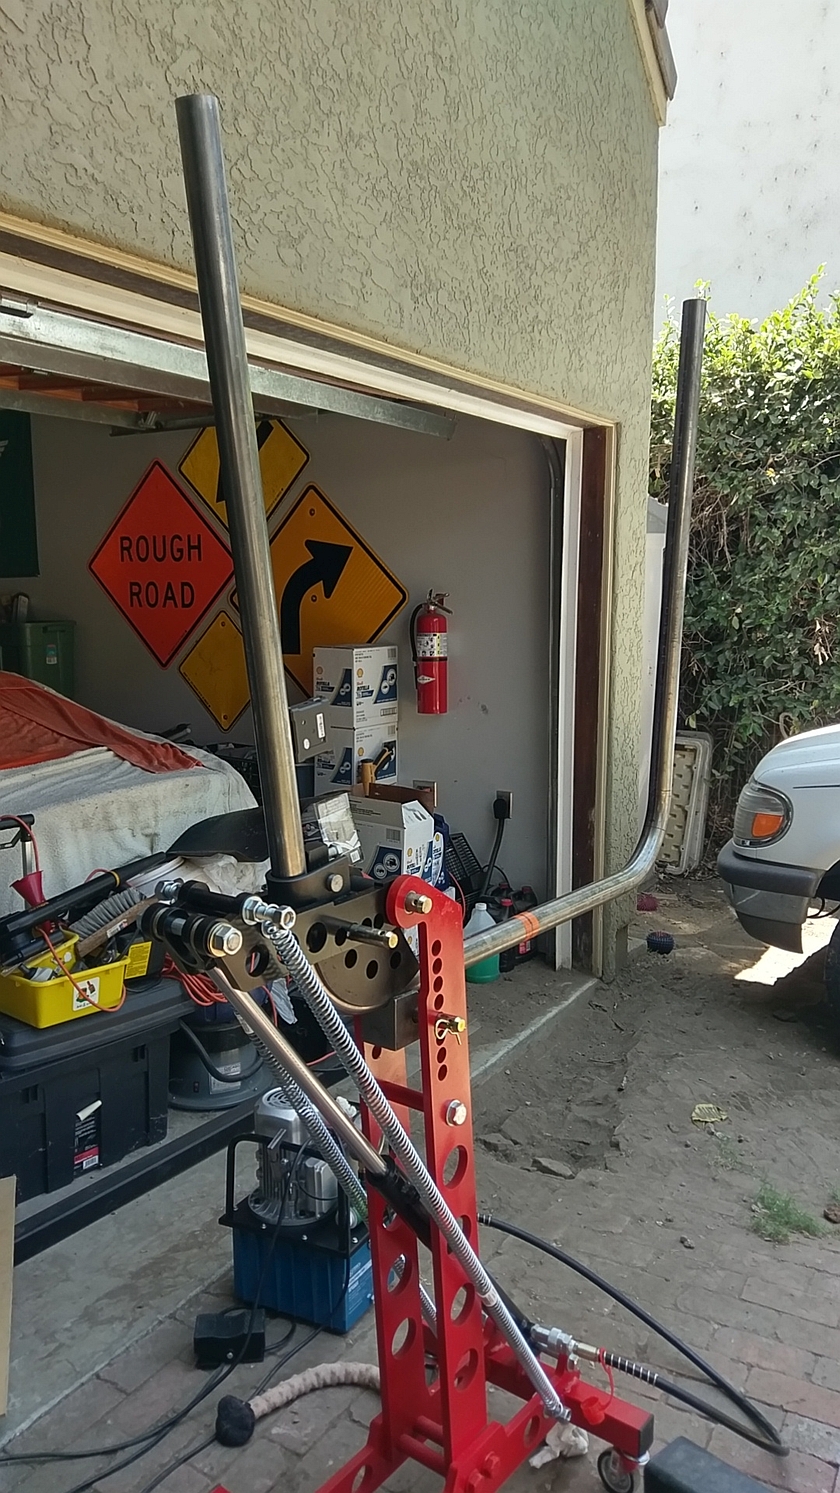
Tubing Bender In Action
Bending the Main Hoop. Pretty simple after you calibrate the bender with a piece of tubing. The Pro-Tools bending die comes with instruction on how to do simple bends once calibrated. The tubing in this case is 1.75x0.095 Docol R8. It's nice looking, clean and seemed to bend OK.
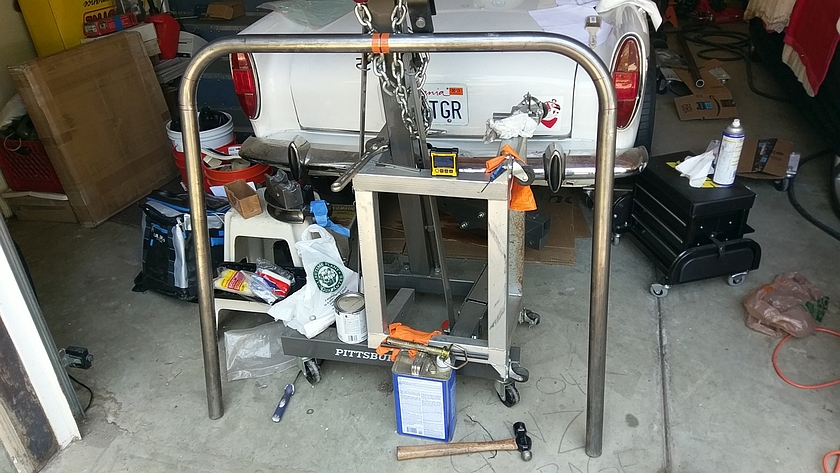
Tiger Rear Hoop Completed
This is the completed rear hoop. It's may be hard to tell but the angles are right at 88 degrees not 90. This mattered when putting the bar behind the rear seat, but not as much when the design was changed to mount the tubes to the rear package deck.
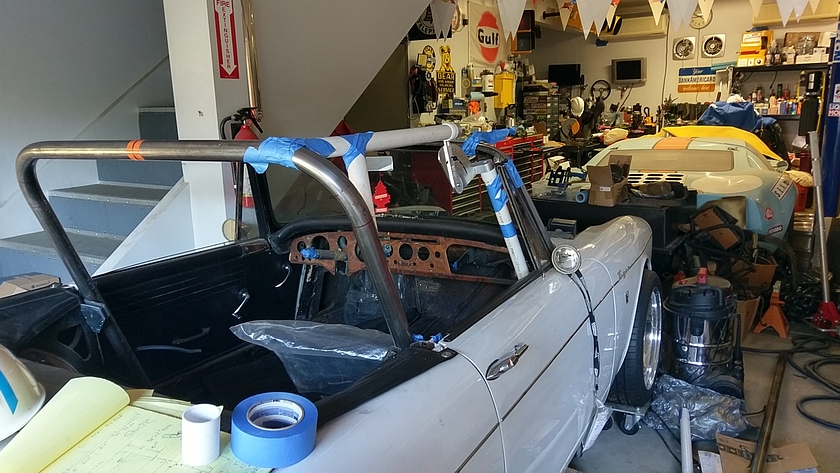
Side Hoops
As you can see will be an issue with the door pull level with my simplistic design. This was also the case after Mayhem did their magic. I do have a solution for this... I made some new door pulls and will cable operate them for the latch. Looks for them in the Projects section.
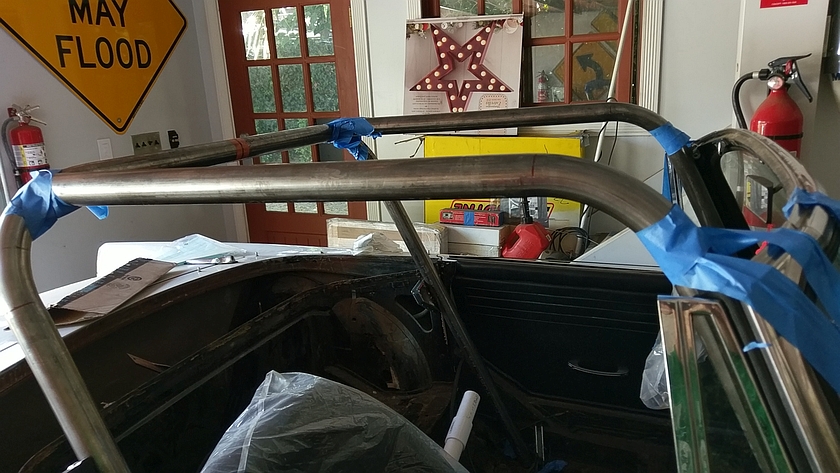
Side Hoops Better View
You can see a bit better how they will be done here, Note I have removed the Tiger's side windows as they are not needed. This helped a bit better with fitment but door handle pull was still an issue.
Project Tiger Roll Cage Wrap Up
I started this project with the intention of a DIY full cage for my Sunbeam Tiger. At some point I felt that I was in a bit over my head as I was just going too slow. Downside is I have a bunch of cage building tools that only got a bit of work. Upside is the project got done, and done in a brilliant manner. I feel only a little shame for not doing it my self, but the end results came out so good I can let it slide.
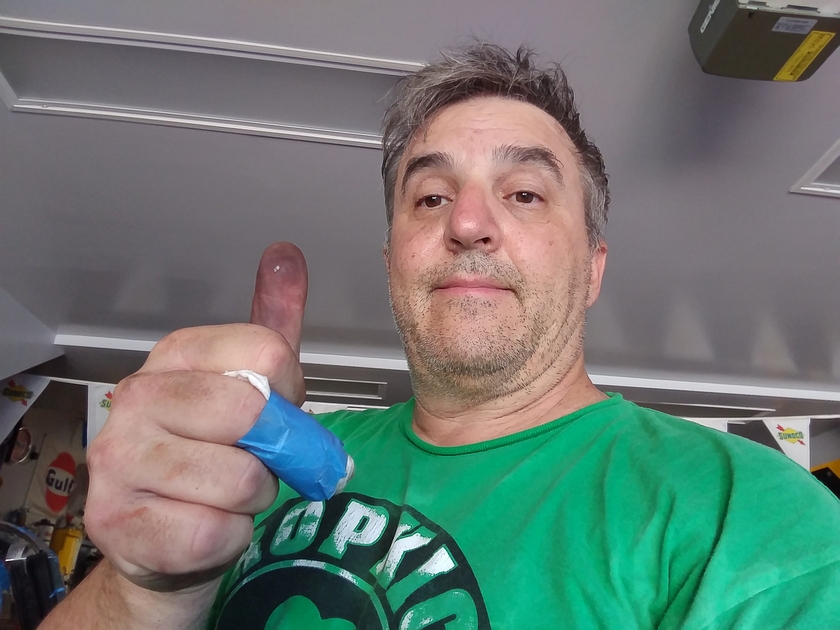
Thanks to Davin who got me going, Thanks to Mayhem Metal Works for the QUICK and fantastic job. And Thanks to 3M for the Blue Tape that keeps me from leaking.
Happy Motoring and get your projects done (By what ever means you can)!!
Side Hoops Bent
Again using the Cage-Gauge and the Digital Protractor I got 2 tubes very closely bent. This one was easy. You do have to learn the amount of spring back the tubing has but once you get that, it's easy for tubes like these.
Taking Shape
Roll cage taking some shape. Note careful use of Blue Tape
Mayhem Metal Works Taking Over
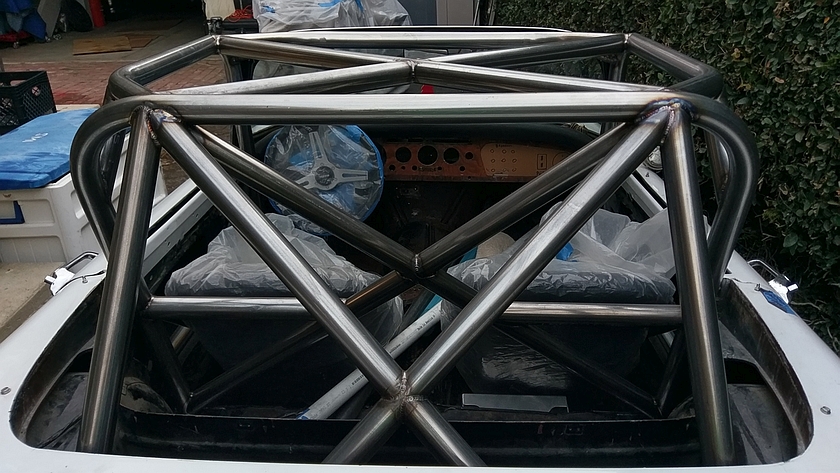
After getting stalled out on the cage and figuring that I just needed to get it done I found Mayhem Metal Works and they did me up right. The main tube was cut down and reused. The side hoops I did became the door bars so nothing wasted. I had them do it up with lots of X bracing and they added the fancy bracing you will see on the finished cage.
Tony the Tiger in a Cage... With a Cage
After Picking up the car you can see what I see, a bad a$$ed cage that was done by people who know how to do it. I think it came out better then my simple style would and 10x stronger.
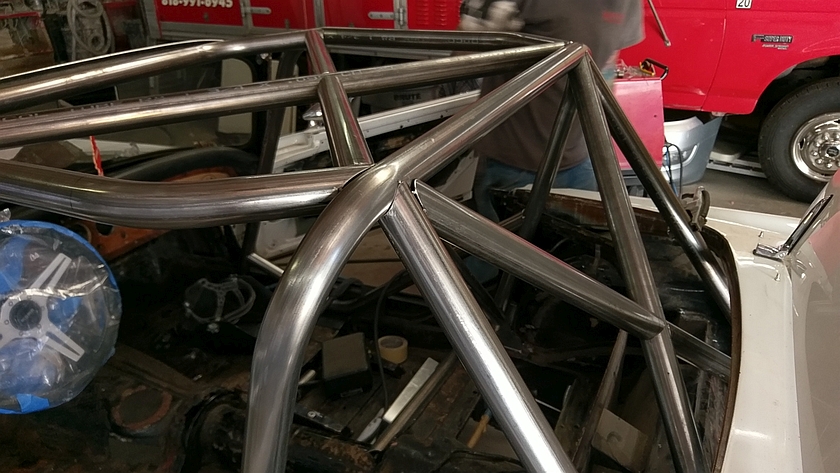
Rear View of the Tigers Roll Cage
A work of art. Most all part are triangulated and super strong. Very nice work on the top the way it curves around to the rear and to the front of the windshield.
Tiger Foot Box
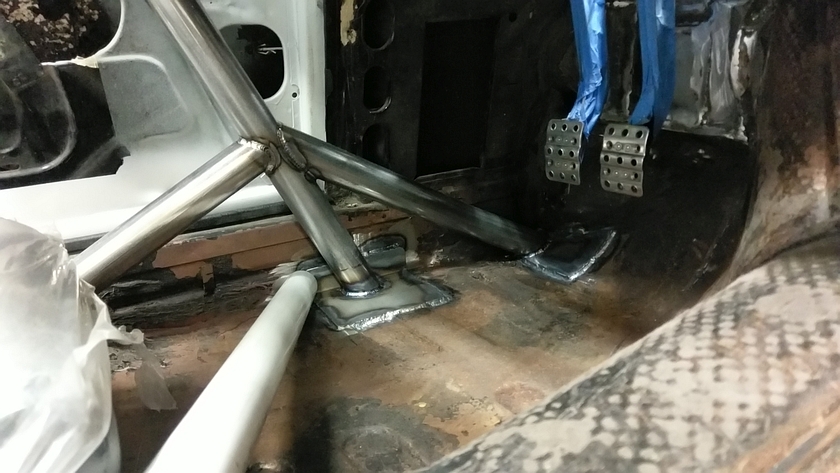
Here is a shot of the foot box and how we ended up with some forward support and a door bar that is not too high where you can't get out of the car in an emergency. Their was a trade off here for side intrusion vs. exit ability and I opted for easier exit.
Roll Cage Detail View
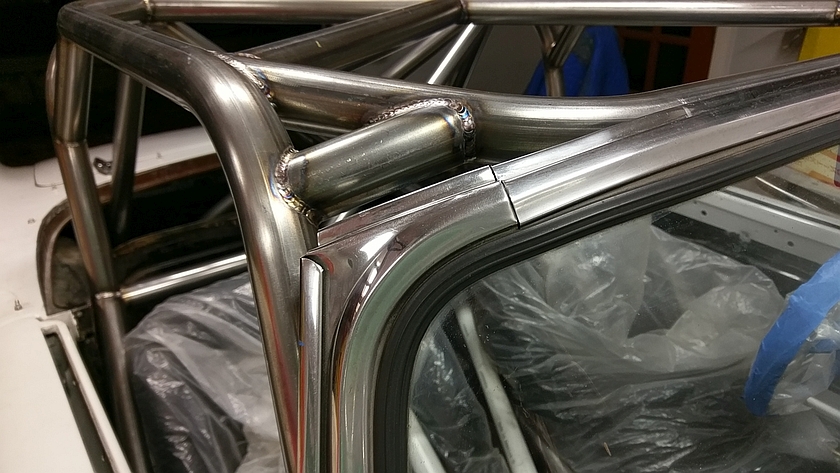
The TIG welding is perfect. The way they did the cage they tacked it all up and then pulled it out of the car. This made for easier and cleaner welding. The windshield did have to be pulled to get it in and out. Very nice looking indeed!
Roll Cage Trunk View
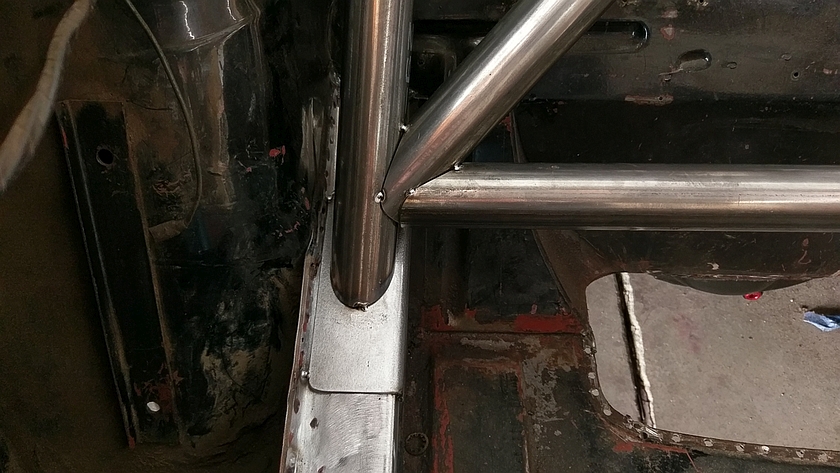
This was the tack'ed up view of how it lands in the trunk. The X-braces are also tied with a cross bar to stiffen up the rear section of the car.
Roll Cage Trunk View
This was the tack'ed up view of how it lands in the trunk. The X-braces are also tied with a cross bar to stiffen up the rear section of the car.


