Bright Workshop Light
After building out a large 'Super Garage' I had thought I had stuffed enough lighting in the place to combat my getting older and difficulty seeing smaller things. Well it almost worked, however the workbench area is one of the lowest lit areas in the garage. I finally got off my a$$ and install a light directly over the workbench and welding area.
My garage has a bunch of T5 4 lamp troffers and 6 75 Watt Metal Hallide lamps, with all on it's really not all that bad, but it wastes a lot of power. So it's time to upgrade the lighting once more...
In this project I will install a 4 foot (48" for those that need math help) LED Linear High Bay light fixture with 200 Watts of dimmable power. After looking at the 'Garage' grade shop lights I determened they all pretty much such for light output. Most were in the 20-40watt range and really didn't do a great job of light output. So the search went to commercial products. I found a could of good alternatives, and other than price they are perfect.
All Purchased from 1000bulbs.com (you can also find some similar on Amazon and eBay)
Parts
PLT-10309 48" (approx) 200 Watt High Bay Lamp
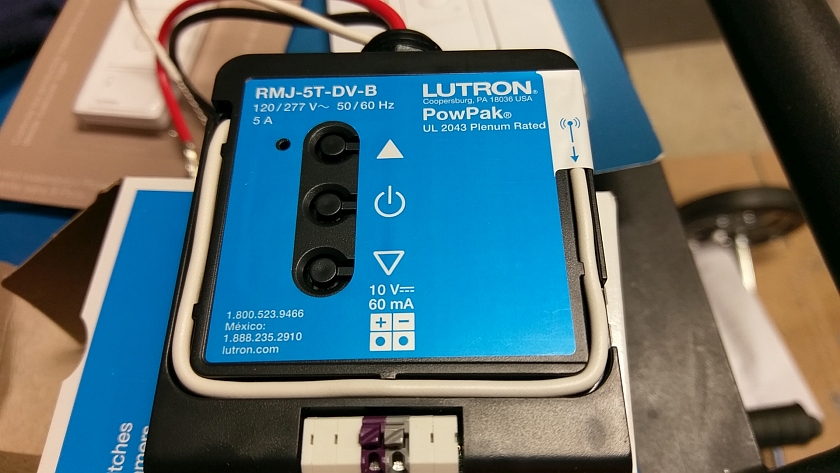
Lutron PowPak RMJ-5T-DV-B Wireless LED capable dimmer (10 volt control circuit)
Lutron Pico PJ2-WALL-WH-L01 White flush mount remote control dimmer
Old 3 Wire Extension cord
Wire Nuts
Electrical Tape
Tools needed
Wire Cutters/Strippers
Drill and Bits
Stud Finder
Optional Toggle Bolts or other Mounting Screws
LED Workshop Light
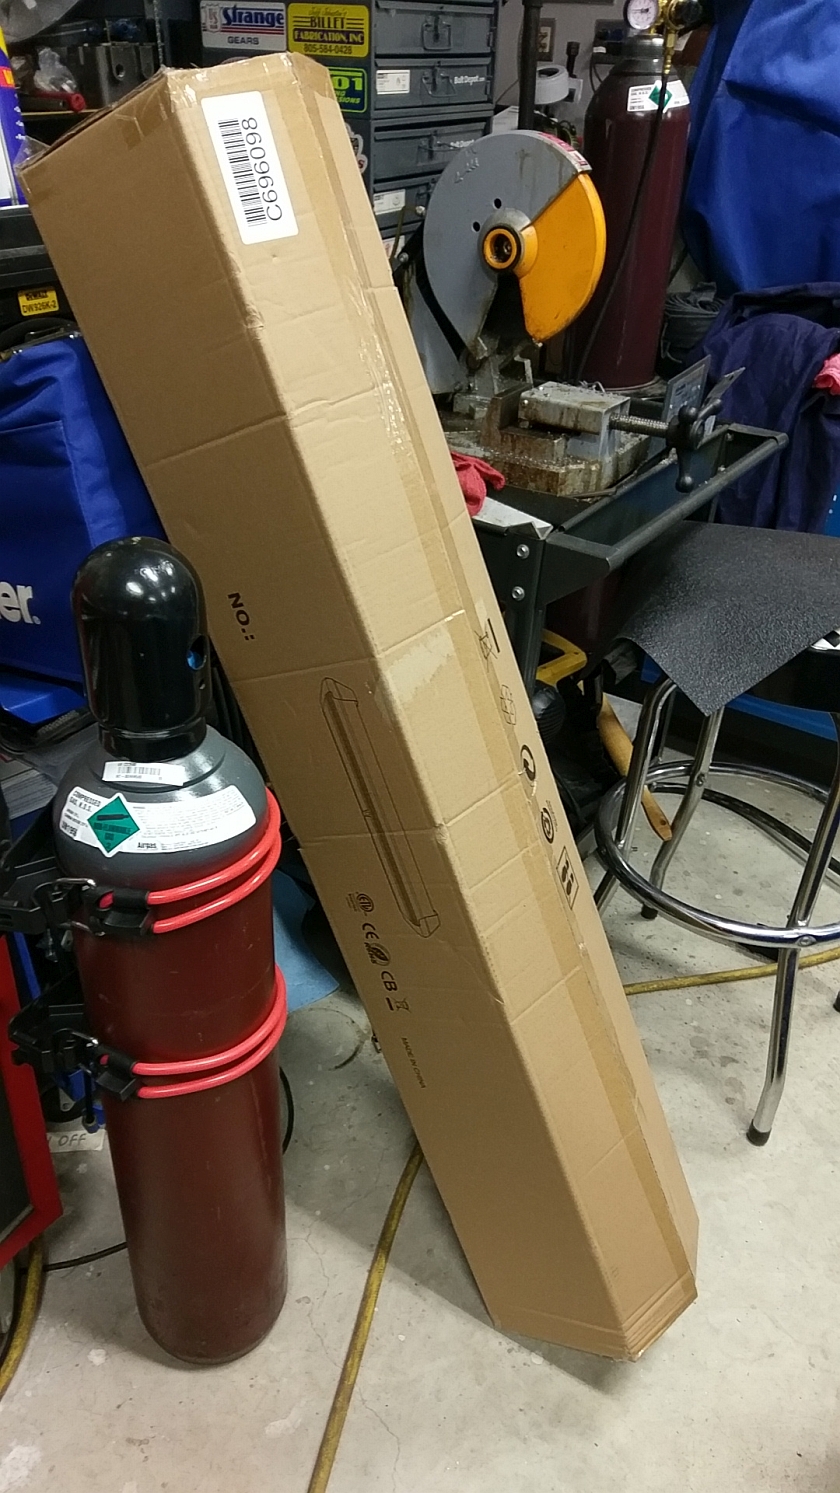
As shipped from 1000bulbs.com. The box was full of the hated packing peanuts, but it all was good as nothing was damaged and all parts ordered were ready to go.
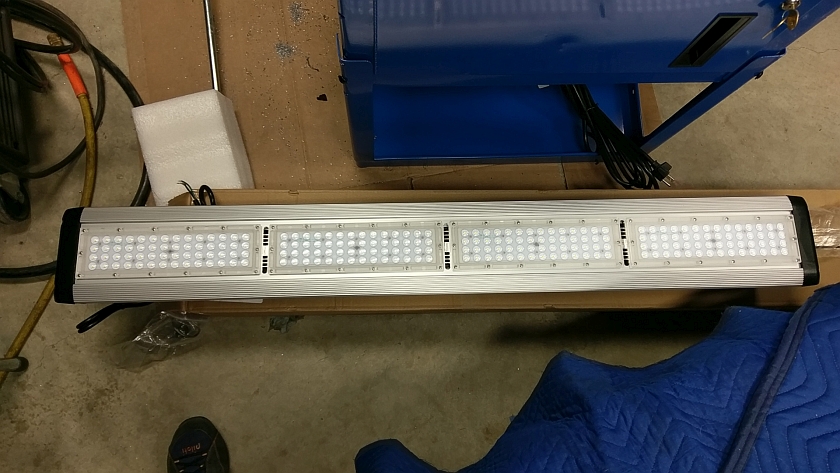
PLT 200 Watt LED Fixture
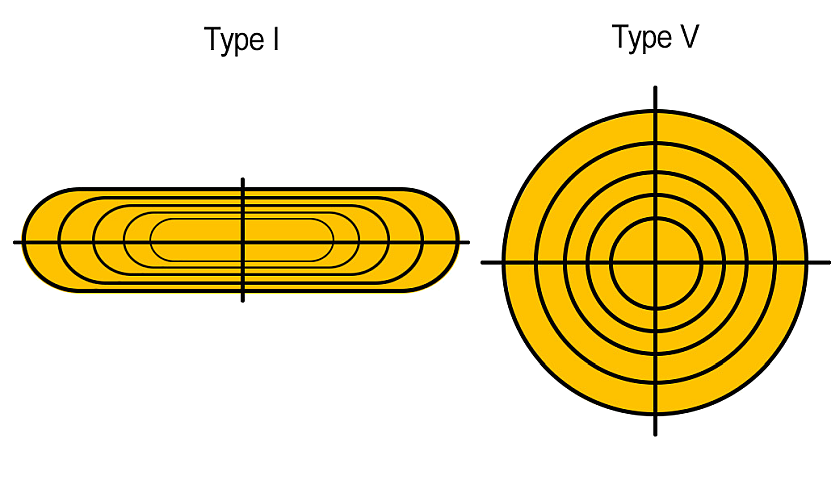
This is the LED side (downward facing) side of the fixture. Their are 4 modules each are 50 Watts. The construction is all metal except for the 2 end caps (black). The like is heavy and solid as compared to the el-cheepo fixtures you might find at the home improvement stores. This is definitely a commercial product. The downside is it is not inexpensive. Cost for the fixture was about $230 + shipping. The part number I used was the PLT-10309. Be careful as their are 2 similar lights, but the patterns they produce are different. This is the High Bay style which produces a ROUND patter. The other type is for aisle lighting, and while I didn't use it, it may still be one to consider.
Lighting Patterns
As mentioned for commercial lighting their are many patterns. This light fixture has a ROUND Type V pattern which is good for overall coverage. They also have the same fixture (PLT-10318) but it features a Hotdog shaped Type I pattern. If I had plenty of extra money I would have tried both, but ended up choosing the Round Pattern. Just be aware their are 2 types!
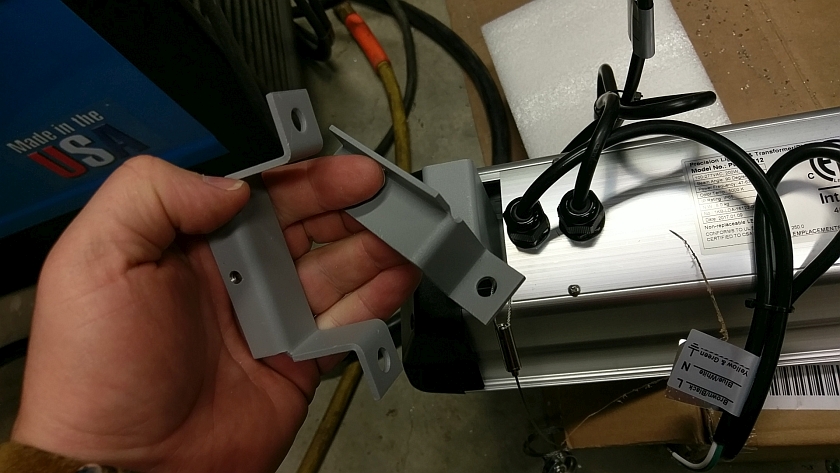
Rigid Mounting Brackets
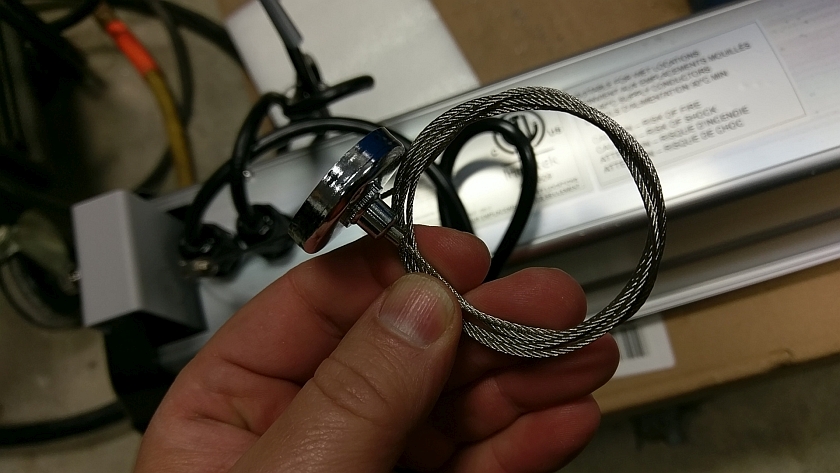
The lamp comes with rigid mounting brackets that are mounted to the ceiling then the lamp bolts slides over them and locks down with a thumb screw. Pretty nice, and easy to install. This is a better way if you want a larger light coverage.
Fixture Main Power
This is the cord coming out of the fixture. It seem these are waterproof (to some extent) and they give you nice a pigtail for all wires coming out of the lamp. If you are doing the wiring like I did this makes it easy to wire things up.
NOTE: These lamps do NOT dim with a conventional light dimmer, they need a newer 10 Volt control type dimmer. The diming is controlled by a different set of wires. Multiple lights can be ganged to one dimmer if you have more.
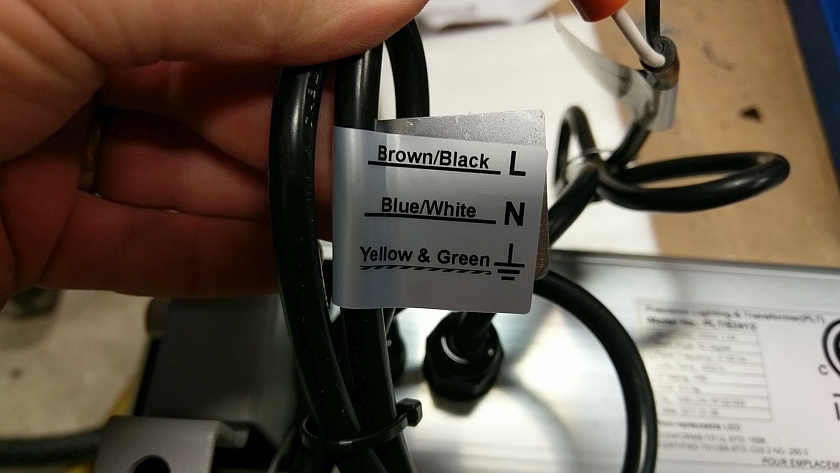
LED Fixture Dimmer
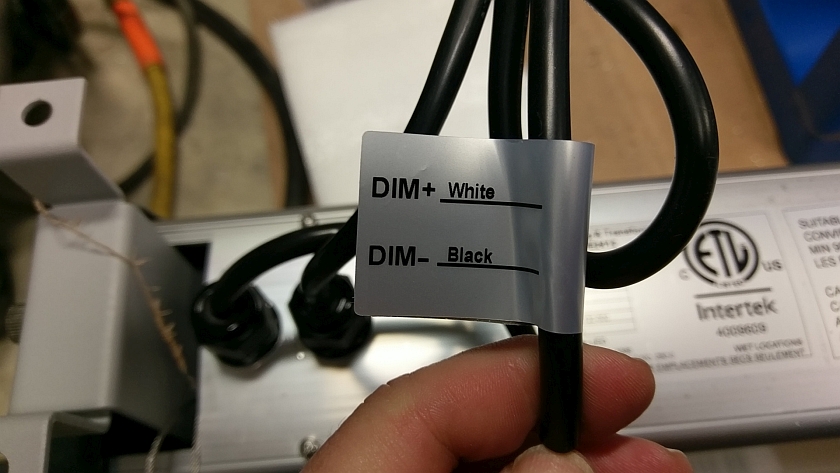
The other set of wires coming out of the lamp are for the 10 Volt dimmer circuit. Normally this would be a pain, but since we are going wireless for the controls, this is going to work out perfect. All wires are nicely labeled too.
LED Shop Light Mounted Ready for Action
Conclusion
After hanging the light and running the wire down to a plug I gave it the final run. All remotes control the lamp well, and the one at the entrance to the garage is about 25 feet away and works well too. The picture above has the light on a very low setting so I could take the picture but let me say it makes it outside bright over the work bench so mission accomplished.
The only issue is that when turning off the light, it does a little flicker before it goes out. Not a big deal at all. Very happy with this, and likely pick up one more of these for over the tool box area. One nice thing is that the PowPak can control multiple LED lights over the 10 Volt dimmer buss, so adding more that are remote controlled will be easy!
Happy Motoring and get your projects done!
