
Fuel Cell Mount
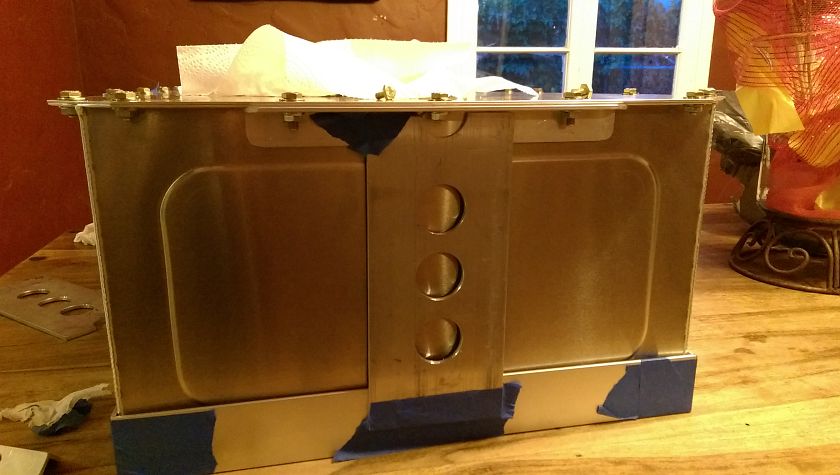
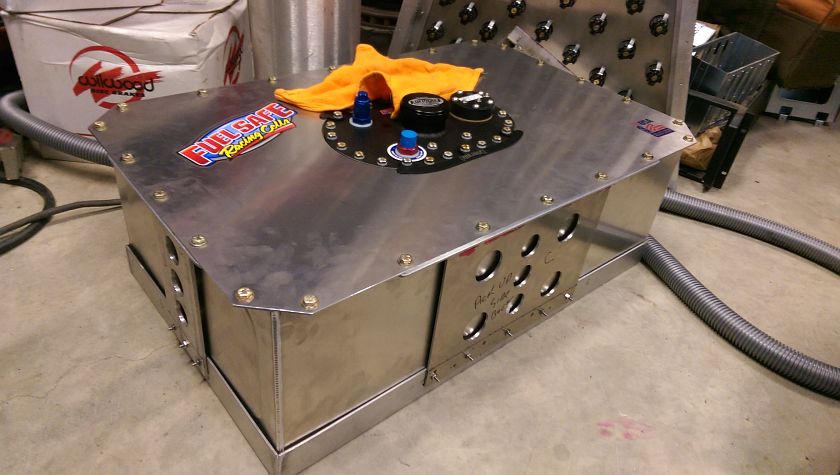
This project is to make a sturdy fuel cell mount for the Sunbeam Tiger. I started off with a Fuel Safe 18 Gallon fuel cell. The usual method of mounting with straps looks bad and and while safe it has some difficulties in the tight trunk area of the Tiger. I decided to make up something that I feel is strong and also looks good.
V1.0 was a fail, I had not cut the angles on the base of the mount at true a 45 degree and all subsequent cuts on all of the angle was wrong. I tossed the short ends into the scrap, cut the long ends to a correct angle and got some more metal to finish the task.
I had couple of thoughts on how I would make things works, first with a lot of strips of aluminum, but later decoded on some sheet with holes drilled in it. Looks better and is more structural as well.
This is not done for light weight at all, in fact, the stock steel tanks with related mounts and plumbing was a few pounds lighter then the new fuel cell. That's OK the car could use a bit of weight in the back.
Disclaimer - Do this project at your own risk. Fuel tank mounting is important and should be done by an expert (not me). So if you make this and get 'Blowed Up' you should have seeked the advice of as expert, again, not me. No kidding around do your homework.
Fuel Safe 18 Gallon Fuel Cell
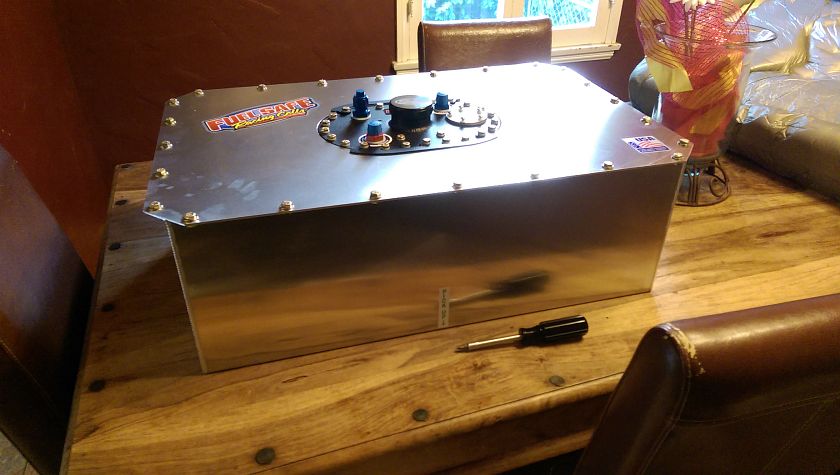
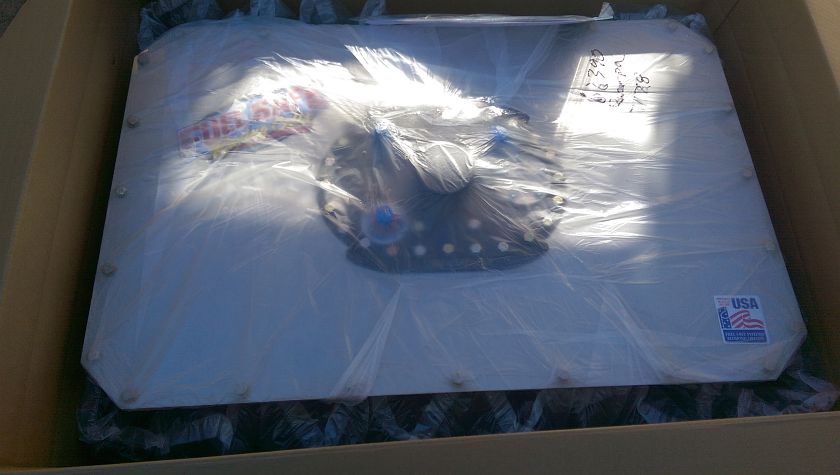
This is the fresh Fuel Safe Pro PC118A-A Aluminum Container 18 gallon cell Size is 28" L x 17.125" W x 9.875" H. I also added the surge tank collector which is good for road racing. I have a similar fuel cell in my Mustang Fastback and have been very happy with it. The surge tank was part number FSS-ST100-8. Tank was well packed when received.
Fuel Cell Unpacked
This is a well made part. The aluminum is nice and I like the default options on the fuel filler plate. You can see a standard SAE style fuel pickup mount with a block off plate as well as a bunch of -8 fittings. I had looked at ATL cells, but they are a bit more expensive and they didn't have a nice size like the Fuel Safe folks. This is an 18 gallon tank, the 22 gallon would have fit, but I figured 18 is enough give the Sunbeam Tigers 2 tanks are about 12 gallons total.
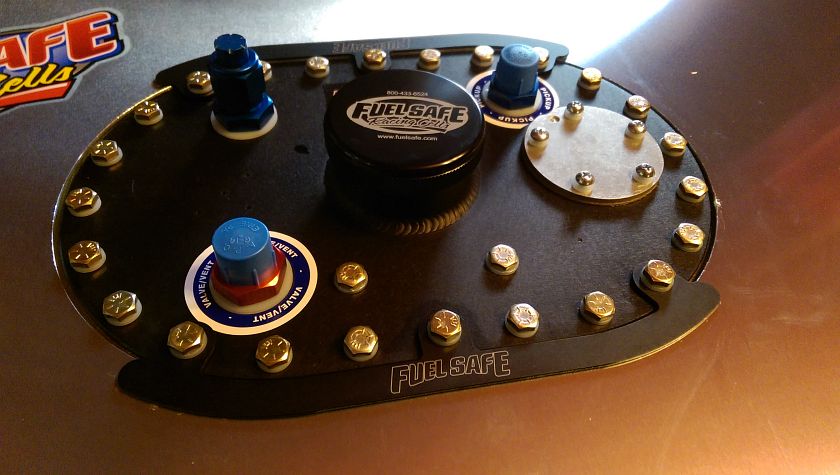
Filler Plate
This is the default plate, and it's very nice aluminum with all grade 8 bolts. Billet screw on cap, a return, pick up and vent fitting, and the SAE 5 bolt fuel sender.
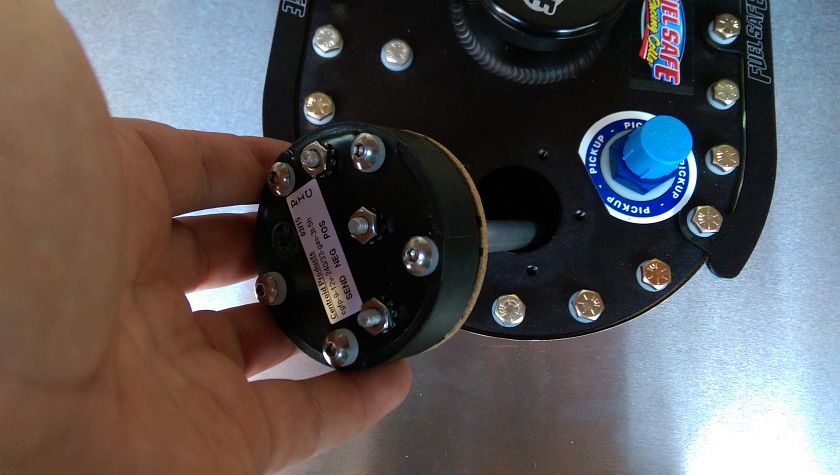
Centroid Fuel Level Sender
I had previously measured the depth from the top of the fill plate to the bottom of the tank and came up with about 9.5". I ordered a sender from Centroid Products and it was made for the Tiger's ohm range of gas gauge. One thing to note is that you CAN'T use a pulsing style gauge regulator with this type of sender. I had to make a new voltage regulator for the Mustang as it used the same sender. The Tiger (and many old cars) are similar and use a pulsing gauge regulator that can't be used. Luckily I have an aftermarket regulator in the proper voltage for the Tiger gauges so easy. As I recall I had it done in 240 Empty 33 Full which might not be correct for the Tigher (I think it may be something like 140 Empty, 10 full). Will have to see but that's why they make a wood stick. I did run into ONE issue when installing the sender. The holes were not tapped clean and I had to run a tap through them to allow the longer bolts to go through the filler plate. I was careful and captured all the shavings with some 3M Blue tape made like a pocket around the inside of the holes being tapped. Found some nice pretty button head stainless bolts for the sender as well.
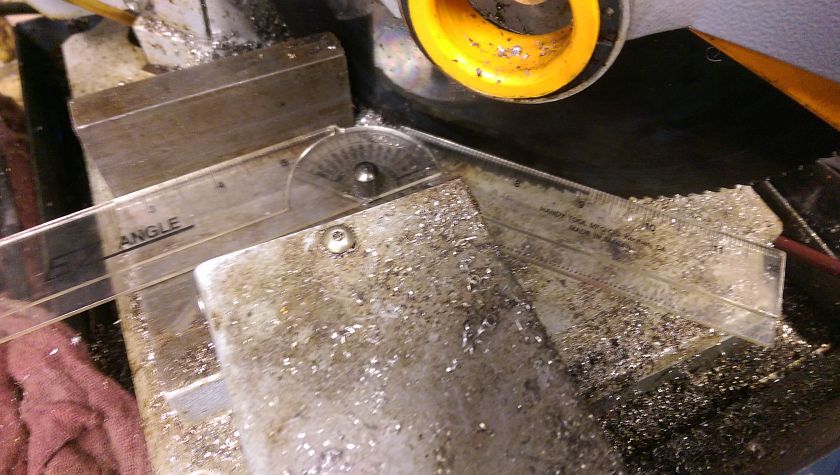
Cutting the Bottom Mounting Plate FAIL
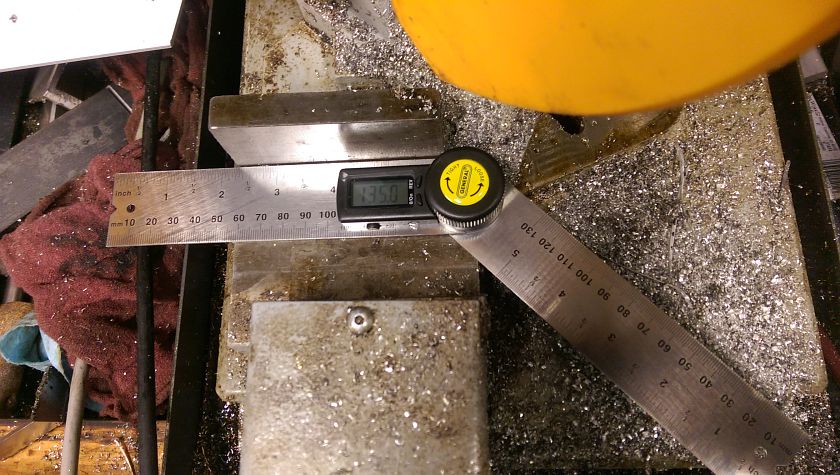
I set up the cold saw to a 135 degree cut (backwards 45 cut) and since I'm going blind in my old age I was off by one line on the angle finder. The resulting cuts were all off by enough to make the mounting tray not fit well together. When I weld aluminum I need it perfect since any gaps or other mess will be a problem for me to fill since I'm a crappy welded, especially with a spool gun on thin aluminum.
Upgraded to a Digital Angle Finder
While picking up some more aluminum angle for the bottom mounting bracket I spied the Digital Angle Finder from General (I think it's still an import tool) but at least I could read the display with some level of accuracy. This tool was about 20 bucks and worth every penny. Cuts were perfect this time. Anyone need a plastic angle finder?
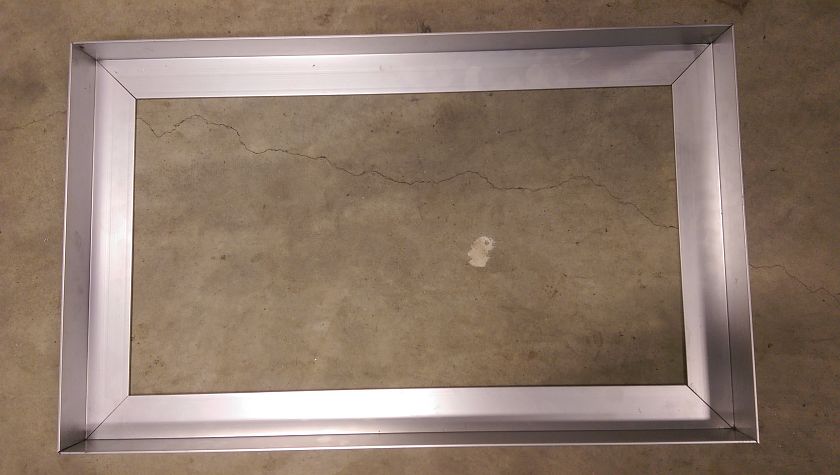
Good Mounting Tray
I won't show the 'Bad' mounting tray, it fit together like a bad puzzle. This one is much better. I made this out of 1/8" Thick x 2" aluminum angle. This stuff was 'Bright' not sure if anodized or some other finish, but make sure you scrape it off where you are welding as it's not nice to the gun. Off to the Millermatic Pulser with Optional Spool Gun (Tig would have been better here). The idea of this part is that the tank will sit in, and this will be mounted to the bottom of the trunk.
Ensuring Things are Square
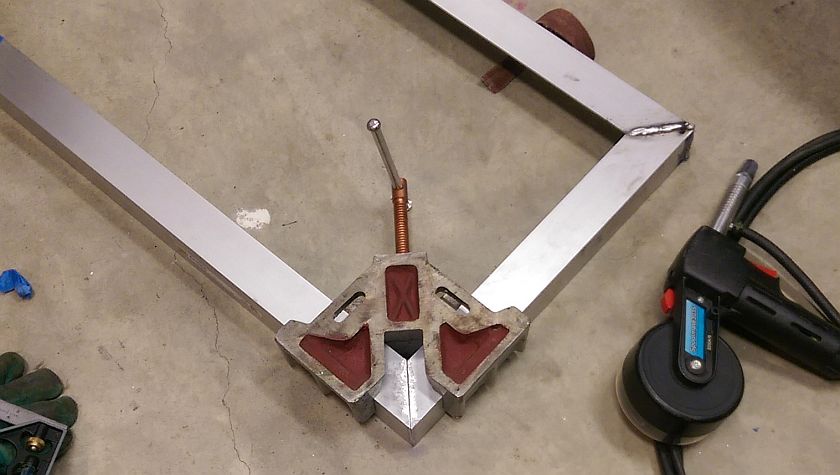
Things started out nice and square and I hope to keep them that way. I had this nice welding tool (get one if you are not a natural). It clamps a perfect square so you can weld and keep things correct. Ignore ugly welds...
Completed Welding
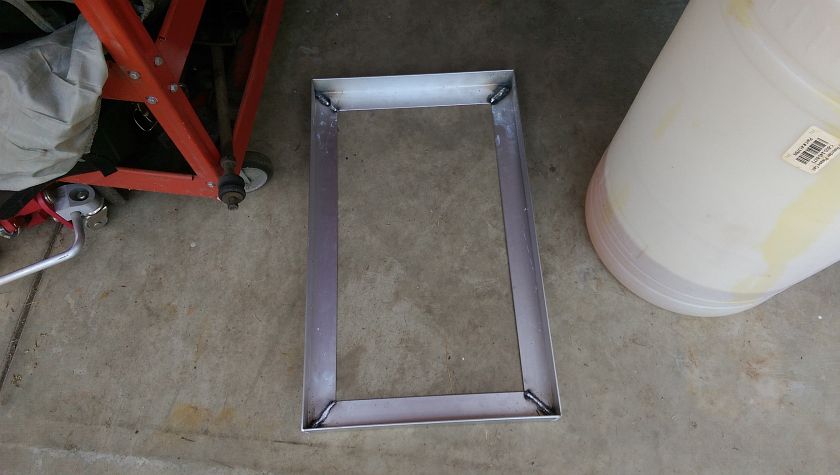
The mounting tray looks and is actually square. It has a very nice fit to the tank except for the welds which are done on both sides. I didn't think about it until it was too late, but I should have just welded the bottom, welding the top just made extra work. Like I said, I'm in some need of practice on aluminum. Lots of sanding and grinding happens at this point...
Side Straps
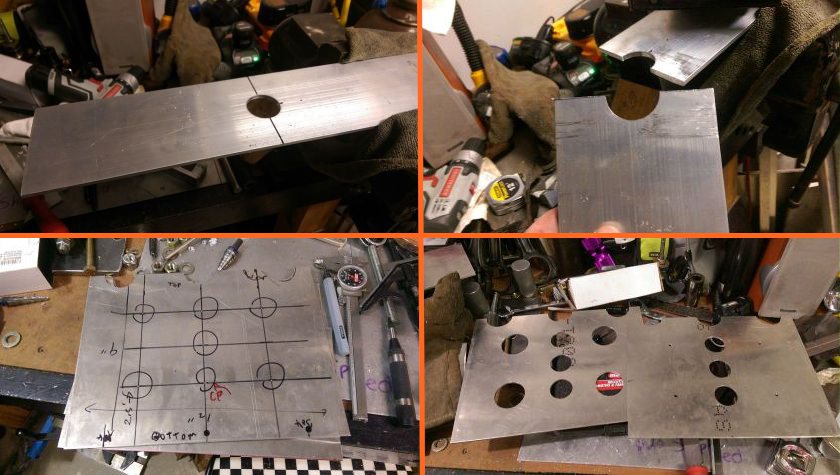
These are the side plates that will mount from the base to the top of the fuel cell (with a smal angle attachment). It's much easier to drill a hole in metal and cut in half then to try to machine a half circle. You will see why the half circles are needed. I also tried to lighten up the thick aluminum sheet with some holes. Also looks nice.
Top Flange Mount
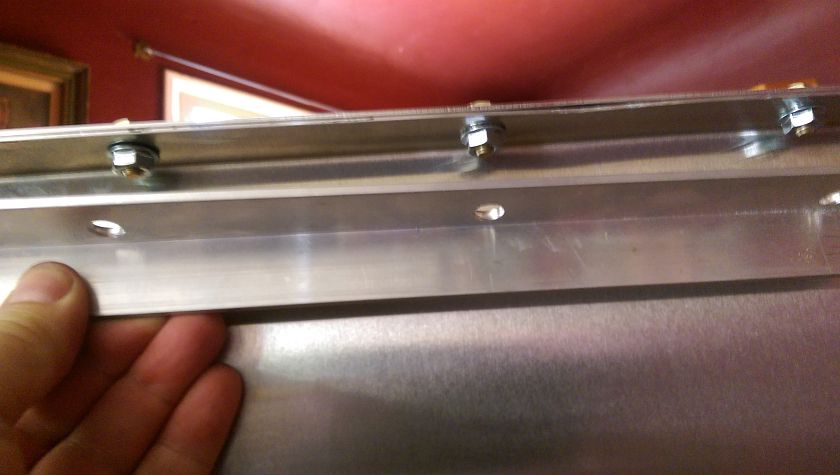
This is how things are going to start to tie together. This 1" aluminum angle is drilled to the same pattern as the bolts in the top flange. This will connect to the Side straps. My initial idea was to weld, but figured no way I could do it precision enough so as you will see I used counter sunk screws which worked out well.
Fuel Cell Initial Mock Up
After all the straps and top flanges were made I used some 3M Blue tape to mock things up. It's not a project until the Blue Tape comes out. Now you can see the general idea of how this is going to assemble. You can see on this side strap how the half circle cut out provides clearance for the top flange bolts. I used longer bolts where the flange bracket is attached to the cell.
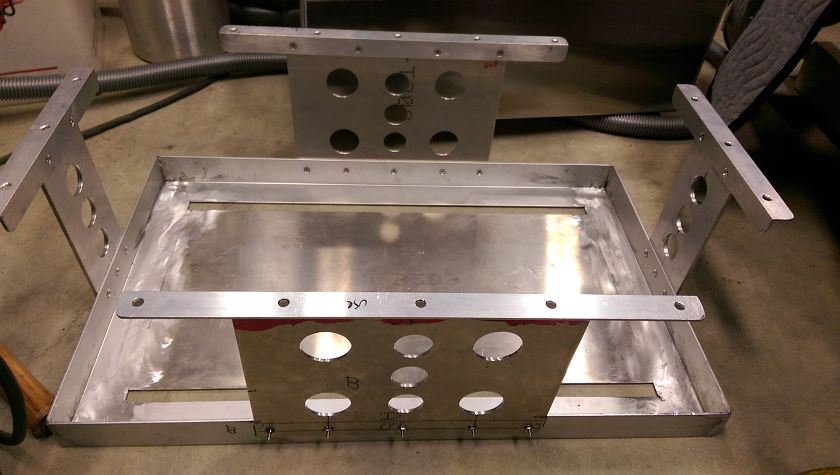
Fuel Cell Mount Completed
After looking at how the ridges in the truck of the Tiger are I also added a bottom plate to the mount. I will drill a few lightening holes at some point. The screws are all too long and will be replaced with proper length as well. The fuel tank drop right in and bolts from the flange hold things very secure. Is this safer then 2 straps? I think so but I'm no expert, so see disclaimer at the beginning of this project
Conclusion
This was a fun project except for the sanding and grinding of the ugly welding. This hopefully will give you some new ideas how to mount your fuel cell (again see disclaimer).
Happy Motoring!


