Jerico Shifter Fabrication and Installation


This project got started, well, as many do... I have a new David Kee Toploader that I purchased for the Sunbeam
Tiger project. As it seems I got a bug up my a$$ that I really like the straight cut gears and dog box that I have in
the Mustang and decided I can just get a Jerico that will work.

As you might expect with every project I do their is no escape from the "damn, should have left well enough alone
and just used the David Kee Toploder as it was a drop in.

Some of the highlights -
Different transmission length (this may work out better)
Different bearing retainer so Tilton Hydro TRB for stock Toploader that I have won't work
Different Shifter mounting location
Need to fabricate Shifter mounting plate
Need to fabricate Shift arms
...and other stuff yet to be determined!
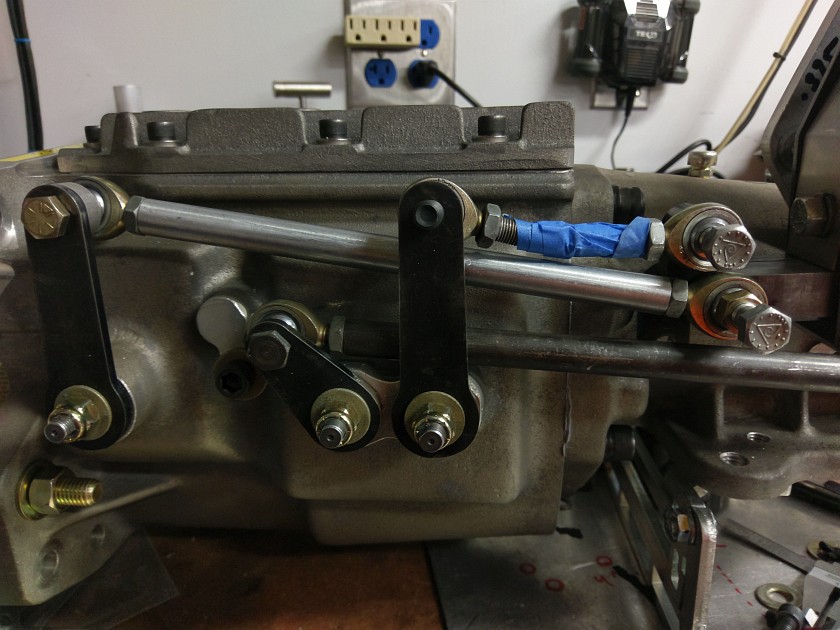
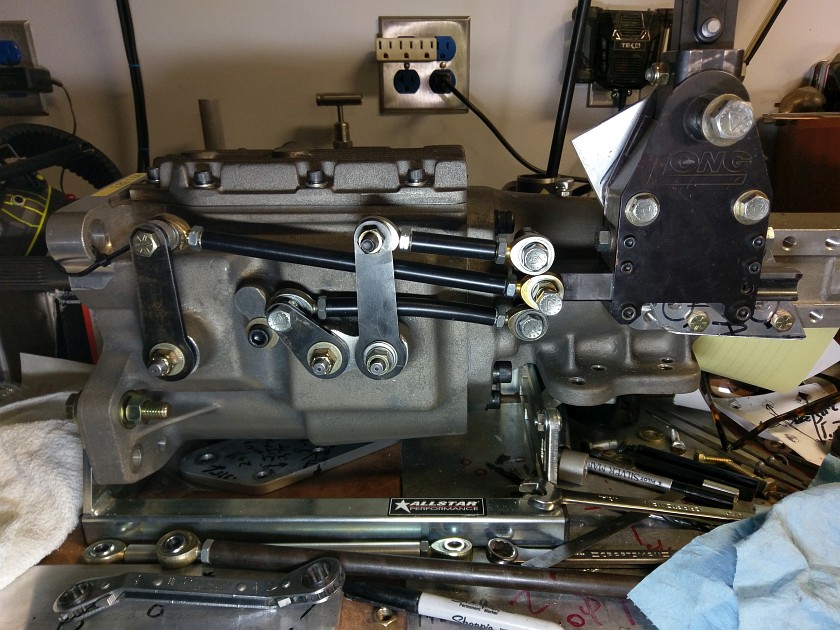
Completed Jerico Shifter and Transmission
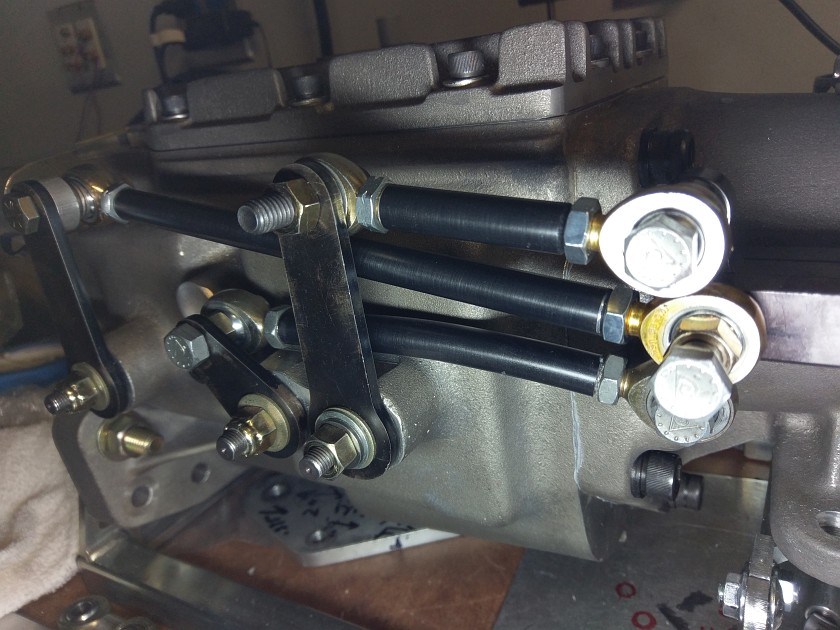
Shifter Rods Top View
Jerico WC4 Mounted to Bellhousing

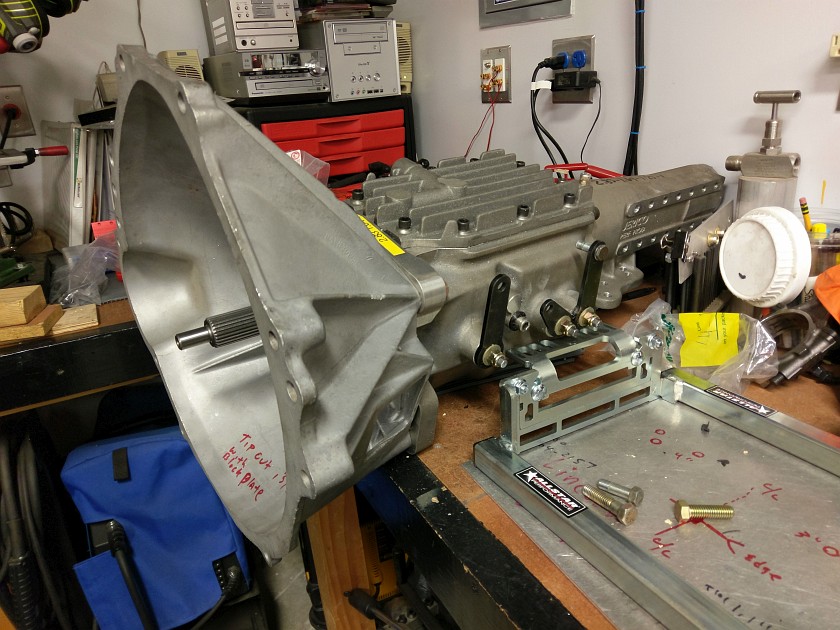
Jerico WC4 4 Speed Gearbox


This is the Jerico WC4 transmission. I have it just test fit to the bellhousing to verify that the input shaft is the correct length as most come with GM length. It's about to be bolted to a nice transmission stand I got from Allstar. Will make it a bit easier to work on while on the bench.
GTSparkplugs Header
Click for Contact Page Click for Contact Page
Side View Jerico WC4

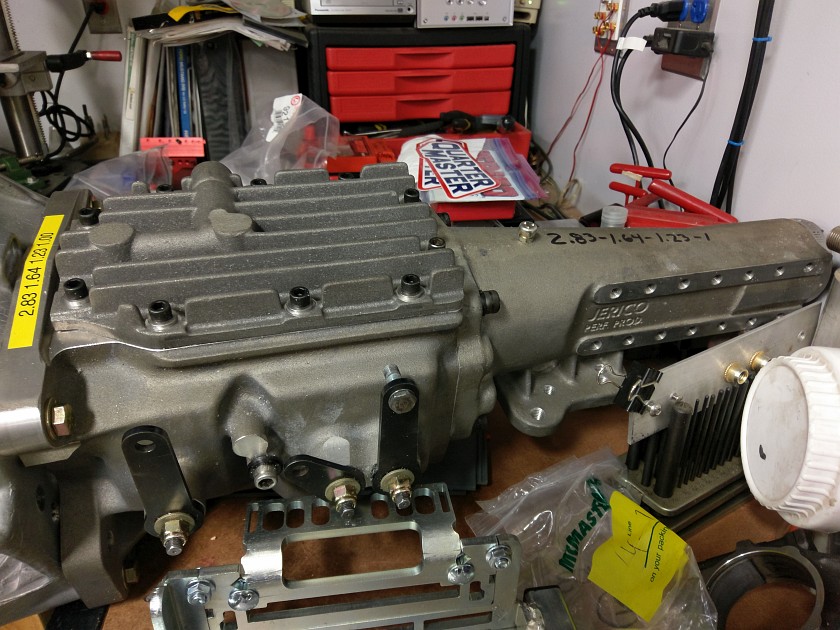
Side View of the Jerico WC4


This is the side view, nothing odd here, just another angle to check things out.
Jerico's Input Shaft

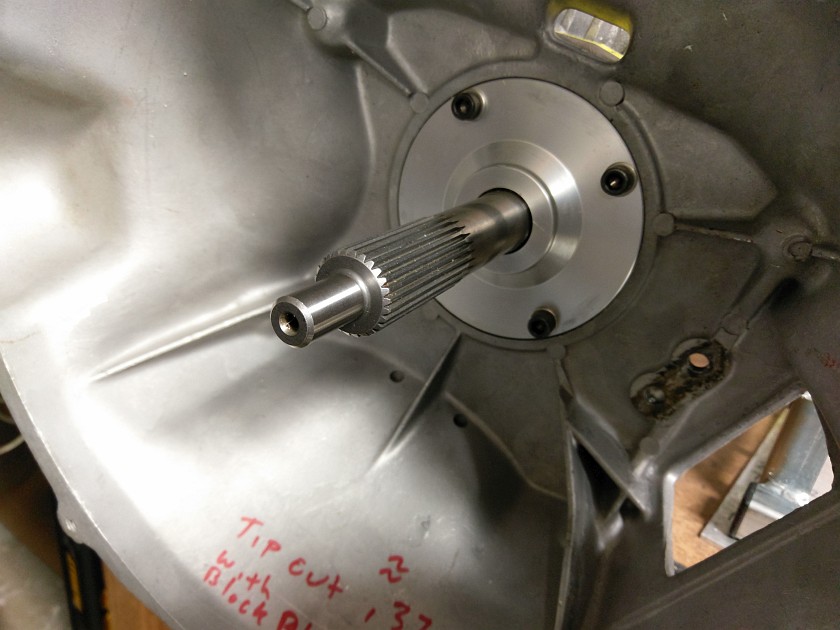
Transmission Input Shaft and Bearing Retainer


This is a view of the 26 Spline input shaft. It pretty common except on older cars... Well some anyways. The bearing retainer is a nice but won't work since the new hydraulic throw out bearing need an outer sleeve to ride on, so need to order more parts.
GForce Racing / Long Shifter

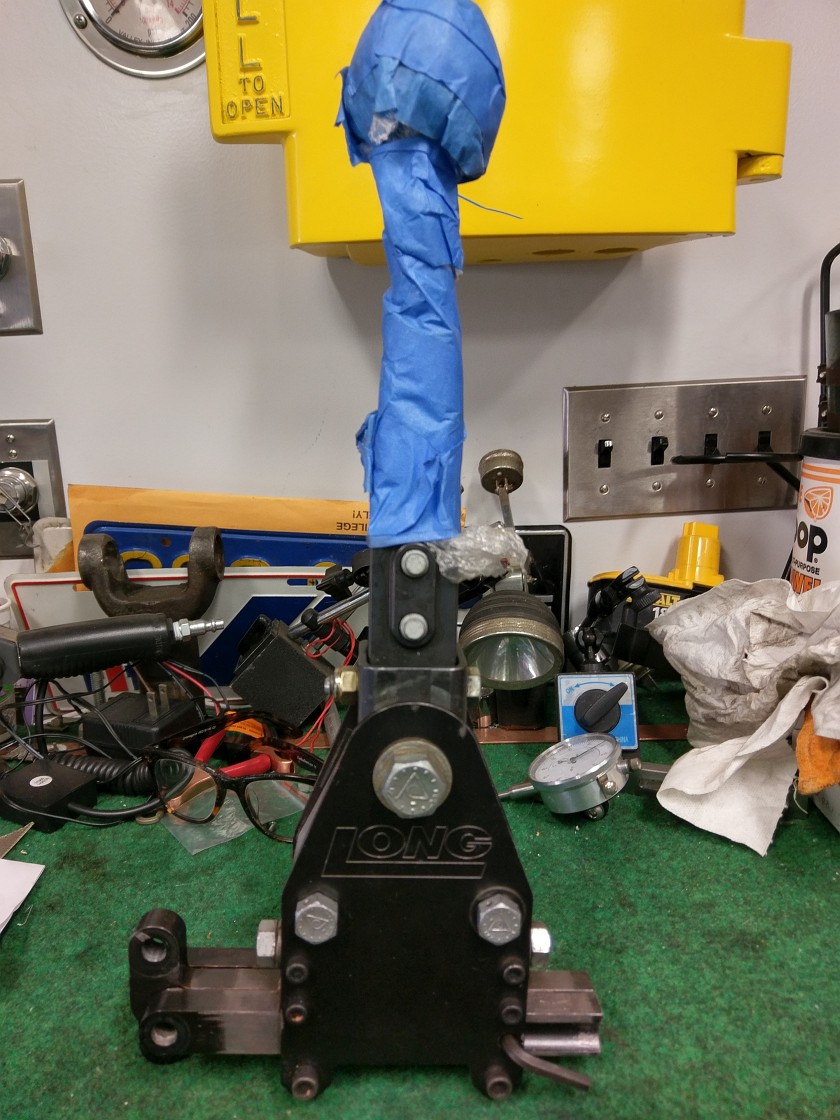
GForce / Long HT4000 Shifter


I had this shifter on one of the spare transmissions that's for the Mustang. The transmission it came off of was a Tex Racing T101A and of course nothing really would fit. BUT all the parts were really useful for getting things fitted up without wasting a lot of new materials. If you have not seen this type of shifter it works with sliding 'rails' instead of swinging arms like a traditional Hurst or factory shifter. It's a bit worn, but seems like it will clean up. No comments about the Blue Ball...
GForce Shifter

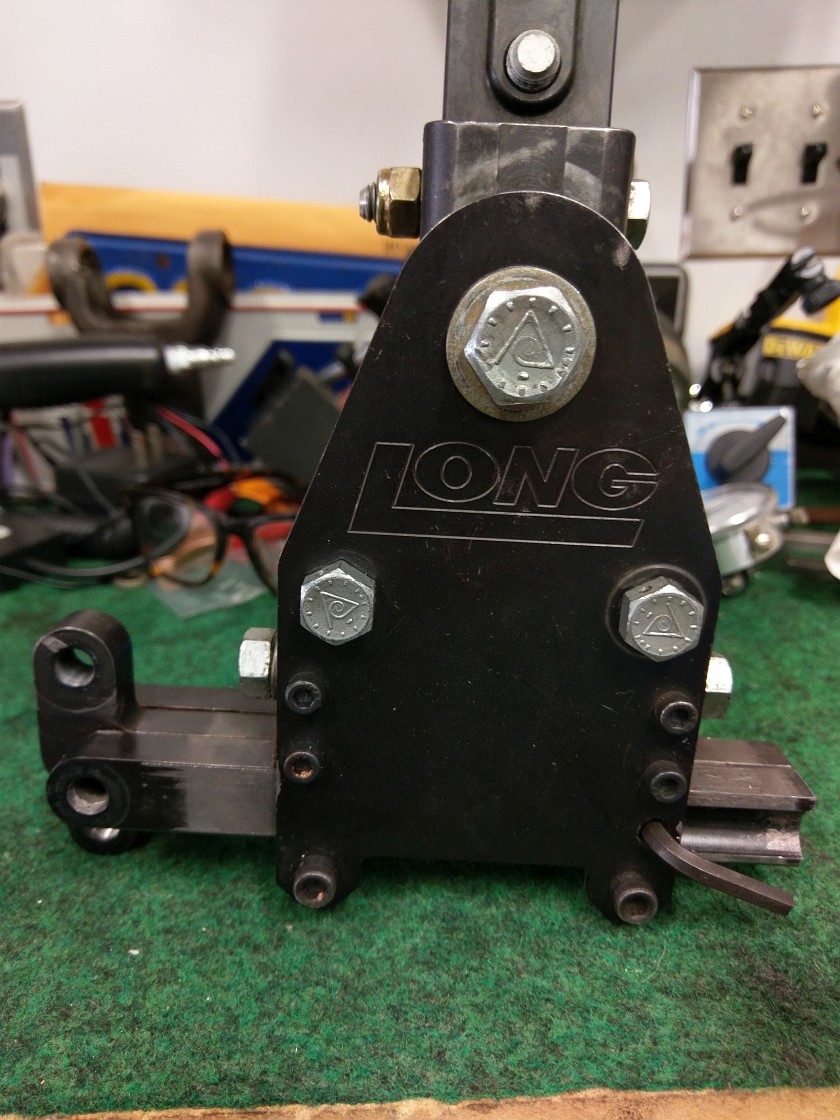
Closer Look at the Long HT4000 Shifter


This is the bottom of the shifter where you can clearly see how the shifter rails work. The rod ends for the shift rods go right on the ends to the left. It gets tight, but it's designed to fit with a little help from some spacers.
Jerico Straight Cut Gears

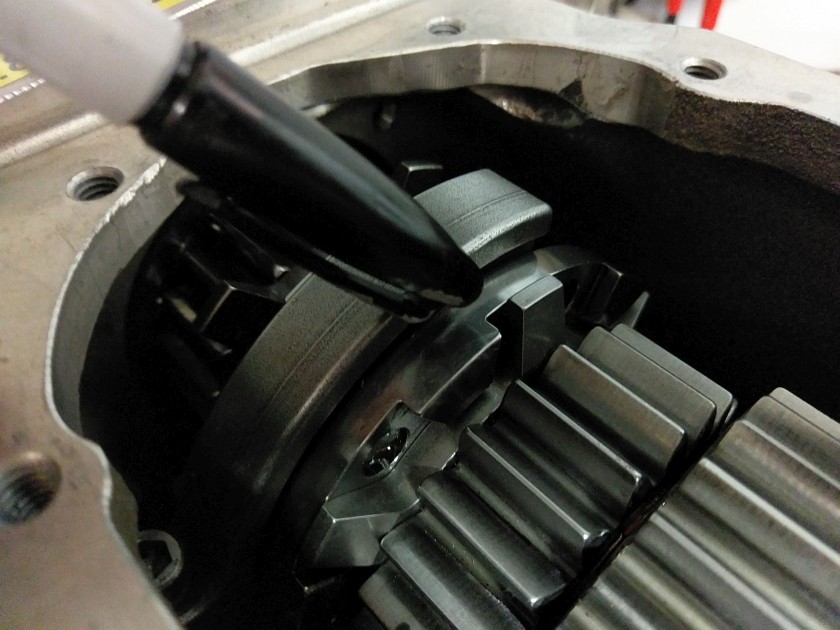
Jerico Straight Cut Gears


You can see the Jerico gears here. Nice and straight. Should sound good. Also note lack of synchros. These transmission uses faceplates and sliders to do the work of the synchros. They clunk into gear in a way that make you think the transmission is broken, but when driving and shifting fast, flawless.

Test Shifter Fitment


With a test bracket that got the shifter close, it was mounted to the transmission to see IF shift rods could be made to work. The shifter mounting plate was a botched version 1 that had things just enough off that it wouldn't work. But it would for getting the shifter rods at least started.

Completed Shifter Mount


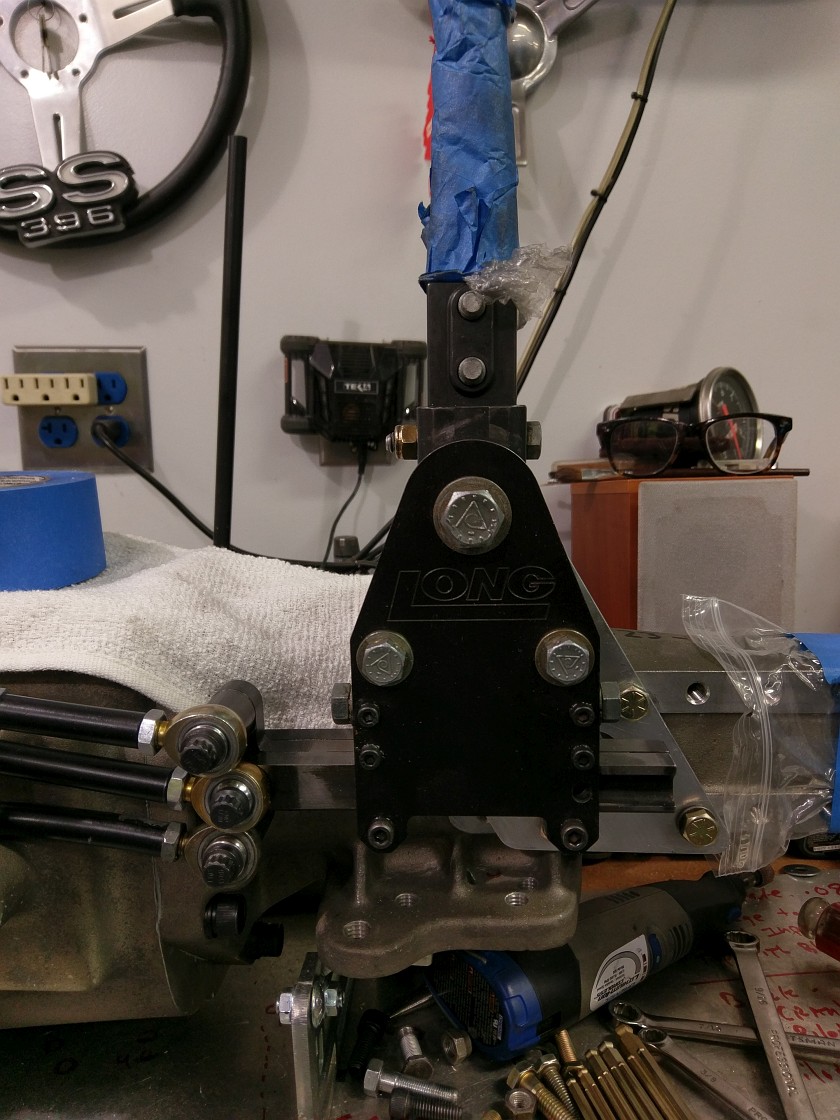
This shows the shifter mounted on the correct shifter mounting plate and all the spacers in plate. No safety wire as yet, but will be done on final installation. The longer spacers were made out of steel as I felt it would just be better since some are a bit long.

Conclusion


This project started on a whim. Get rid of the Ford Toploader and replace with a Jerico. Lots of little bumps, some still to be solved. Including new hydraulic throwout bearing, top cover and ultimately fitment into the car.

For the throwout bearing I went with a RAM double sealed version. BUT it only works on a Chevrolet bearing retainer. So that had to be machined. Top plate was picked up from Magnus racing online and is now a flat plate on the top of the gear box.

Last bit of work I did was disassemble the shifter, and cut down the width of the internal spacers by a few thousands, this effectively allows the shift rails to be more 'squished' and feel like a brand new unit. The other option would have been to replace the shifter rails and shims, I can say it's not inexpensive. Sanding the internal supports did the trick. A day at the track and this thing will be slamming gears like a worn out Ford Shifter oops, like a nice Hurst shifter.

Happy and Safe Shifting!
Shifter Rods

Mocking up Shifter Rods


Before making a shifter plate I needed to see how short of shifter rods could be used. The problem is that the Tiger has the shifter FAR FORWARD and as such most simple and normal shifter mounts will not work. So to get the shifter to the forward position needed I made up the shortest of shifter rods with blue table and some of the old rods from the T101A transmission.
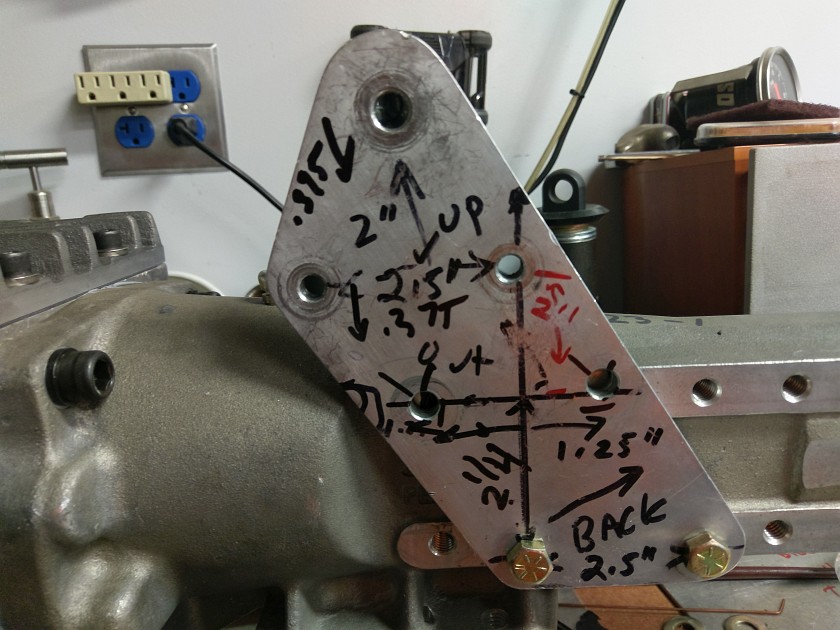
Marked Up Shifter Plate

Mocking up Shifter Mounting Plate


Once things started looking like it would work. I took to trying to figure out how to make a new plate with the needed mods. The plate above is the old T101A plate, it was just flipped forward and came damn close to working. Hole patterns from the T101A and Jerico are close but not really the same. So all of that had to be figured out. Lot's of paper an eraser and dial caliper helps.
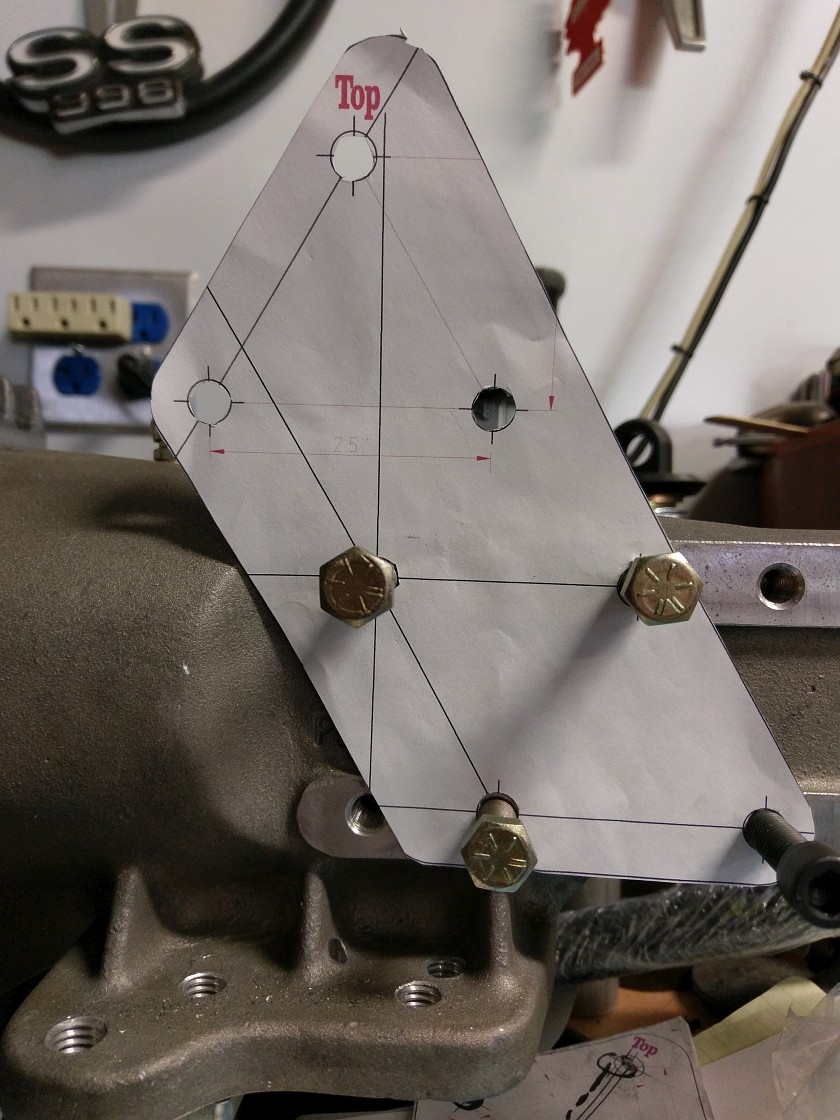
CAD Designed Shifter Plate

Mocking up Shifter Mounting Plate


Once things started looking like it would work. I took to trying to figure out how to make a new plate with the needed mods. The plate above is the old T101A plate, it was just flipped forward and came damn close to working. Hole patterns from the T101A and Jerico are close but not really the same. So all of that had to be figured out. Lot's of paper an eraser and dial caliper helps.
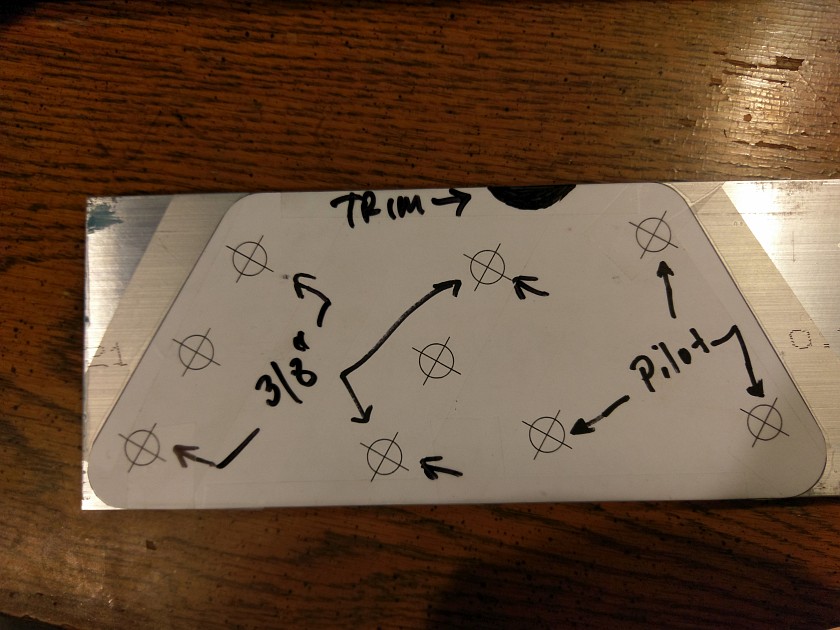
Fabricating Shifter Plate

Fabricating Shifter Mounting Plate


After a failed V1, here is the final version (only V2). Holes are good, added a notch for the front of the plate to clear, and after some careful tape work and accurate center punch work it was ready to be made. Feeling I needed a pay back for not trying the paper template from V1 (yeah I got cocky) I cut the part out using a hand hack saw.
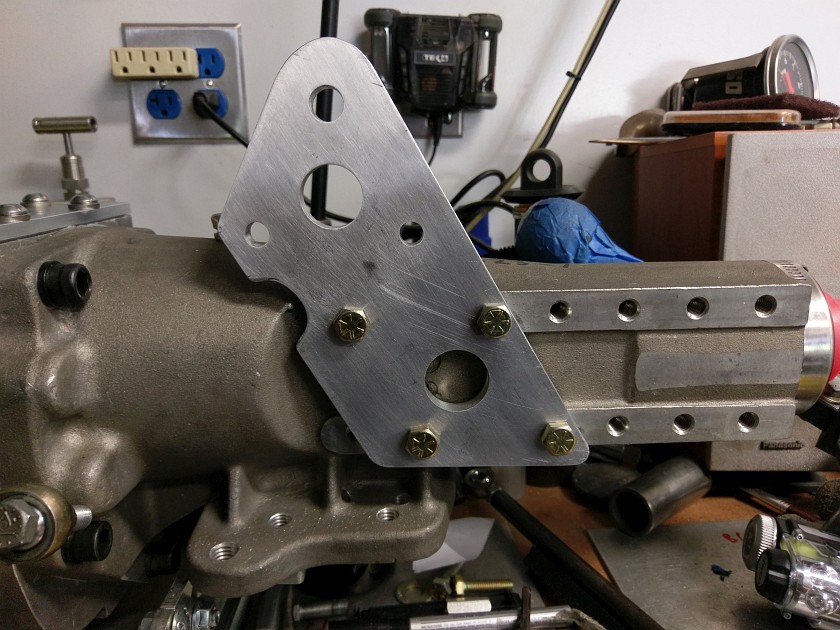
Completed Jerico Shifter Mount

Completed Jerico Shifter Mount


After some sanding and lightening work it came out pretty good. The shifter plate mounts the shifter about 15.5" from the front face of the transmission. The stock Tiger is at 16". This is going to be helpful as I will be moving the motor back about 1/2 to 3/4" of an inch. Hopefully drop right where it needs to be... Well other then the shifter sticking up out of the trans tunnel.
Making Shifter Rods

Making Shifter Rods


Now down to the nitty gritty. I picked up some anodized black shifter rods from Summit Racing. They are a little smaller in diameter then I expected, but it ended up being a blessing in disguise. Since I have very little trans tunnel space I decided to route all the rods BEHIND the shift arms. I played with many configurations and spacers to finally get something that I could work. I got a lot of extra rods as I expected this process to not go well.

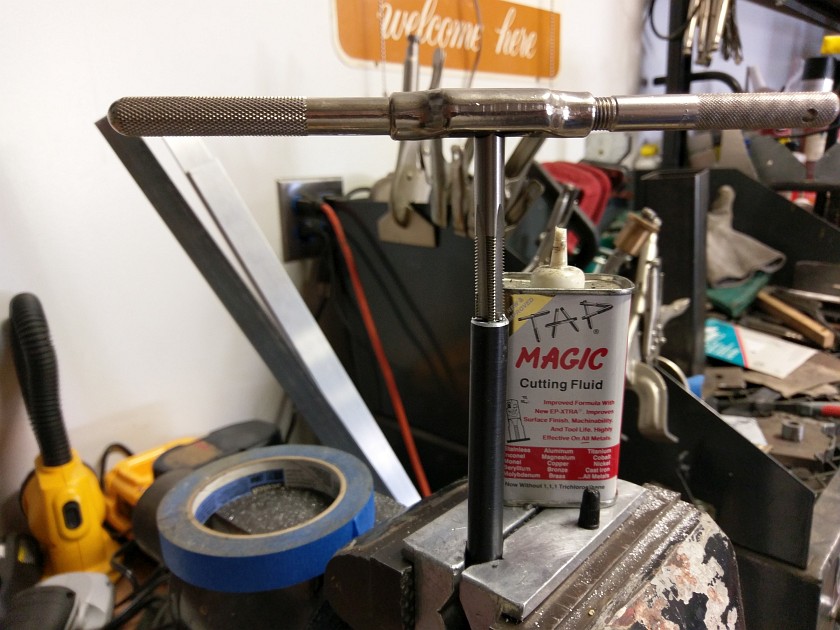
It actually went very well, after getting lengths correct  I cut and retained the LEFT HAND THREAD SIDE that is tapped. This is key if you don't have a left hand tap in the correct size. I did, but the less tapping the better. For after some cutting and tapping things were coming together.

The one tricky shift rod was the Reverse rod as that's buried and had to be slightly bent to make work.
Shifter Rods Test Fit

Shifter Rod Test Fit


You can see the results, not too bad for a change! The curve of the reverse rod is no problem strength wise and keeps things simple. Lots of odd washers and spacers to get things to not rub and bump.
Shifter Rods Test Fit

Shifter Rod Close View


Here is a bit different angle. All arms articulate without bumping rods, or the case. The only tricky one is the reverse rod which must be correctly set up as you can't easily twist it to adjust the length.

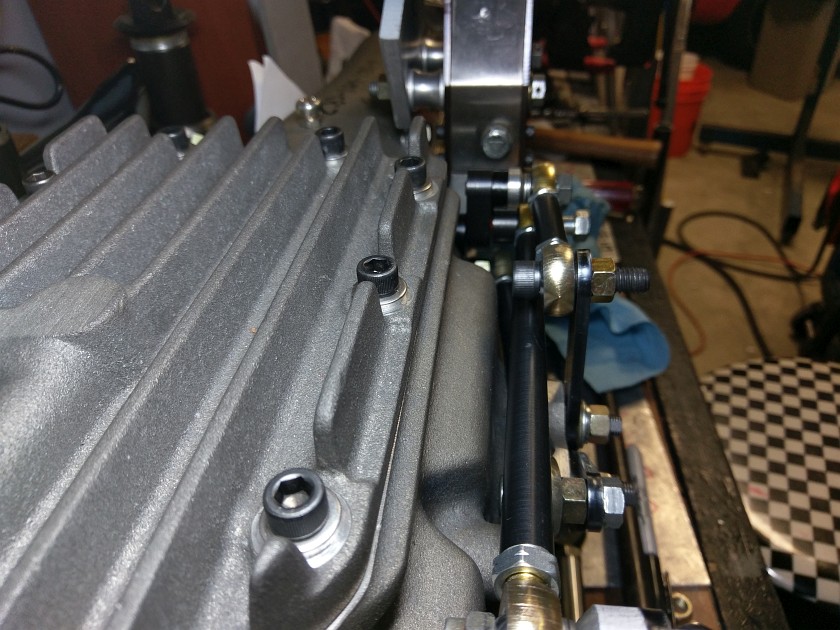
Shifter Rod Top View


This is the top view looking front to back. Also note the odd mix of hardware. Socket head so it clears the rod below, and other tricks to make things fit. The next phase is making the exact size spacers so it could all work. Oh, the stock Jerico top cover has to go, fins will hit the top of the transmission tunnel. I was going to make one out of some aluminum plate, but seems the folks at Magnus Racing make the part, so just have to toss more money at it.
Making Madrel For Shifter Spacers

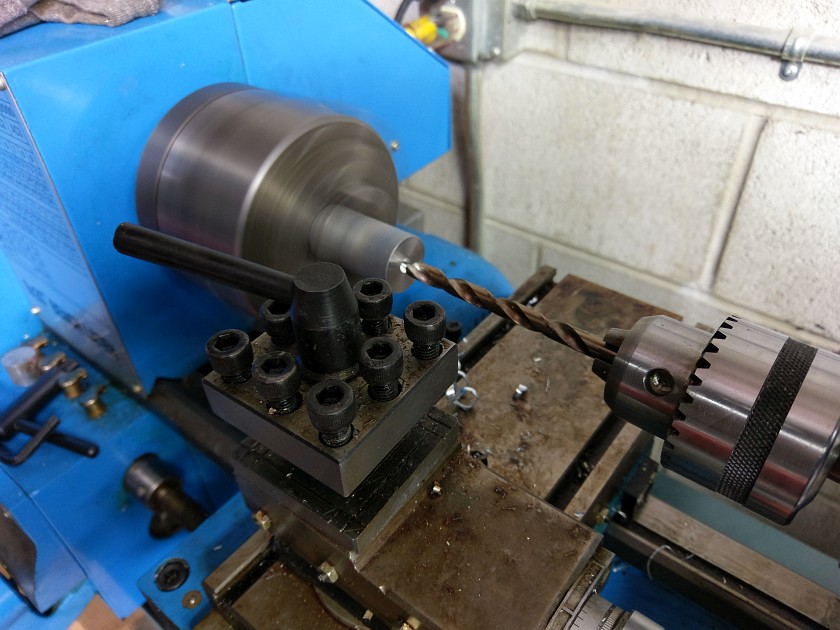
Spacer Mandrel Being Made


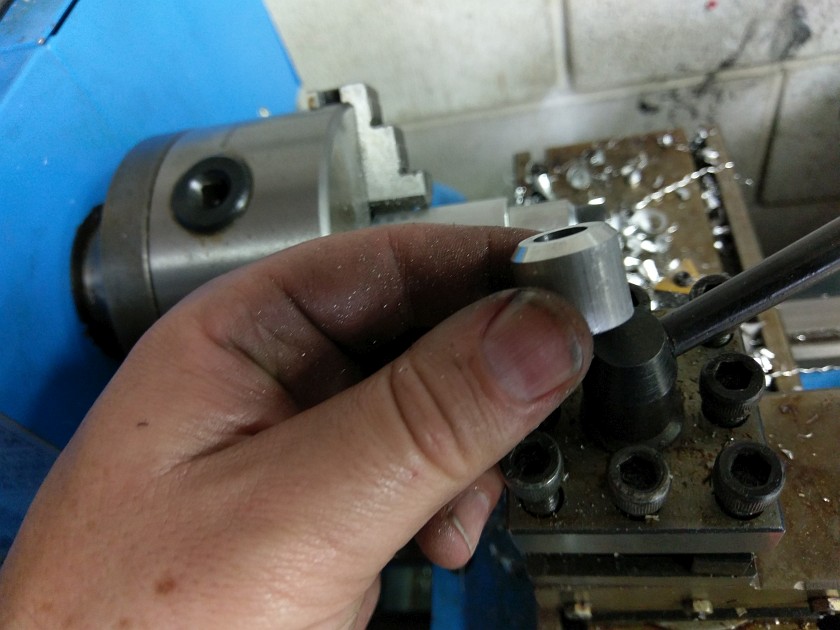
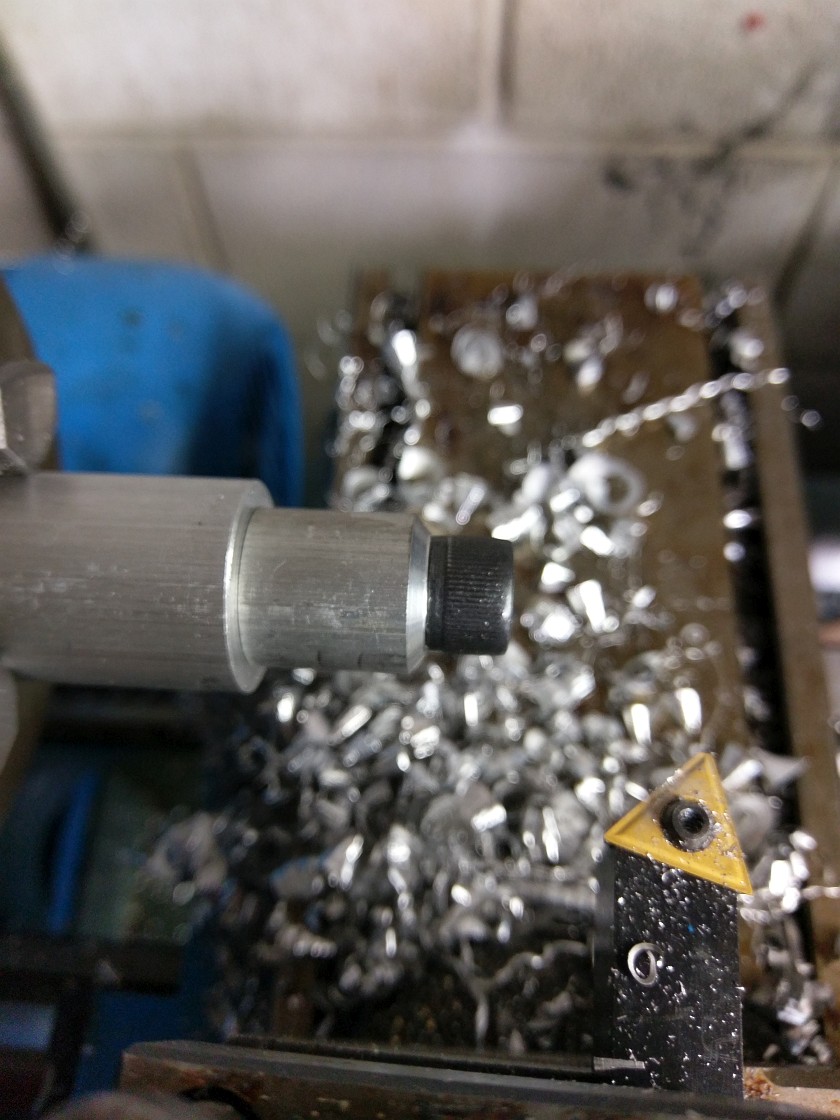
Needed a way to hold thin spacers and chamfer them for the rod ends. Basic work here, just get a piece of stock and make it so I can bolt a smaller piece of rod to it. Jr. Lathe in action (see it)

Spacer Mandrel


Close view of my precision machine work. This spacers was later made in steel, but same ideal. A useful tool to make exact sized spacers. Plenty common sized ones are available from McMaster Carr in steel, aluminum or stainless, but it's now as easy as cutting on the cold saw and drilling a hole, then mount to the mandrel and clean it up!
Finished Spacer

Finished Spacer


Here is one that is done in all its glory. The cut back chamfer helps with the rod end interfering with the spacer when the angles are not perfectly aligned. Better safe then sorry.
Drilling Some Bolts for Safety Wire

Safety Wire Drilling


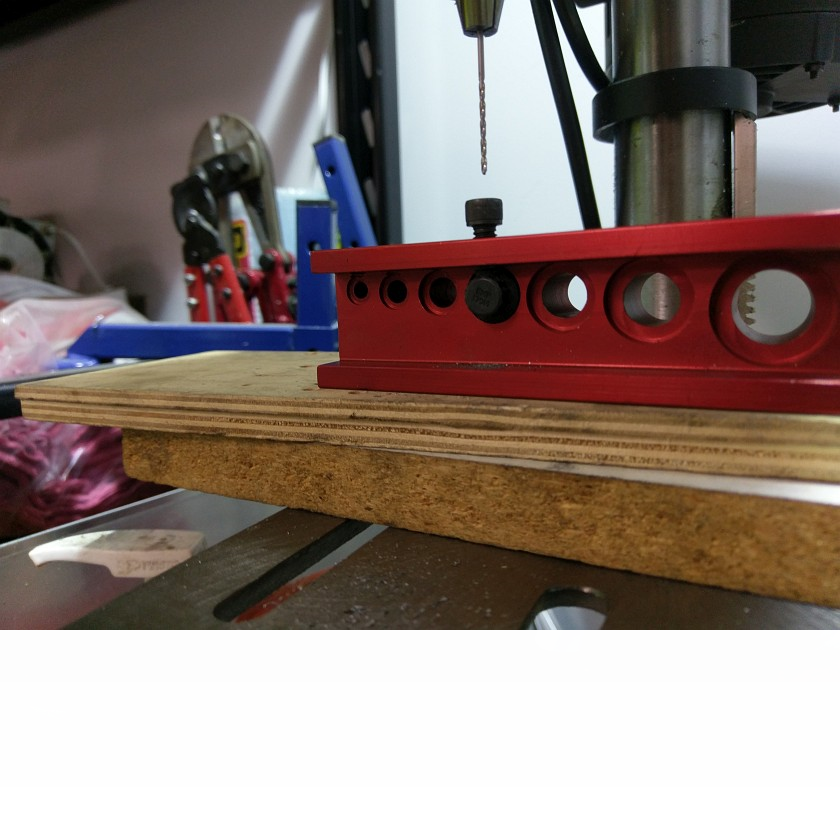
Not sure if I'm going to do it, but drilled out all the needed hardware for safety wire. The nice little jig does a good job even on 12pt hard bolts. My only tip is have plenty of spare COBALT drill bits as they don't last long.
Test Shifter Fitment
Machining Spacers