Ford Explorer Rear Brakes - Removing Stuff
This is the easy part, get some gloves as brake dust and dirt is messy. Start with jacking up your car with jack stands. Do it safely as you will be under the fender and you don't want to get crushed and end up with you on a YouTube Video with a bunch of jack ass comments messing with you. For rear brakes you can't set the parking brake so make very sure that the car has both wheels chocked and the car can't roll off the jack stands.
Get the lug cover off and remove the lugs, then take the tire off, and then begin to start taking things apart. Steps outlined below and in the next couple of pages.
It's also helpful to turn the wheel you are working on towards the opposite side, that is driver side would be making a right turn, passenger side should be making a left turn. Do this BEFORE jacking up the car.
If replacing the rear rotors you must RELEASE the Emergency Brake before pulling the rotor off.
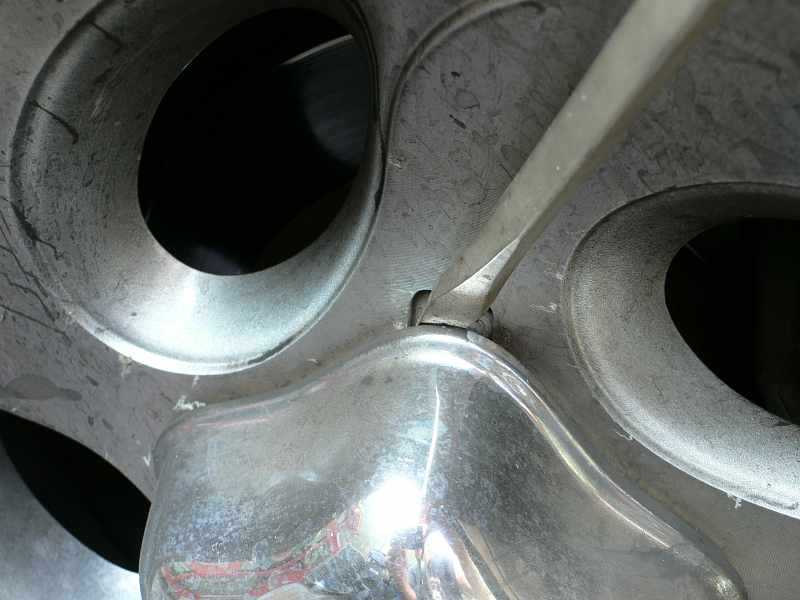
Pull the Lug Cover Off the Wheel
Carefully with a screwdriver pry up the lug cover on one side. When it gets enough to hold it with your fingers pull it out. If you have trouble you can go to the opposite side of the cover where their is another slot to pry. Don't be bashful, just rip it off. You can put a rag or cardboard to keep from scratching your rims if you are concerned.
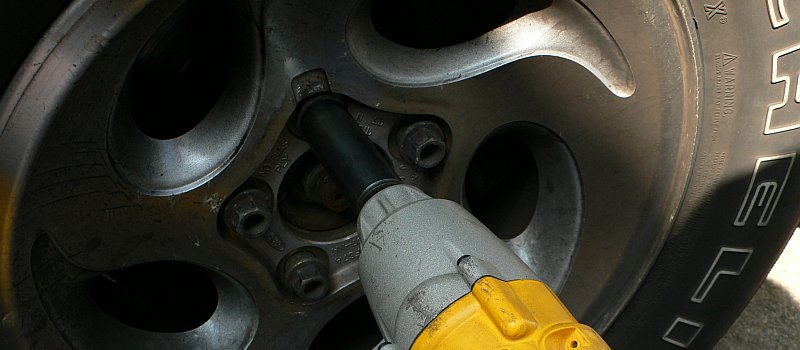
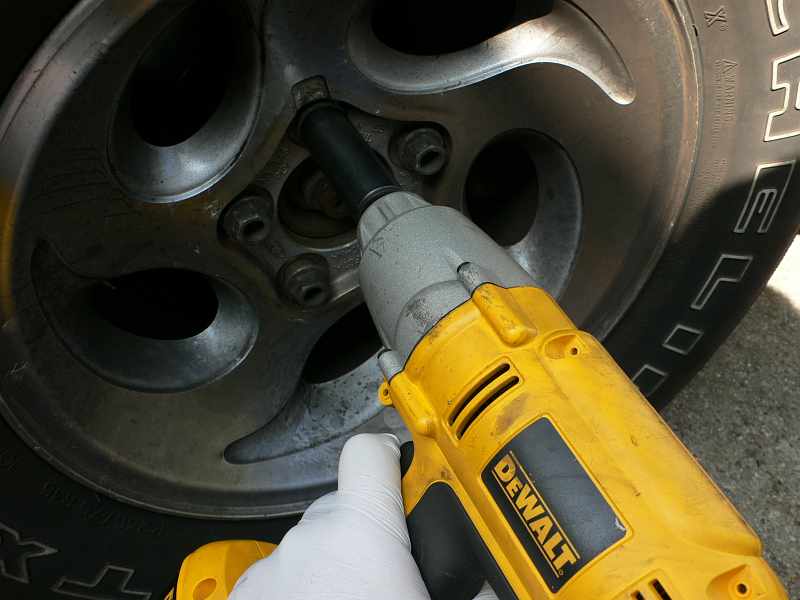
Remove Wheel Lug Nuts
If you don't have an impact wrench, you should have cracked the lug nuts before jacking the tire off the ground. In any case, get them lug nuts off and get the tire out of the way. Note I had no Metric impact sockets at home, but a 3/4" fit perfect, otherwise I think it's a 20mm
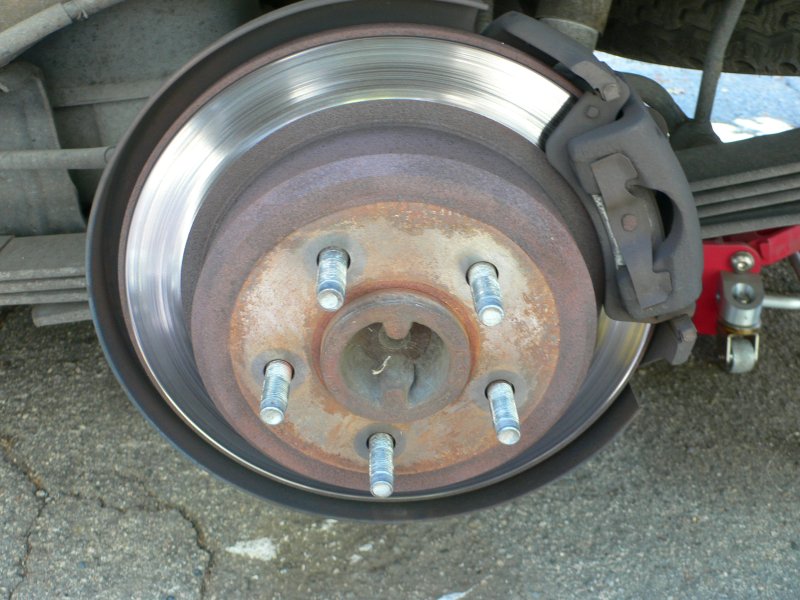
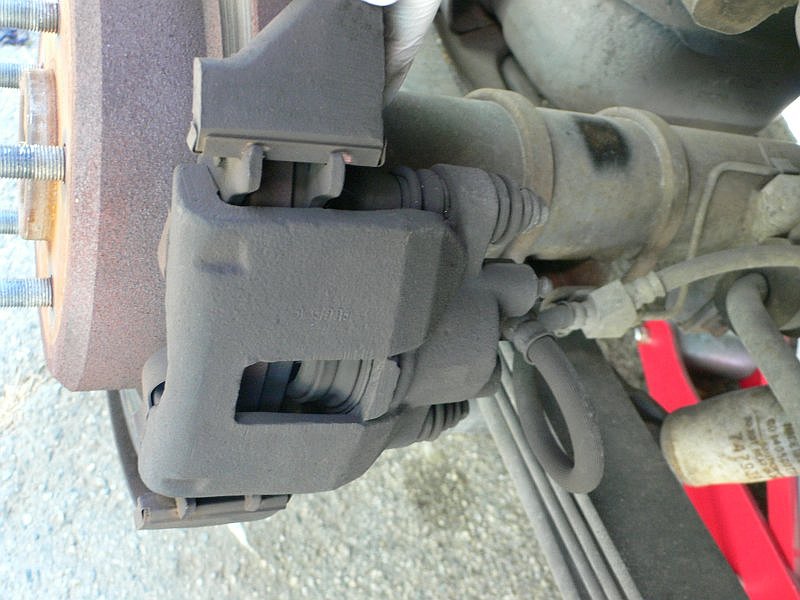
Brake Rotor and Caliper Before
This is the start, and it's always a good idea to use your camera phone or digital camera to snap a couple of pictures of how things go back together just in case you run into problems with re-assembly. The Explorers brakes are fortunately very simple.
Remove Caliper Top View
Another showing some of the rear brake calipers fitment. You can see the way the pads ride on the metal clips, hose routing, etc. Again always a good idea to snap a couple of shots prior to disassembly of the brakes.
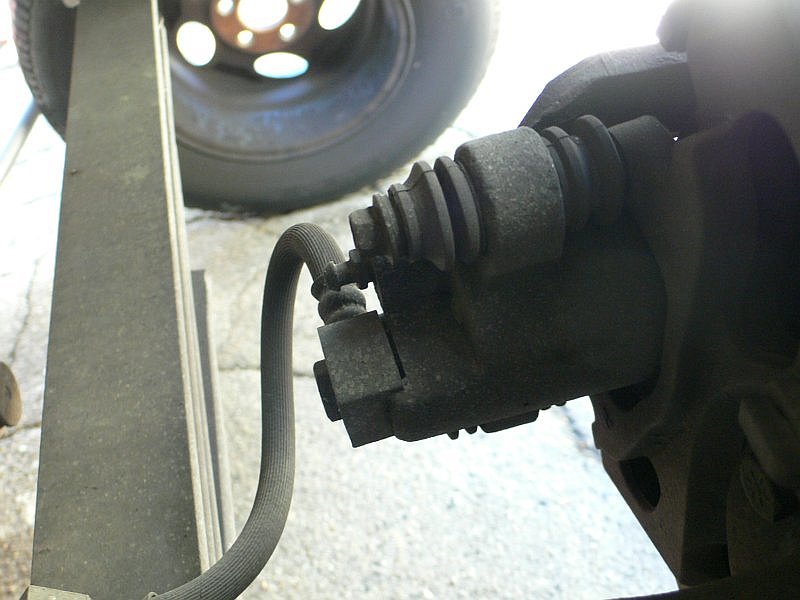
Explorer Rear Caliper Back
The back side of the caliper you can see the brake hose that's a bit dirty but in good condition. The bleeder screw is just above that, and you can see one of the caliper retaining bolts poking out from the rubber boots.
You can Navigate to any of the pages in this project by the BELOW drop down menu or use the NEXT or PREV links
Remove the 2 Caliper Bolts
The rear brake caliper on the Explorer (or Mountaineer for that matter) are held on by 2 long bolts. These bolts are 10mm if I recall correctly and should couple out without much trouble. You should be able to pull them completely out. The pads should keep the caliper from sliding off the rotor, but just in case make sure it does not fall.
Remove Rear Caliper
With the 2 bolts removed you should be able to pull the caliper up and away from the rotor and mount. You may have to use a screwdriver to pry it up if it is still tight. Try not to mangle the rotor if you are going to reuse it, and don't force it, it should come off with reasonable force or you have it wedged. Also try to remember which way the edges of the ears of the pads go. I recall they are different. You can see the ears on one of the right over the screw driver. Note how this side can slide out of the bracket, the other side of the pad can't.


