Ford Explorer Radiator Replacement - Page 2
Now that the radiator is drained you need to remove the transmission cooler lines. If your radiator also has a built in oil cooler time to remove that too. My Explorer only had the transmission cooler so that's what you will see here. I would expect the oil cooler is similar.
You can Navigate to any of the pages in this project by the BELOW drop down menu or use the NEXT or PREV links
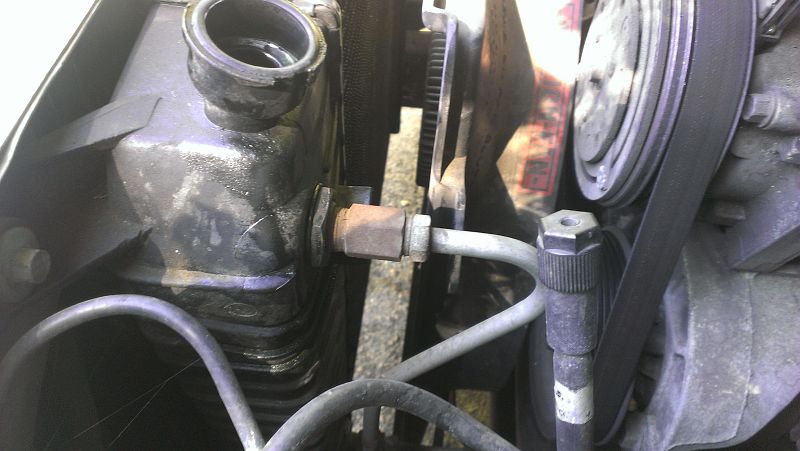
Top Transmission Cooler Line
This is the top transmission cooler line. Their are 2 parts to the fitting, one built into the line and the other an adapter of sorts that is screwed into the radiator. The fitting on the steel hose end is a 16mm and the fitting into the radiator is a 19mm. When removing the fitting hold the 19mm fitting while turning the steel lines fitting with a 16mm wrench. You may have a bit of seepage when you undo the fitting. Again, if you have FLARE wrenches they work better here.
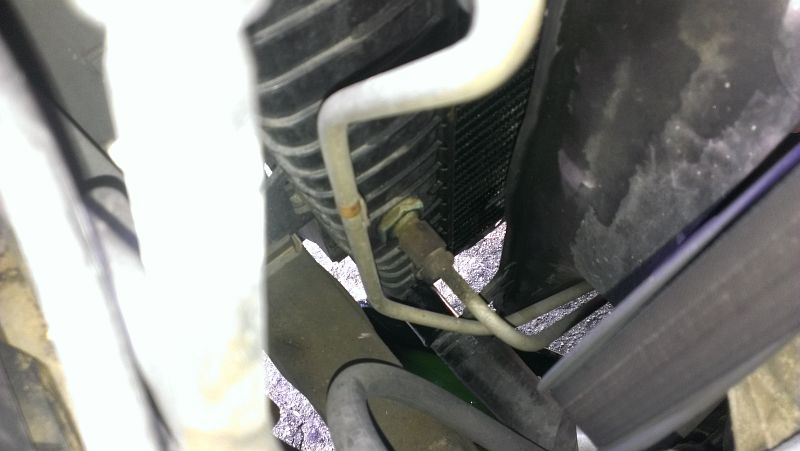
Bottom Transmission Cooler Line
The bottom cooler line is similar to remove as the top. Plenty of room to get the wrenches in. Remember turn the flare nut on the steel line while holding the fitting that goes into the radiator. Again, you will have some transmission fluid likely leak out when you pull the bottom line off so be ready with a small plastic pan to catch any transmission fluid that may leak out.
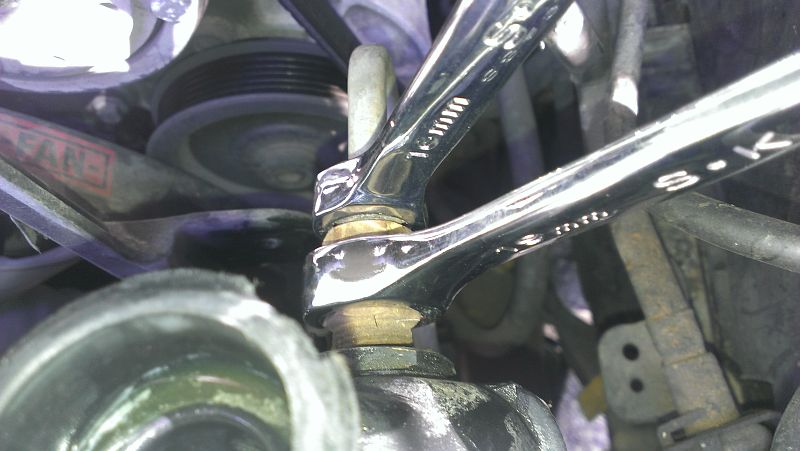
Removing the Transmission Cooler Fitting
I used a couple of metric flare wrenches. These are not so common, but you can pick up a set on Amazon from inexpensive to high quality. These don't get used too often so you don't need the higher end unless you do a lot of metric work. Amazon Metric Flare Wrenches


