Ford Explorer Radiator Replacement - Page 5
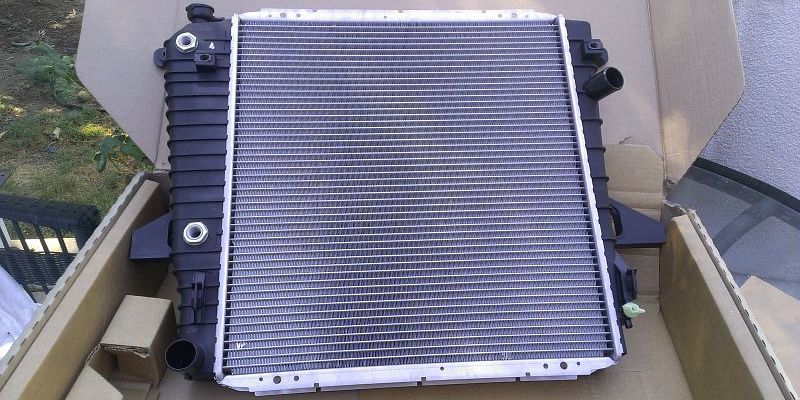
Now to add the fittings to the radiator and get it ready for installation. For safety I cut a part of the box out to cover the fan side of the radiator as a lot of things can get into the radiator such as the fan, oil lines and what not. Better safe then sorry. The cardboard just lifts out once installed. Install O-Rings in the fittings and you are about ready to drop it in.
You can Navigate to any of the pages in this project by the BELOW drop down menu or use the NEXT or PREV links
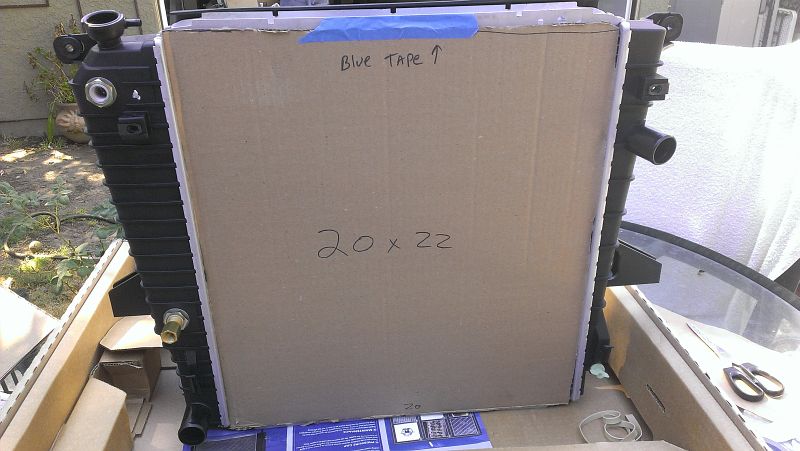
Cardboard To Protect Radiator
I cut out part of the shipping box to make it less worry during the install. It's a very cheep way to insure you don't F$#K up you new radiator. These can't be fixed like the old school brass radiators. Obligitory 3M Blue tape used.
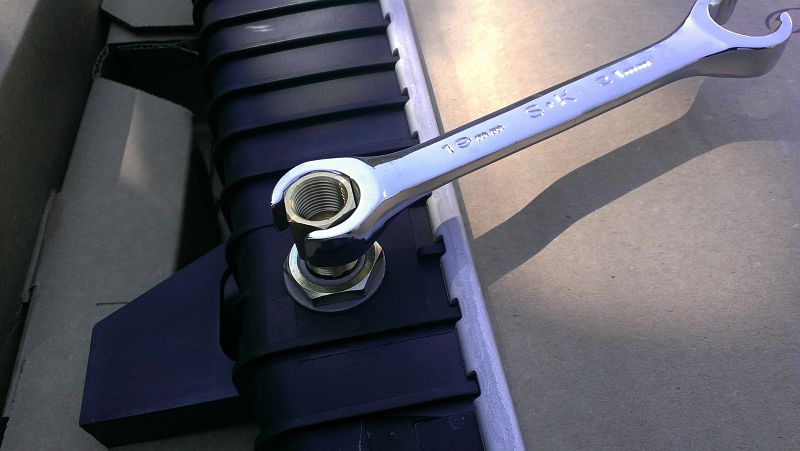
Install Fittings
The replacement radiator came with nice new brass fittings. These make it easy, and leak free. I used a bit of thread sealer on them, but it's not really necessary. The fitting uses a 19mm wrench (Flare wrench used here). NOTE : Do not over tighten the fitting, these are in plastic and a note that came with the radiator warned of cracking the plastic housing if over tightened. How tight? Just tight enough before it cracks that how tight. But on a more serious note, just get them snug, no vain bulging torque needed, just when it start to get harder to turn. Install both fittings, and if you radiator has other fittings likely a good idea to install now too.
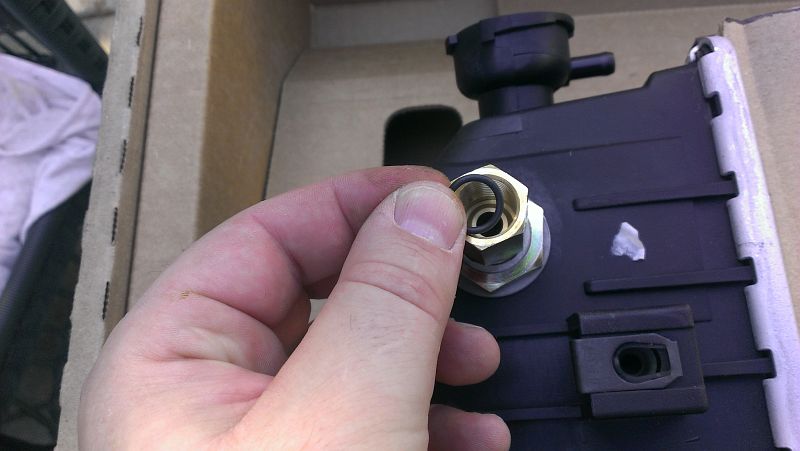
Insert O-Rings into Fittings
If your new radiator came with O-Ring fittings, time to install them. You can put a dab of grease on them to hold them in place while you drop in the radiator. OR you could just wait to install the radiator and stick them in then.
Ford_Explorer_Radiator_2.html


