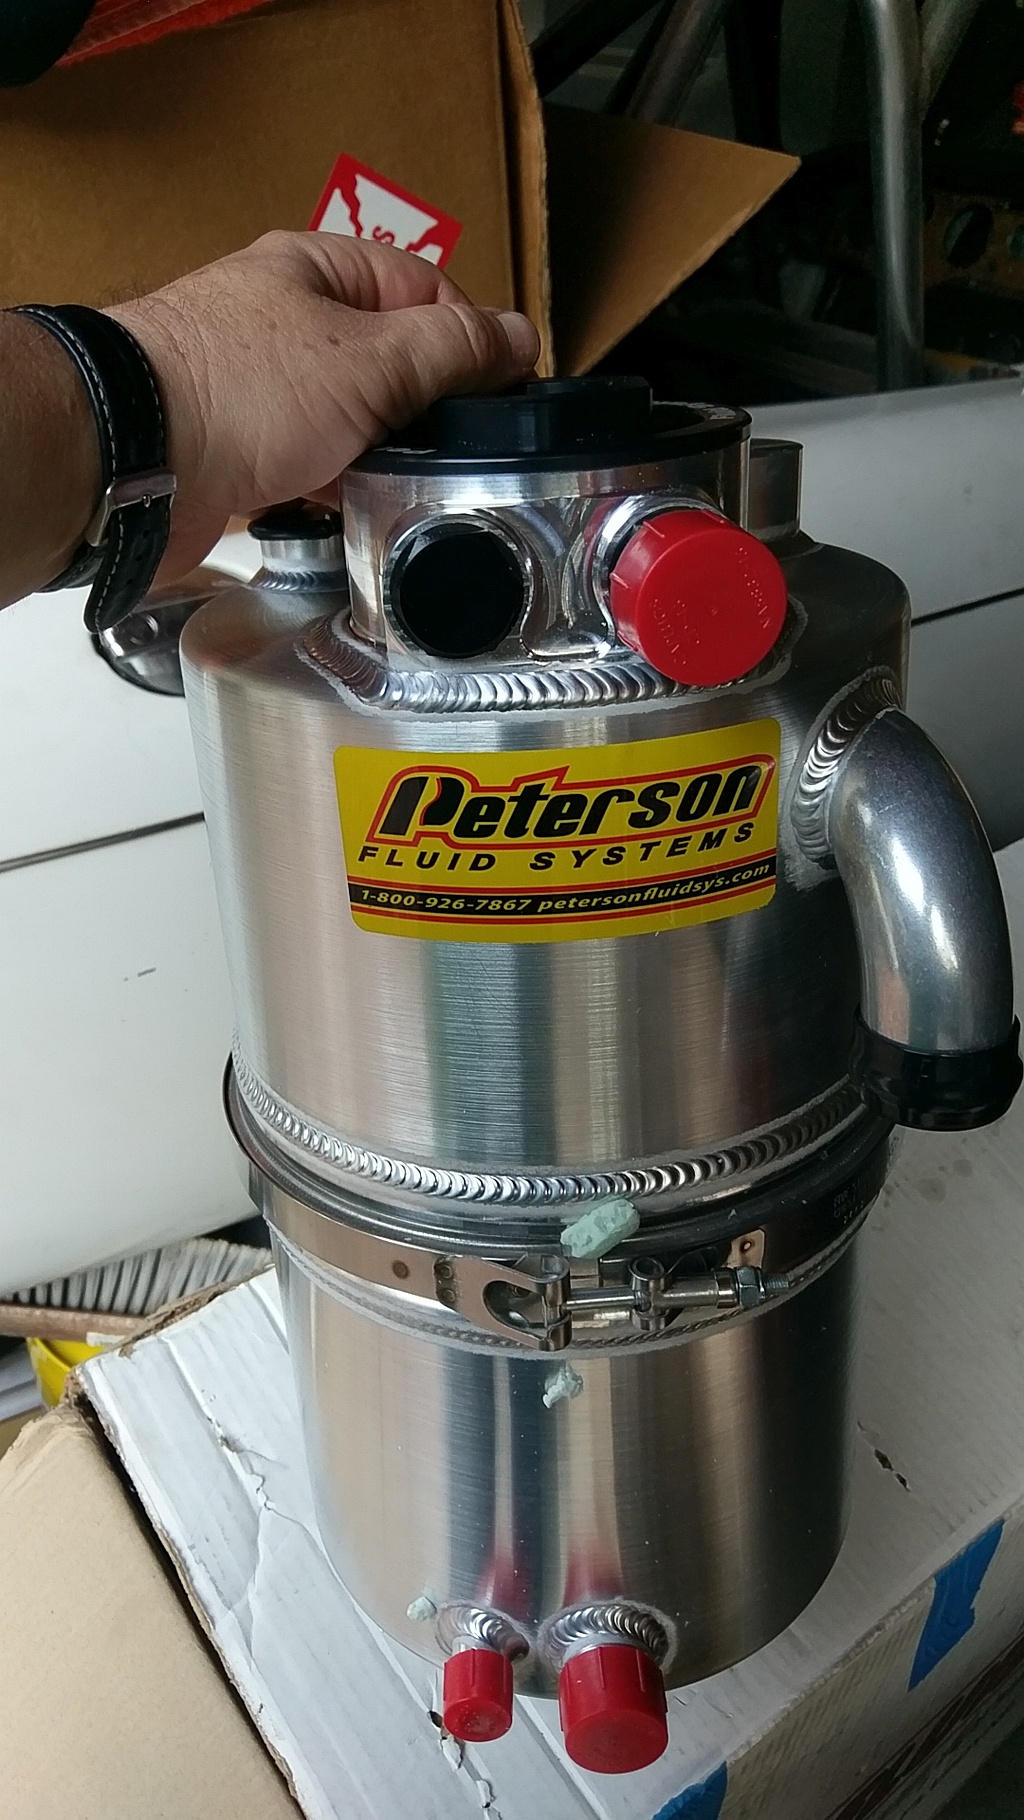
Peterson Fluid Dry Sump Tank

Peterson Dry Sump Tank Mounting


After getting an oil pan sorted out (SBF Dry Sump Pan) It was onto fitting an oil tank. I had picked up an oval-ish shaped tank that I was going to mount in the 1965 Mustangs battery box area in the front of the car. After jugging dimensions and looking at a dozen or so tanks, even sketching up one to fabricate I finally came to the conclusion that without a lot of fender cutting and related inner body work I would be better to mount the tank in the rear of the passenger side of the car.

This presented it's own set of options but when all done seemed like the best way to go. My car has the standard Autopower Roll Bar that is common in many early Mustangs. That gave me an idea on how to make a mounting plate and add a nice panel to mount a round and LARGE Peterson Fluid tank. Most of the parts are easy to get, but you will have to do some welding on the cross bar for the lower part of the panels mounting.

Metal tubing was standard thickish walled stainless that I picked up from Online Metals while they had a sale going on, as well as the bulkhead panels aluminum. The rest of the parts were from various suppliers (some listed below).

You sizes may vary a bit so check before ordering anything below. This is an expensive way to do it, so do modify based on budget. The Tiger clamps are expensive, but when all said and done it looks great.

System Parts


Stainless T-304/304L Seamless Tube 1.75" x 0.12" x 1.51" (I ordered 48" and trimmed it to fit)
Aluminum Sheet 12"x24"x0.125"
Ridetech Passenger and Driver Tiger Clamp these also get an OUCH on price (Passenger, Driver)
QTY 6 - Joe's Racing Tank Mounts 1.75" Bar. Amazon, Summit and Jegs all about the same. I went overkill and likely
Longer Hardware for tank mounts, might be 1/4"-28 Thread Size, 2-1/4" Long (DOUBLE CHECK LENGTH)
4 might be fine but figured I'm going to ensure it's a rigid mount.
Peterson Fluild Systems Mounting Brackets - 08-0101 Tank Mounting Brackets (kit of 2) (Amazon, Jegs)
Peterson Fluid Dry Sump Tank  08-9016  - 4 Gal. With Internal Filter (Jegs, be ready for the price!)
Various 1/4" lock nuts, washers. And 4 5/16" nuts, bolts, washers, etc.

Read on and see the photos of the install below

Back to Dry Sump Project Main
GTSparkplugs Header
Click for Contact Page Click for Contact Page

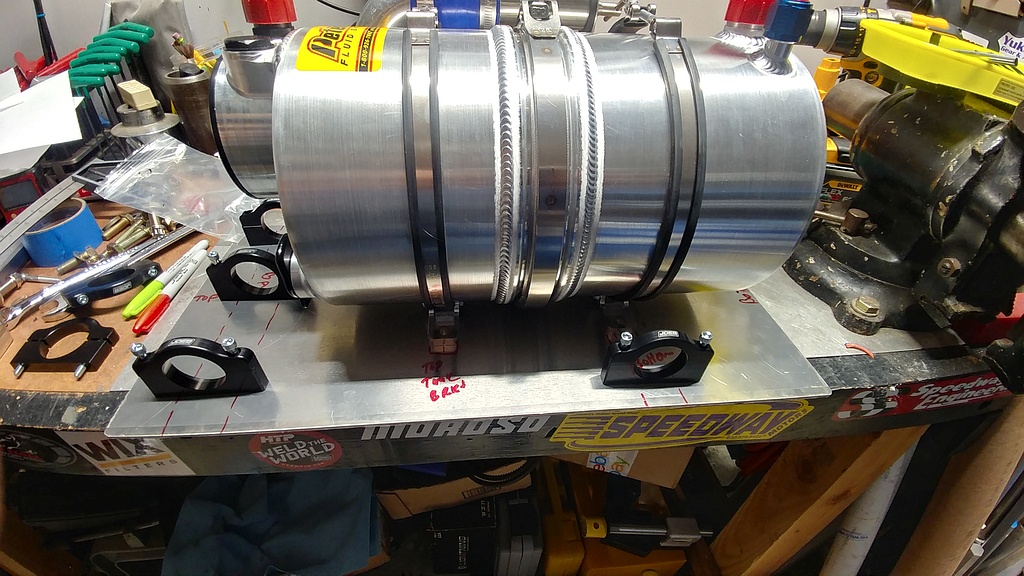
Peterson Fluid Dry Sump Tank with Integral Filter


This is the Peterson tank. Used for Dirt Track. It's a 4 gallon capacity oil tank. It's also available in a 5 gallon tank as well. The tank features a built in return filter that will capture pump damaging debris. It has one thing that was also very important, and that is an external fitting for the breather. Some tanks have just a vent and I think this is a problem for a tank mounted inside the vehicle and not in a sealed box. The pump has 2 return if needed to the filter as well as a host of other fitting, even one -10 for connection to the Remote Filter and Primer Adapter. This tank is beautifully welded and you got what you paid for in this case as it was not inexpensive! One super nice thing is a built in dipstick, which will come in handy when cramming 20+ quarts into the system. Check the Peterson site for more info.
Mustang Roll Bar Brackets

Measuring the Cross Bar


The roll bar is going to get a lower cross bar just over the transmission tunnel hump. This will serve as the bottom mounting point for the bulkhead mounting plate for the dry sump tank. I used Ridetech Tiger clamps to mount this as I didn't want to strip the pain and curl up into a ball to weld a bar inside the car. The clamps are 301 Stainless, look nice, but are EXPENSIVE. I mounted these to get the proper length of the lower cross bar and then cut. Measure a few times just to make sure, and error on the too long side of things.
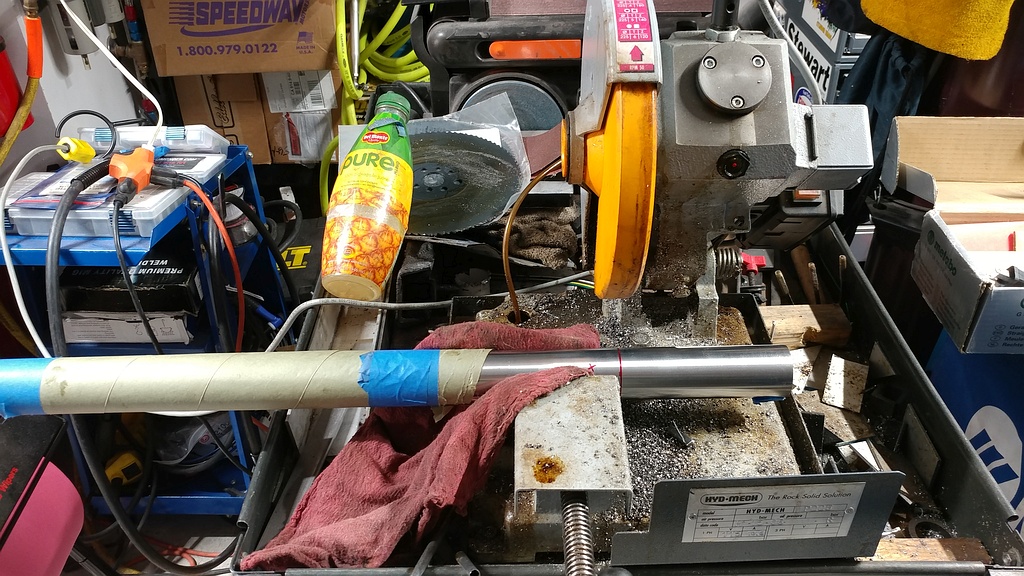
Cutting Stainless Tubing on Cold Saw

Cutting Stainless Tubing to Length


This was a section of 48" .120 wall stainless tubing that I measured a needed cut of 42.5". I changed the blade on the cold saw to the fine tooth one, and gave it a chop. Clean and no fuss for a change. I wrapped the tubing to keep it somewhat scratch free as I worked on it. Figured I spent about 100 bucks on it, might as well leave it in nice shape so I don't have to paint it.
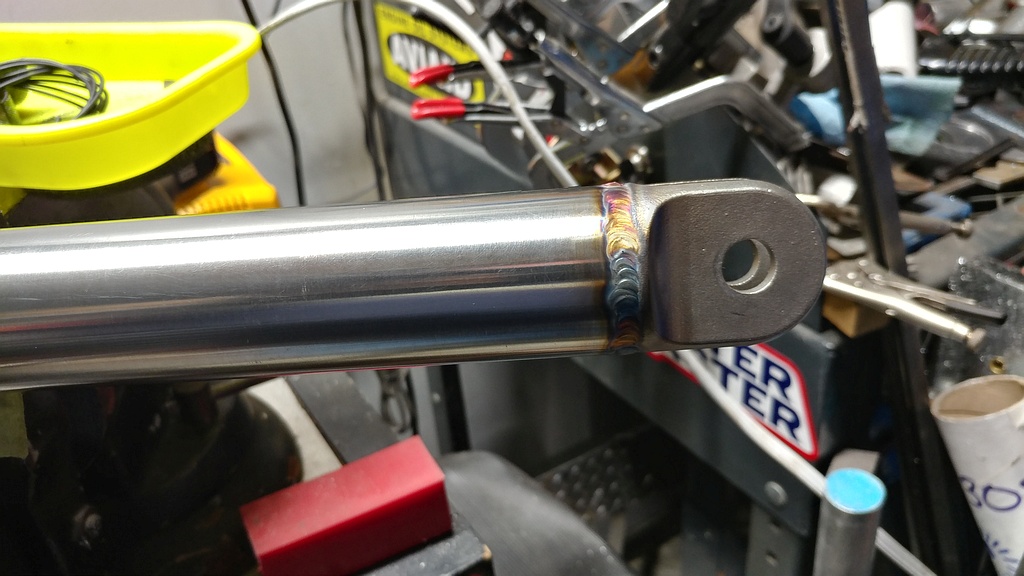
Welding Tuging to Tiger Clamp

Welding Tubing to Brackets


Got some 301 filler and fired up the Miller TIG machine and had at it. I kept thinking this was going to come out like crap but after a bit of work it came out for me pretty good. Would have been perfect to take to a drive shaft shop but I figured I would give it a go. No I did not back purge. Both sides got the same treatment. Note that the smart folks at Ridetech had small breather holes in the brackets so no volcano welds after you close of the last bit. Follow good clean welding practice and you will be good to go. I cleaned extensively both parts and I think it worked out well for a change.

Dry Sump Tank Mounting Wrap Up


Overall the install went much better than I expected it to go. I took a lot of time to measure and remeasure and only had one minor fitment issue with the tank bracket bolts being close to the lower crossbar. I didn't mention this but it's a good idea to toss on any fittings to make sure you can get them on and off.

The bracket / bulkhead is super rigid, nothing going to vibrate, and a couple of redundant clamps to keep it secure. Likely strengthened the roll bar a bit too with the lower cross bar.

Will need to sort out venting and plumbing, but at least got the large tank mounted and on to the next project.

Back to the start - Ford Dry Sump Project on the Main page
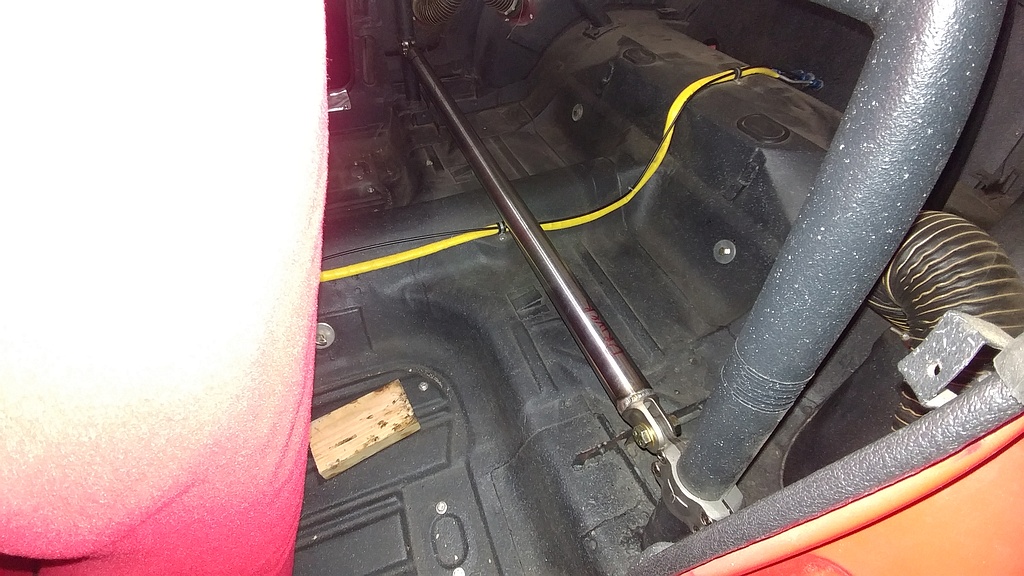
Stainless Crossbar Mounted

The Crossbar Mounted


Looking good so far. Just also remember you have some leeway with the distance as the roll bar is not square so as you move the bar down it gets wider apart. This can help in the event of a minor measuring mishap. Onto the bulkhead for the tank!
Measuring Dry Sump Tank Brackets

Dry Sump Tank Mounting Bulkhead


This is the 12"x24" aluminum sheet that is used for the mounting. With the new crossbar attached to the roll bar, you can now begin fitting things up. I wanted the bulkhead sheet to sit low into the rear of the car so I fiddled with where the tank would be on it. Moving brackets around a bit and getting things roughed out to make sure I could put the bolts in for the tank brackets (just missed hitting the lower bar on them). Since their was not easy way to get clamps all measured up for drilling the plate I did the bottom 3 mounts first. Then bolted it all up and added the top mounts with a centering tool to mark all the holes. It amazingly all aligned up and fit with only minor hole ovaling.
Mounting Top Brackets

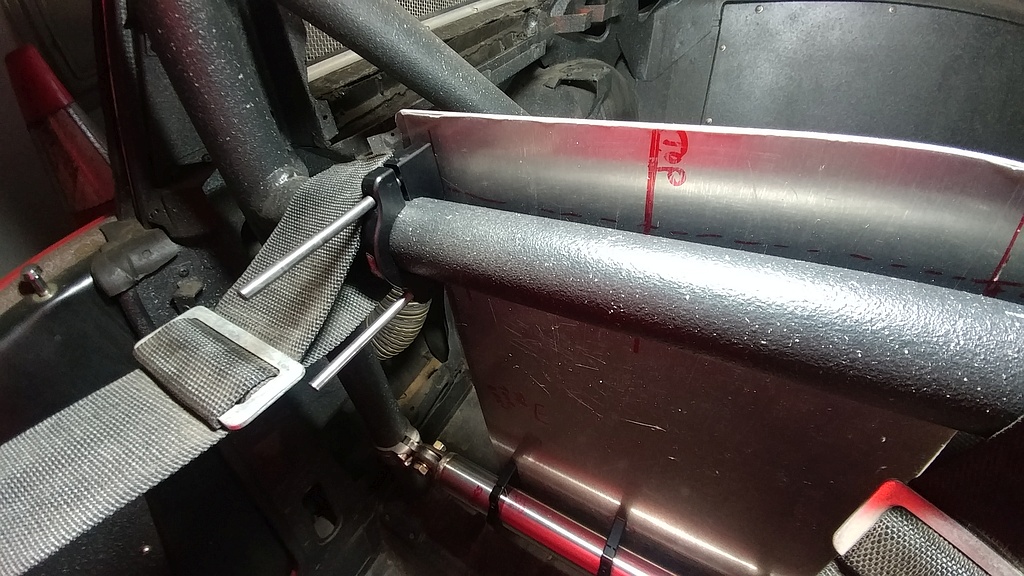
Fitting Top Roll Bar Clamps


After fitting the bottom, time for the top clamps. You can see the 2 centering tools (that have a sharp point) to mark the location of the top clamps. Take your time as a small mistake can mean some large holes to make things fit! The harness attachments are moved out of the way, but work nicely around the side of the clamps.
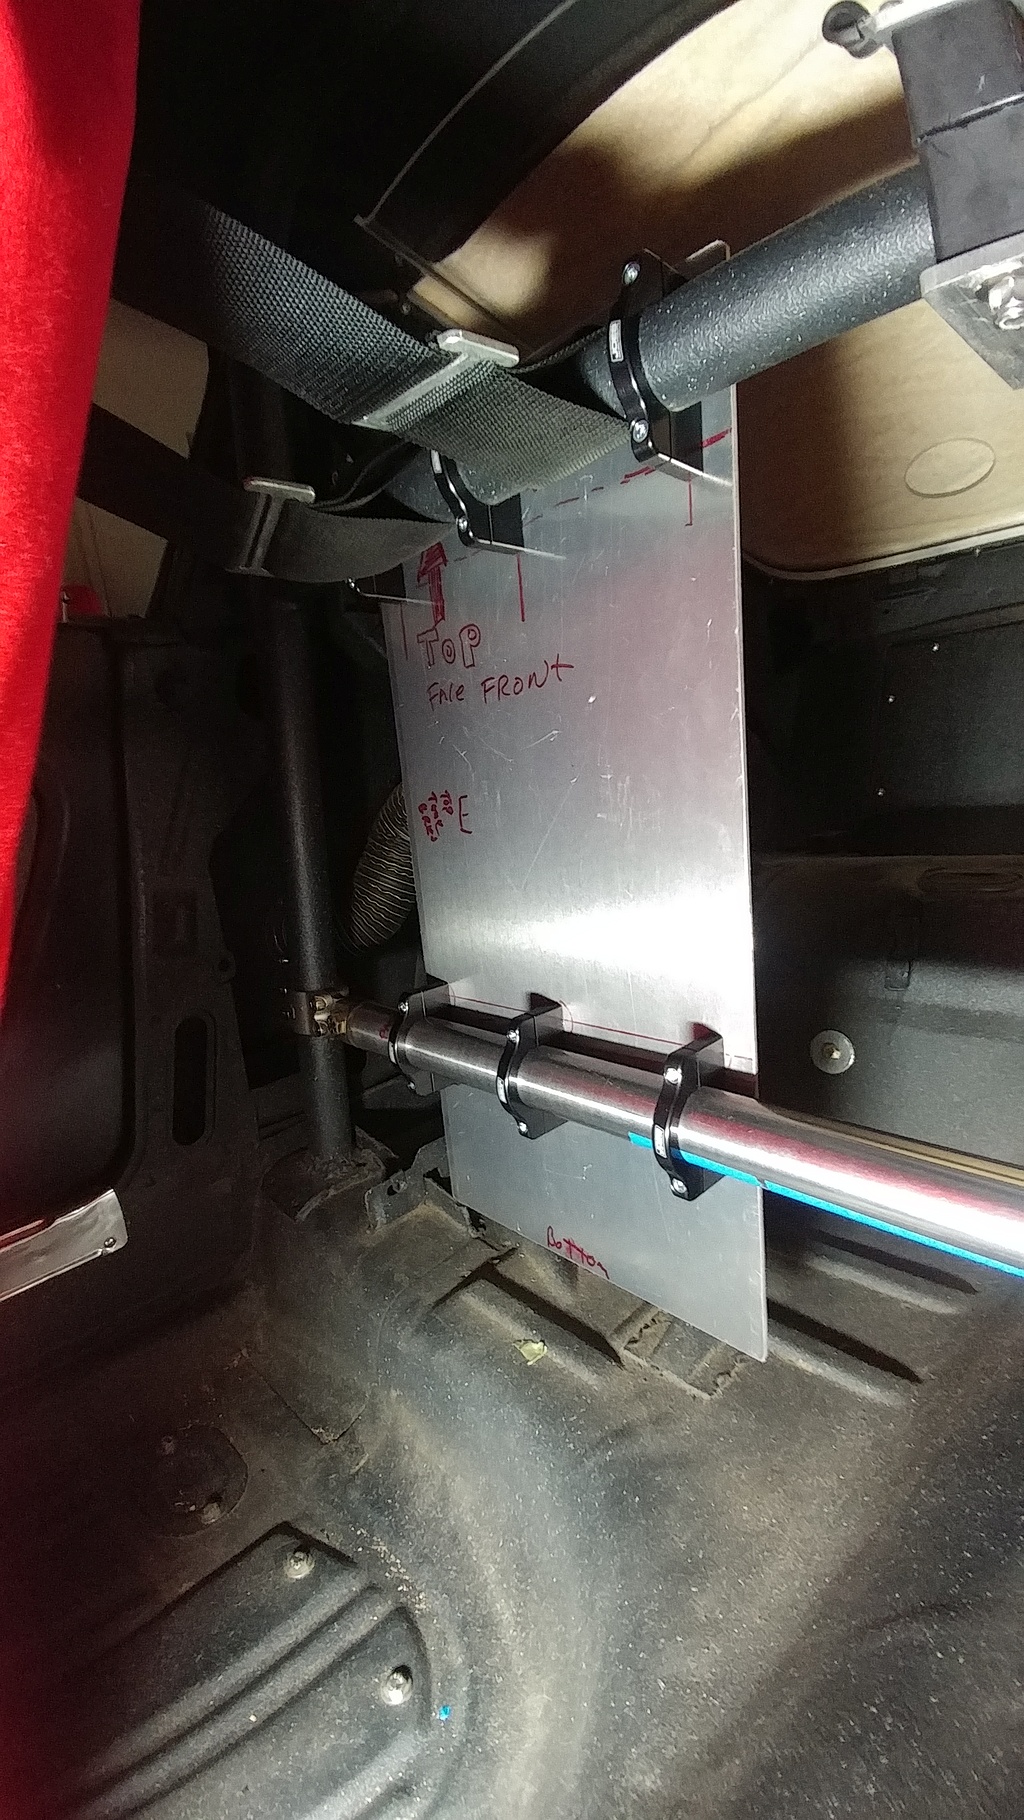
Front View of the Bulkhead

Front View of the Bulkhead Mounting Plate


This is the front view looking to the back of the car. Looks like a nice fit. Now just need to mark and drill out the tank mounting brackets. I got a bit close to being under the lower crossbar. Make sure you can get to all the nuts when you are working the fitment. Also remember if you expect to get to the bottom fitting of the tank to leave some room for that.
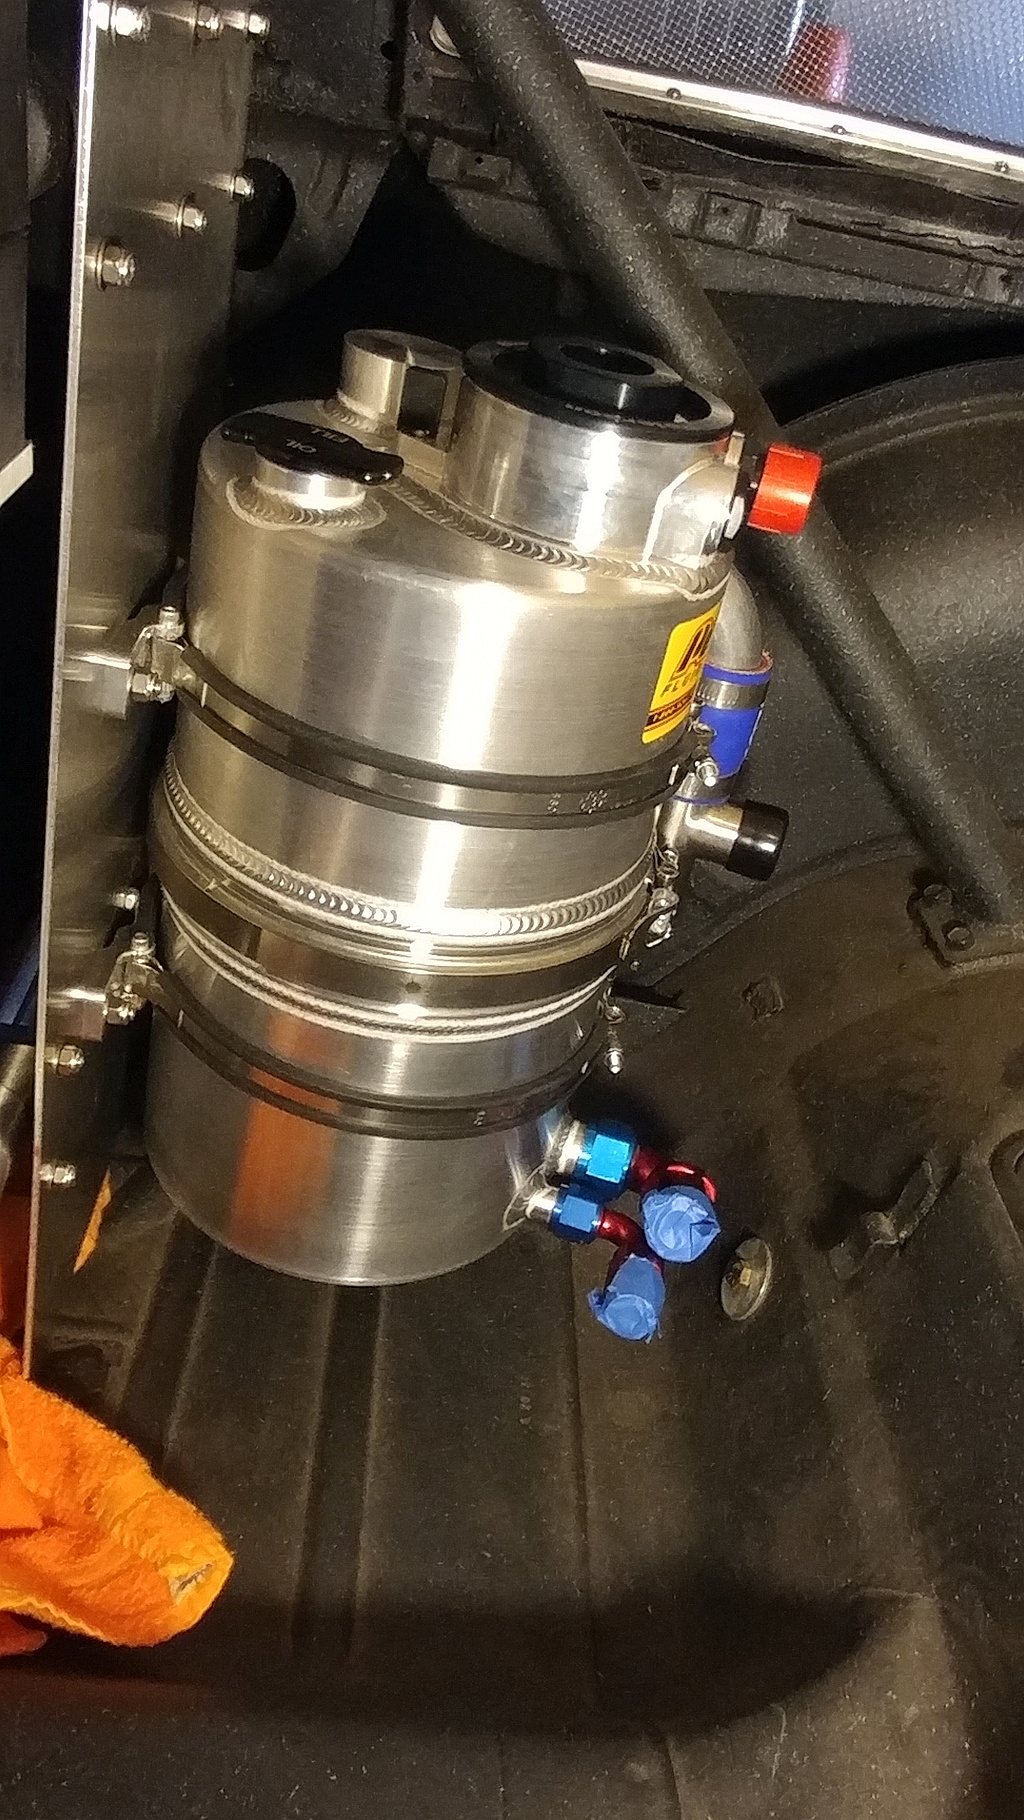
Fitted Peterson Dry Sump Tank