Snap On MT2500 Scanner Disassembly
Cartridge Barrier
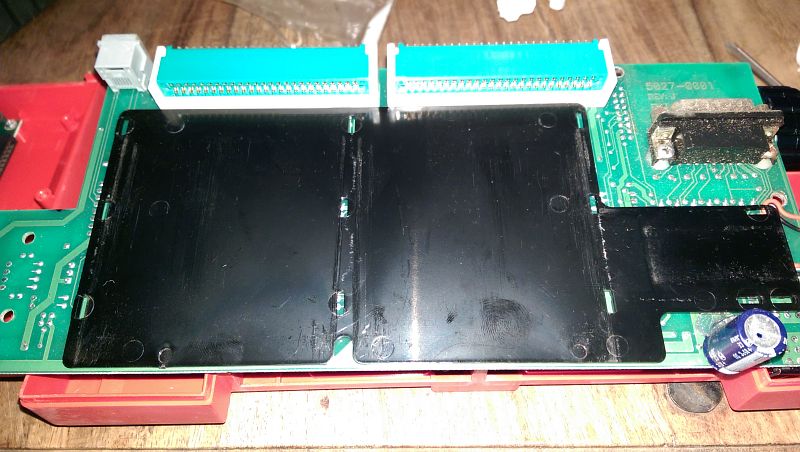
The black plastic barrier is to protect the PCB from the sliding in and out of the cartridges. It should be placed as shown. The barrier has some foam on the side of the PCB and none on the top. Wipe down the dirty connector with a dry rag if needed (upper right).
You can Navigate to any of the pages in this project by the BELOW drop down menu or use the NEXT or PREV links
Align the Barrier
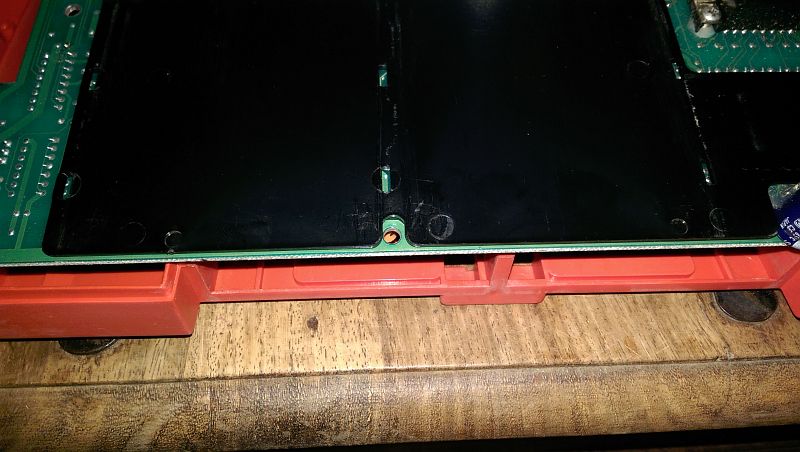
When the aligned properly it will look like this. You will have to fool with it a bit when placing things back together so things align and fit together. If you don't you will not be able to close the case.
Battery Wire Routing
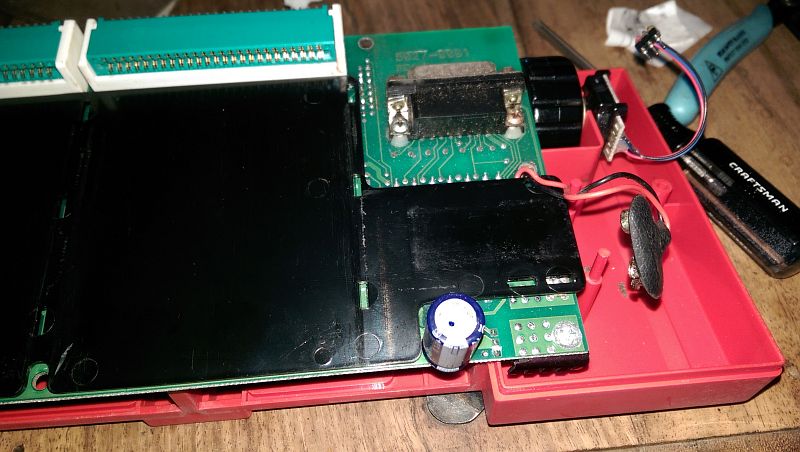
I was not exactly sure how the wire went over the barrier, but this look OK. If you have a problem you should have looked at it before taking it apart ;)
Reinstall the Main PCB
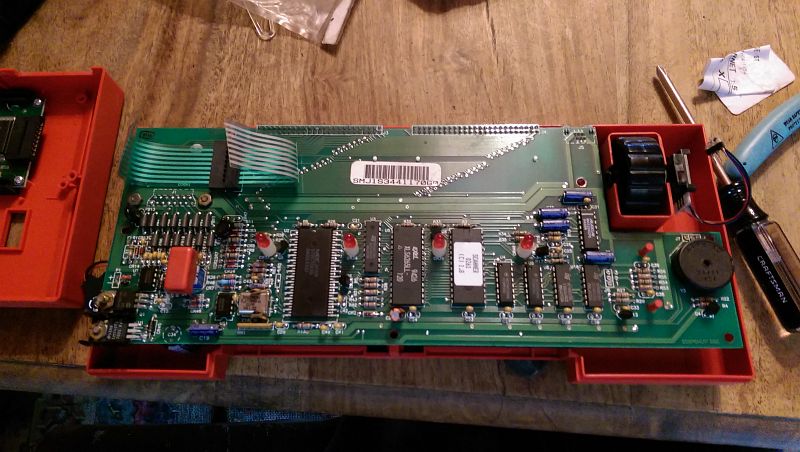
You can see the entire PCB here. One thing that you should also do is clean off the red button on the switch (left of image). I think you can pull it off the switch, but I decided to just use a rag with some 409 on it and give is a good wipe. Be careful not to break it off! You can install the PCB by trial and error. I did it by turning the case upside down and getting the pegs to align. You can also do it as show. It will sort of pop into place when aligned correctly.
Reinstall the Thumb Wheel and Encoder
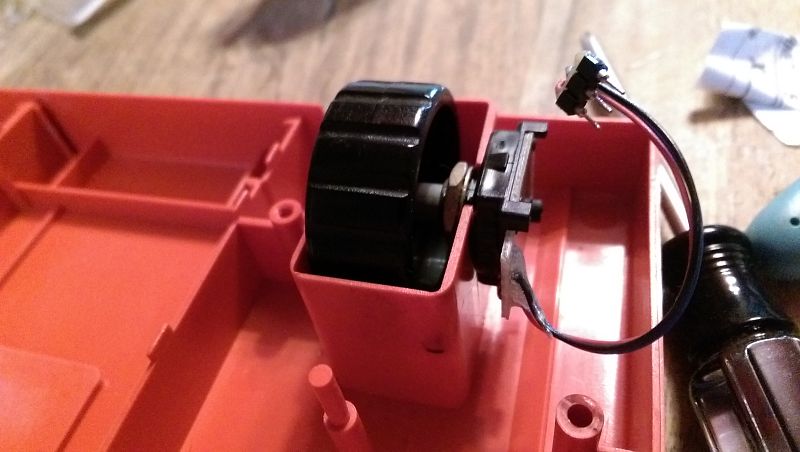
Time to put the Thumb Wheel back into place. I loosened the nut a bit slid it in, then gave it a tighten with the needle nose pliers. Give the wheel a spin to make sure it's not binding you may have to fiddle with the alignment a bit to make it good. My encoder was bent and had some mechanical issues. I have a sample replacement part I'm going to try to see if I can make it work. I also put very little oil on the side of the wheel to see if that might help make it smoother but the encoders shaft has seen better days and it's just warped or bent from use. Again now is a good time to check that the pins are straight on the connector, they must be or you will never get it back into the PCB socket.
Reinstall the Main PCB Screw
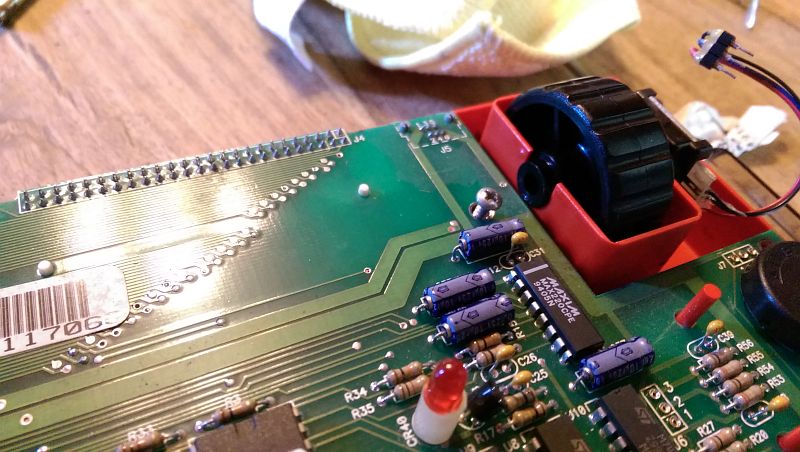
After things are all aligned and seated put the only screw back that holds the PCB in place. This can be seen next to the Thumb Wheel. You can see the red pegs poking up through the PCB on the right. Also this is a good time to carefully wipe the RED leds (4 of them) on the PCB. You can see one on the lower center of the image. Do it with a damp rag and be careful not to bend them.


