Ford Expedition Rear Brake Job
We get into it here, removing the caliper bracket, and towards the end of the page we start getting things back together. Keep things clean as you mess with the new rotor and pads, you do not want any grease on those parts other then where noted. Also make sure you use care when handling the caliper as the rubber brake line is still attached.
Get back to it!
Remove the Rear Caliper
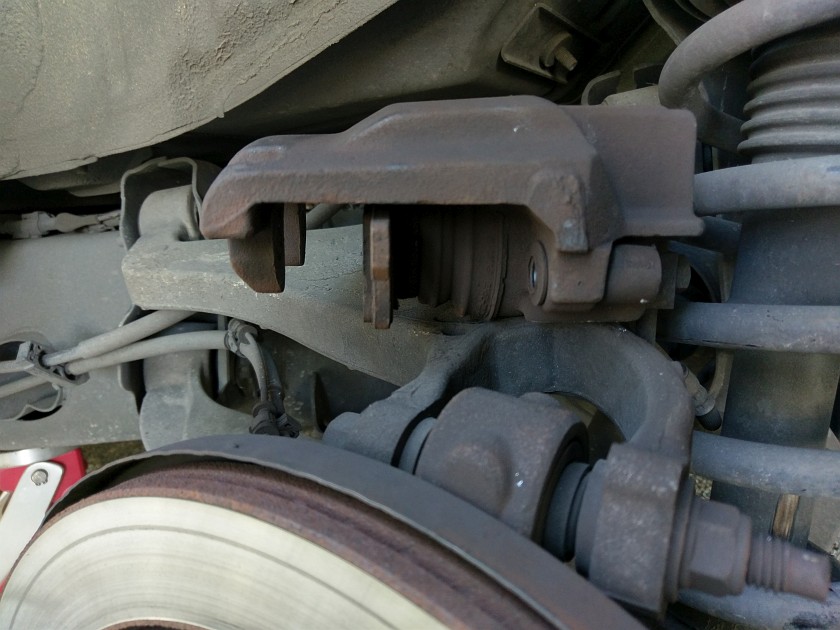
Time to remove the caliper since the rattle clip and the slider bolts have been removed you can now liff the caliper off the rotor. BE CAREFUL of the rubber hose and try not to twist it other then to lay the caliper on the suspension parts. We still need to remove the inside brake pad from the caliper, so hang on for that.
Caliper Removed, Outer Pad Exposed
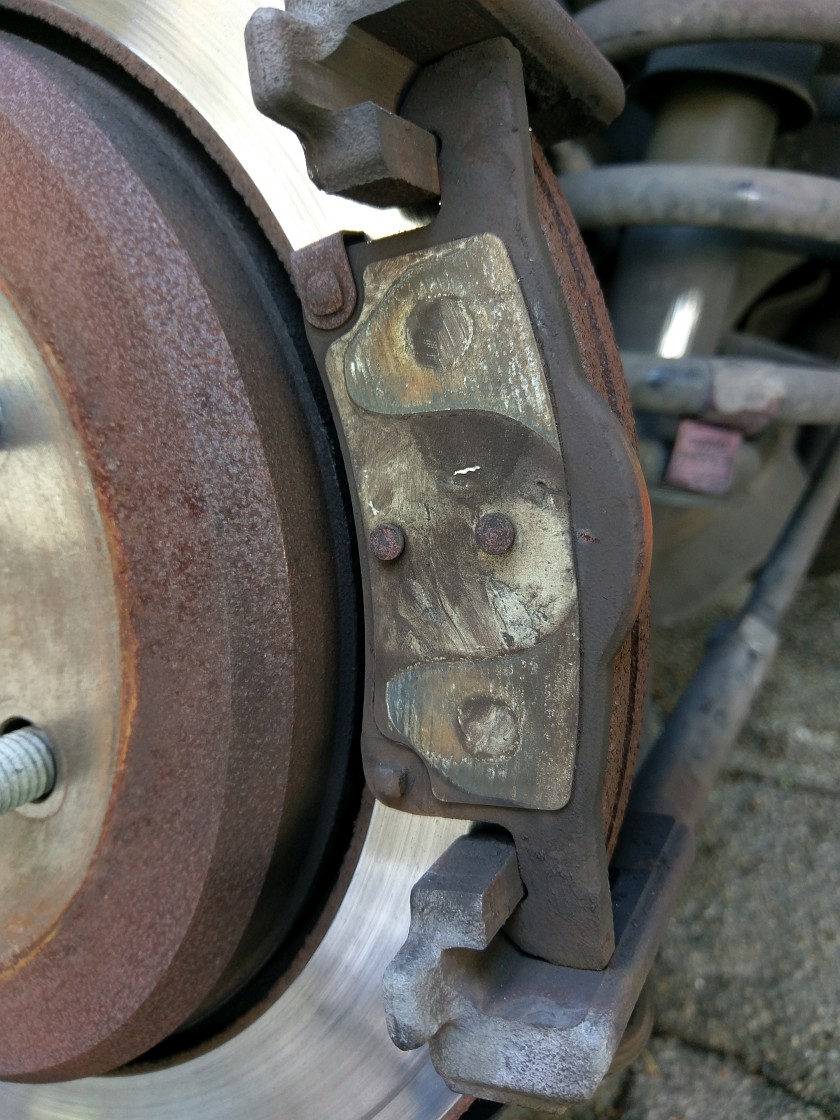
Now that the caliper is safely stashed on the suspension, time to pull off the outer brake pad. Again note the rusty little tab on the brake pad, this is the wear indicator and should be replaced in the same position (UP)
Remove Inner Pad from Caliper
Now get the pad that we left out of the caliper. This think is held in with a 3 finger spring and will want to pop back in unless you get it all the way out. If you are using any sharp tools be careful of the rubber boot that surrounds that piston. Also not how far the piston is pushed into the caliper. With a new set of brakes and rotor it will have to be as far in as you see this. IF you forgot to compress the piston and are at this point in the job, you will need a brake piston compressor or some wood and a pry bar to move it back in. Just saying... Once done with this if you are not replacing the rotors (bad move) you can just replace the pads and skip ahead.
Remove Caliper Bracket
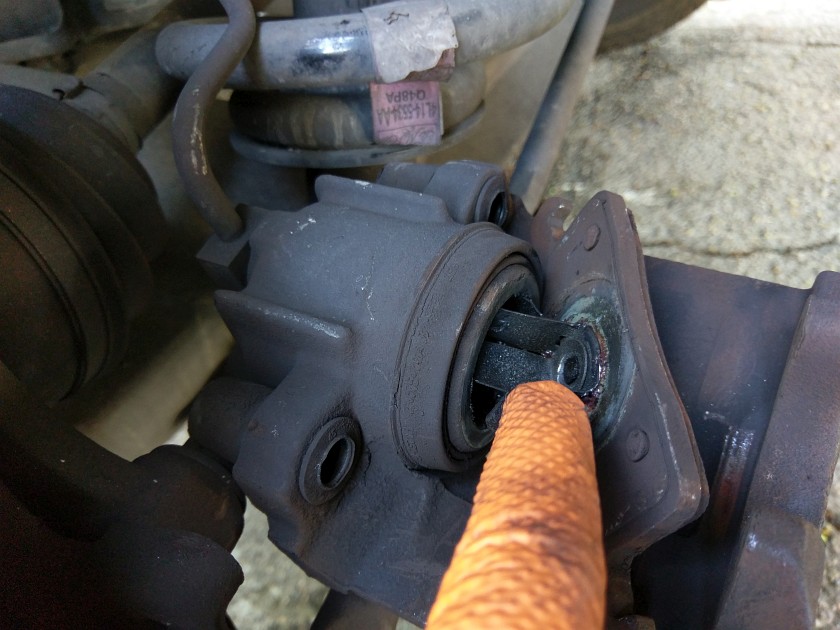
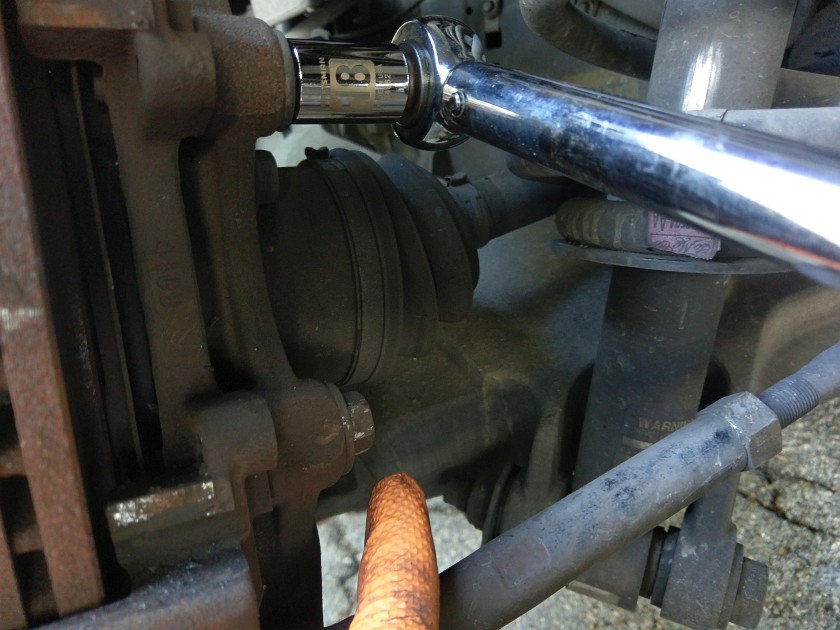
Now to get the rotor off the car you need to remove the caliper bracket (it may be called various other things...). Their are 2 18mm bolts on the back that can be difficult to remove. You may need a breaker bar or being lazy I used the torque wrench to get them out. Remove both bolts and pull the bracket off.
You can Navigate to any of the pages in this project by the BELOW drop down menu or use the NEXT or PREV links
Caliper Bracket Inspection
The caliper bracket has a few points where the brake pads ride on it. While I have never seen one that is in bad shape they should be checked to make sure they are relatively flat and smooth. The brake pad sits on this and as the pad wears out slides to adjust. Also this will be a point where you can apply some disc brake lube on re-assembly (very sparingly).
