Multi-Camera Action Camera Mount


This is sorta' a V2 of the original camera mount. The original mount had a double lipstick camera and a custom mount I
made for them many years back. Now all the camera are self contained, and my favor is the Sony series. Have a few of
'last years models' that I got for a good price so time to get them all going for an upcoming track day with the Los
Angeles Shelby Club. The new mount was fabricated out of a scrap piece of 1/4" aluminum plate. Likely could have used
thinner, but it's what I had. I also had some Panavise mounts, and they are really durable, enough so that they seemed
overkill but I'll start with what I have to save some $$.

Needed Supplies

Aluminum Plate I would say at least min 3/16",  I used 1/4" as it's what I had.
Camera Ball Heads -
Panavise (Super Heavy Duty  Amazon)
Koolehaoda (Smaller Mount, Amazon)
1/4"x20 coarse thread bolts, pretty short, you may need to chop based on what you have.


Tools used

Drill with a bit sizes for 1/4" bolts
Saw - Jigsaw, band saw, etc to cut your metal
Something to Measure with, right angle square also a help!
Dykem always nice too.
Click for Contact Page Click for Contact Page

Camera Mounting Plate


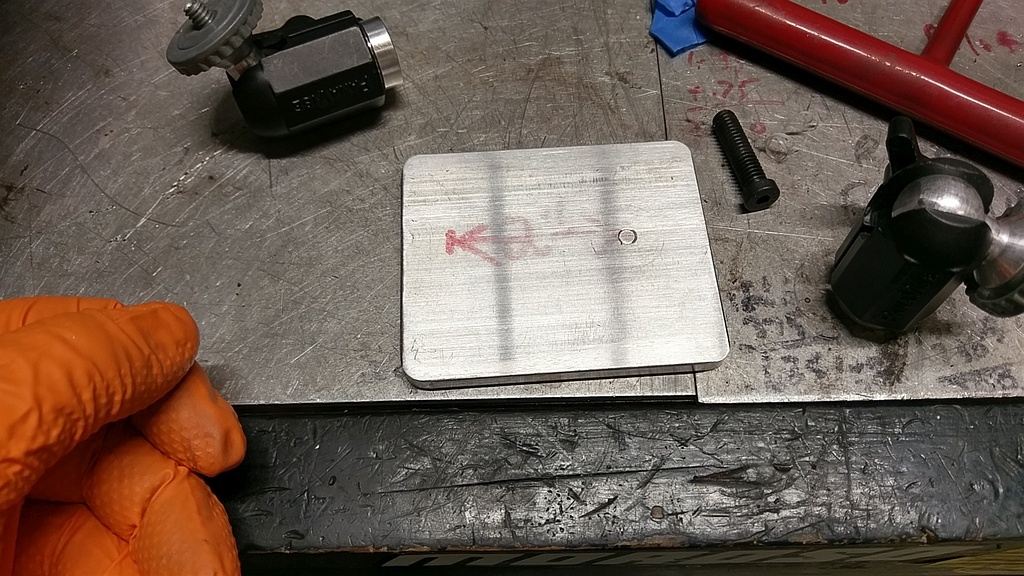
Digging through the scrap bin I found a nice piece of metal. It only had a few scars and after some belt sanding and fillets on the corners. You need to make sure that your piece will be able to mount camera in a way that you can get to the buttons and swivel as needed. I had plans for just 2 camera, but decided I could add a third action cam point backwards if desired. The Sony action camera display and settings are on the sides and start/stop buttons on the back so this would work well.
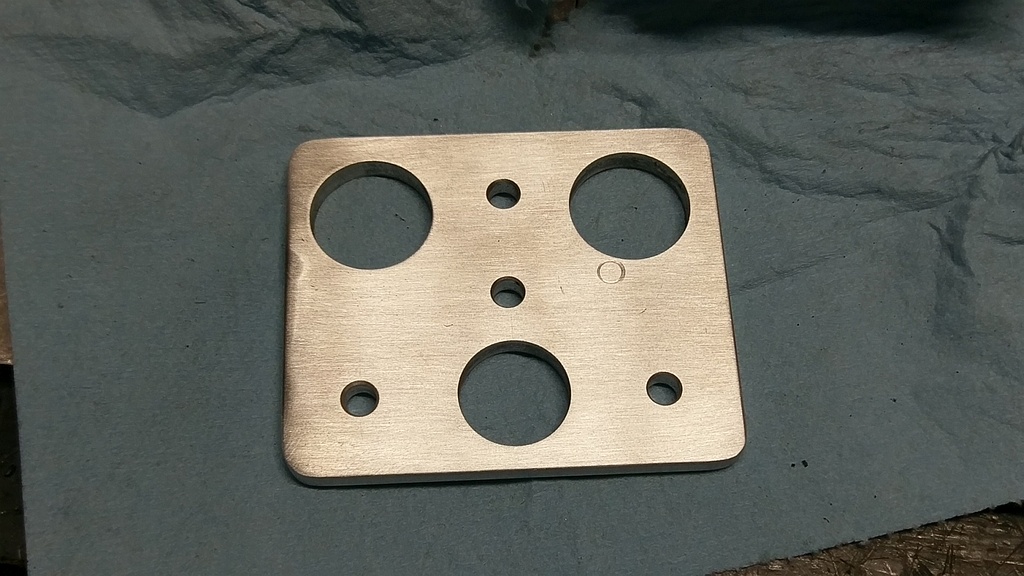
Aluminum plate used for the Camera Mount

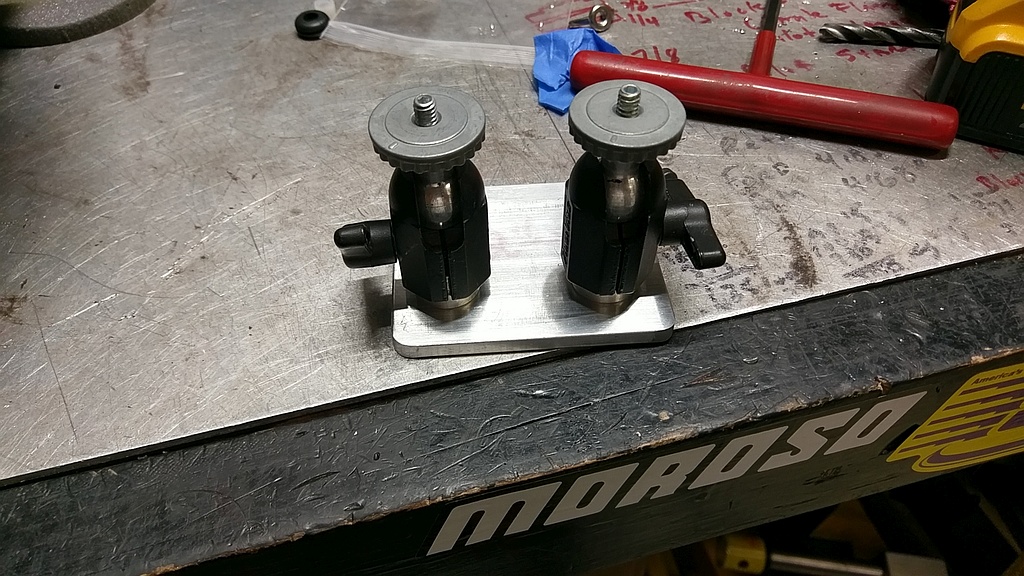
Initial Layout of Panavise Ball Heads


The 2 Panavise ball heads that I had in the tool box were used to figure out how to mount things up. I used these along with the Sony camera's to get spacing so that all three could fit. I only had 2 heads, but you will get the idea.
Initial layout of ball heads

More Dykem!


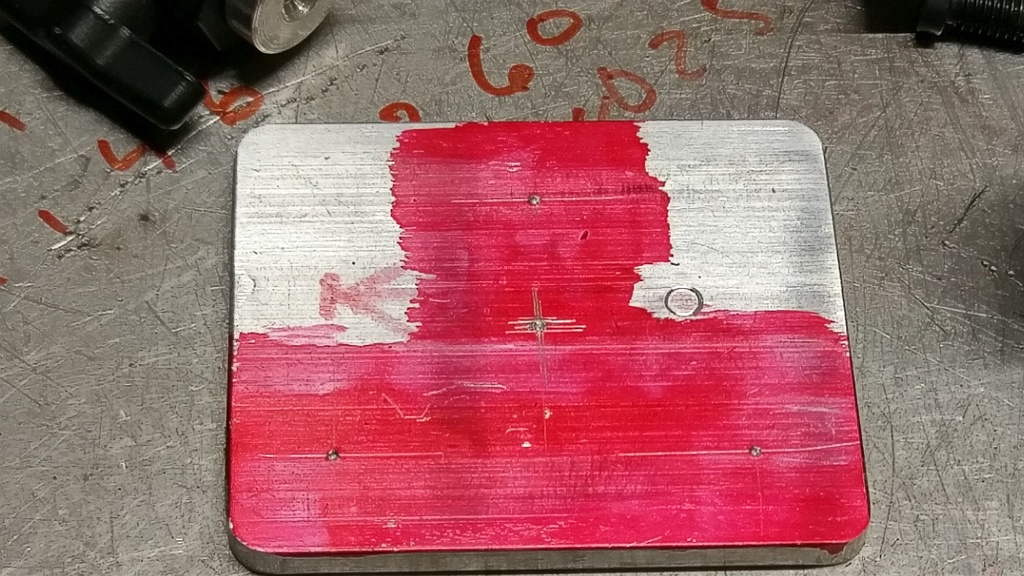
OK, maybe the fumes are getting to me. In any case it helps to mark things up and accurately center punch all the holes. Based on your size of metal you want to space things evenly from the edges and front to back. Makes it look nicer and like someone knew what they were doing...
Dykem Marked Mounting Plate

Mounting Plate Drilled and Countersunk


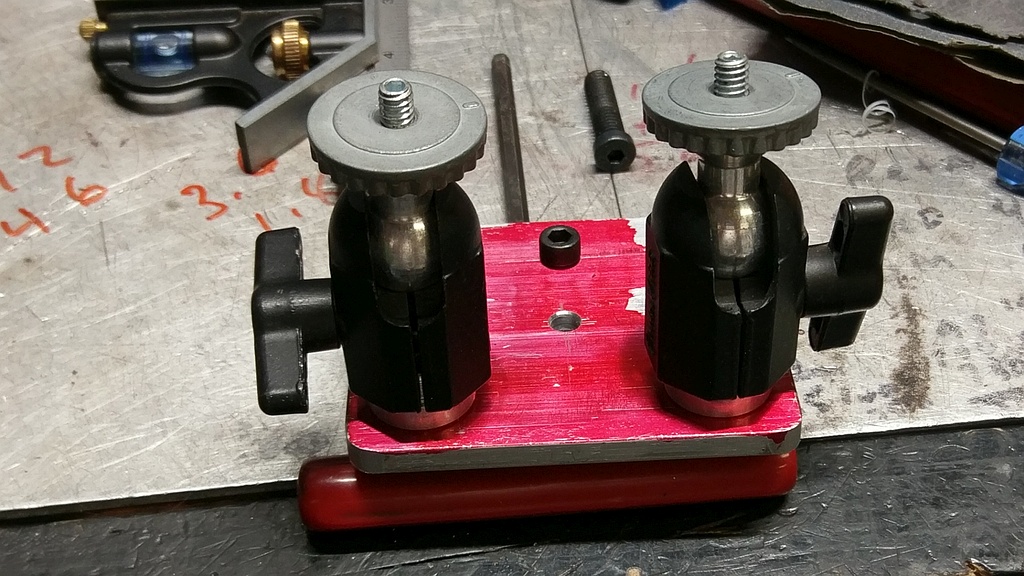
A quick drill job, some dandy work with the countersink set I had the plate about done. Well So I thought, things never get done around here. The back hole has a socket head stuffed into it for now since I only had 2 mounts. Center hole is also 1/4"
Camera Mounting Plate Drilled Out

Test Fitting On Mustang's Roll Bar


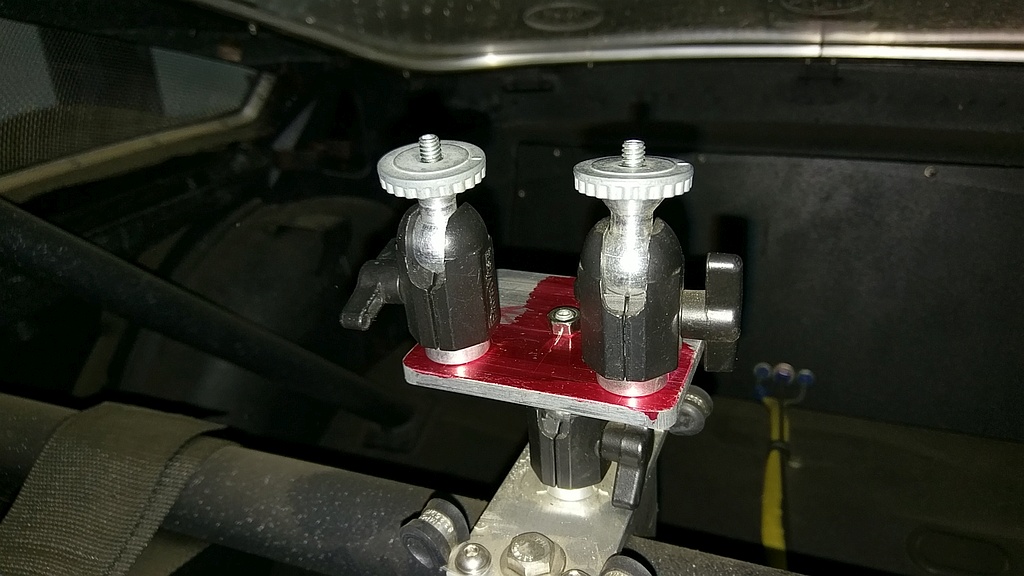
The old mount that bolts to the roll bar is still in the car. See more info on the first Camera Mount HERE. The base of the mount is for a Panavise mount that expect the ball end on the top plate. This allows a lot of freedom to swivel and twist things around. The plate is a bit heavy, adding to it is the Panavise mounts (all metal, super strong). I'll fix some of the weight issues.
Test Fit on Mustang Roll Bar

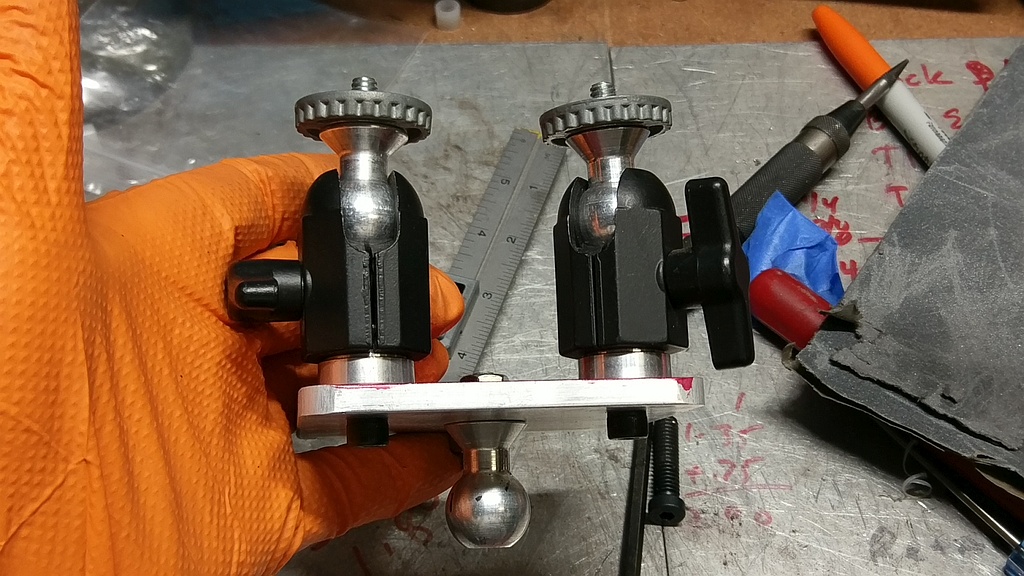
Side and Bottom View of the Action Camera Mount


Just the size view. The ball end would connect to the roll bar's Panavise mount. Again, the Panavise mounts are pretty robust.
Side View of the Camera Mount
Bottom View of Camera Mount

Lightening Things Up


Using the Rotabroch tools I have, I drilled some holes to rid the mount of some weight. I think I would rather have a thicker and more ridged plate with some holes than thinner metal. Better to have low flexibility and a little weight.
Action Camera Bracket Lightened

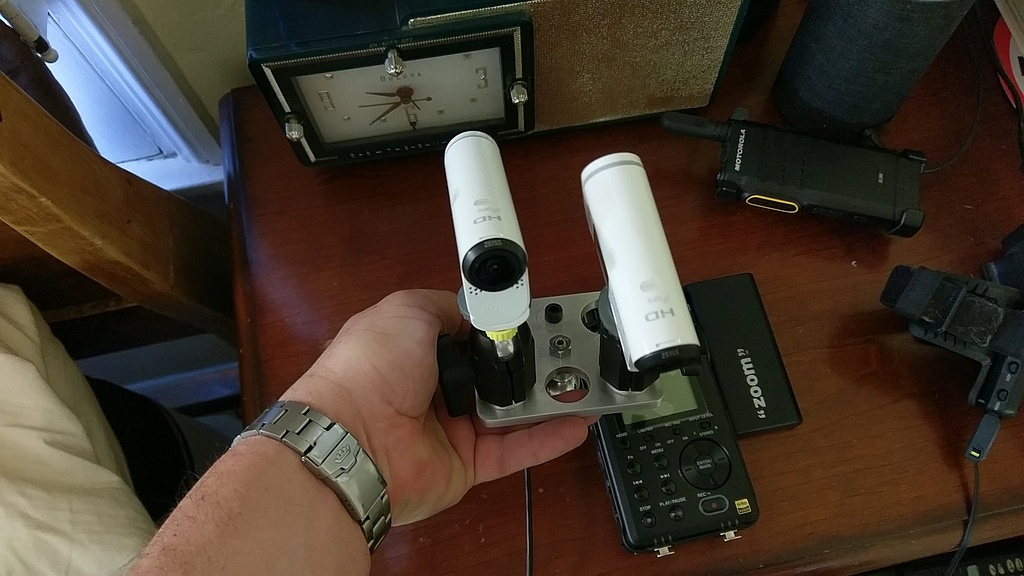
Pair of Sony Action Camera's Mounted


Now to mount a couple of the Sony cameras. I only have 2, but the third one will fit between the others by removing the socket screw (or is that bolt) in the back. Lots of room for them to articulate, they also fit well with the waterproof case that can be used.
Sony Action Camera's Mounted

Updated Camera Mounts


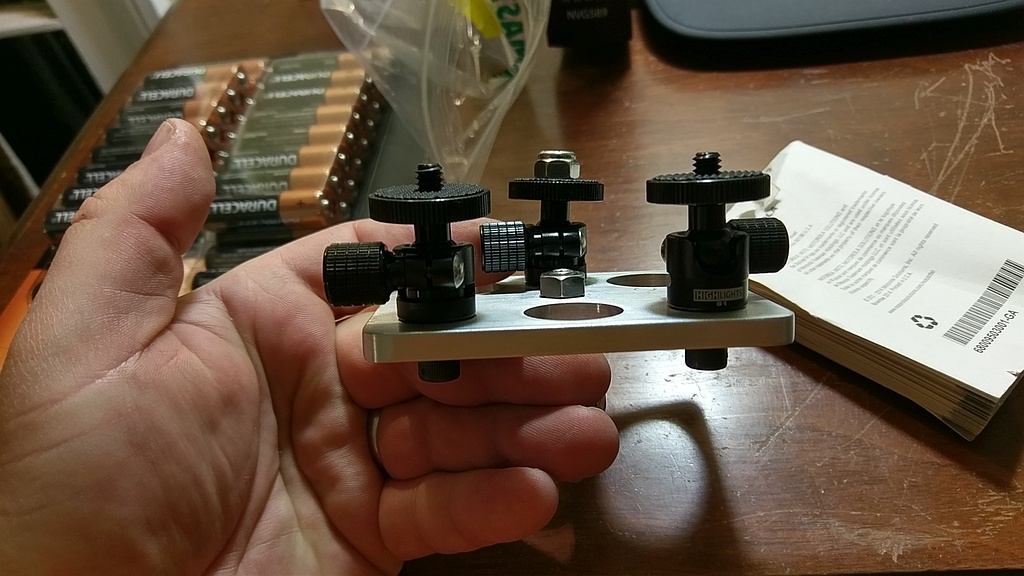
In trying to reduce the weight a bit, I got some low cost camera mounts from Amazon. These were a only few bucks each so fitted 3 to the plate. These are about 1/2 the height of the Panavise which could be good or bad. These are no where as heavy duty as the Panavise, but they should hold the Action cameras just fine. I liked these as the locking mechanism is a bolt that clamps the ball. This will be easy to set up and then Locktite once things are visually good.

Conclusion

This is a pretty simple project if you have an existing mount, again check out the V1 of the camera mount for other ideas. The V1 mount was used to hold a Camcorder so it's a tad overbuilt.

One things to watch out for is the ultra cheep mounts. They will not stay tight and you likely will lose a camera to it flying off or it getting bashed around.

Enjoy and get your projects done!
Updated Camera Mounts