Sunbeam Tiger Leaf Spring Bushing Upgrade
This is the SECOND attempt at the leaf bushings. After pulling all the parts and re-measuring the eyes it was found that they are not 1" as previously though, but actually 7/8". This was actually a good thing as off the shelf parts from McMaster Carr could be used! No more custom machining needed. THESE SPRINGS ARE NOT STOCK TIGER SPRINGS. TO USE THIS METHOD YOU WOULD NEED 1" or 7/8" eyes. This will apply to all Tigers and possibly Alpines with respect to the frame bushings if you move up to 1/2" bolts.
Parts used, all from McMaster Carr -
Bronze SAE 841 Bushings (These are Oilite, Use SAE660 if you want non-Oilite)
6338K478 SAE 841 Bronze Flanged-Sleeve Bearing for 5/8" Shaft Diameter, 7/8" OD, 1-1/4" Long, 1-1/4" Flange OD
6338K434 SAE 841 Bronze Flanged-Sleeve Bearing for 3/4" Shaft Diameter, 1" OD, 1-1/4" Long, 1-1/4" Flange OD
Delrin Sleeve
8627K169 White Delrin Acetal Resin Tube, Tight-Tol. 5/8" OD x 1/2" ID (Leaf Bushings)
8627K199 White Delrin Acetal Resin Tube, Tight-Tol. 3/4" OD x 1/2" ID (Frame Bushings)
Delrin Sheet for Thrust Washers
8573K31 White Delrin Acetal Resin Sheet 1/16" Thick, 12" x 24"
Again note that I am using 1/2" leaf spring bolts vs. the 7/16" as is stock on the Sunbeams. This is for a couple of reasons, one is it's a stronger bolt, but the main reason is that 7/16" diameter Delrin and related Bronze bushings are more difficult to find. Using 1/2" bolts makes all the parts easy to get. The heavy duty shackle were re-drilled so support 1/2" shackle and frame bolts.
Install Frame Bushings
Check out the Sunbeam bushing tool for how I removed the old rubber and steel frame bushings (this should apply to Tigers and Alpine's). I installed the 1" OD bronze bushings again using that same tool. After installation bushings were sized correctly using an adjustable hand reamer until the 3/4" Delrin sleeve fit smoothly and with little restrictions. The length of the tube/sleeve can be determined after both frame bushings have been installed by measuring across the bushing faces with a caliper.
Install Leaf Bushings
After getting the frame bushings installed and properly sized I moved onto the leaf spring bushings. This was more problematic since the springs eyes were not sized correctly and the bushings were a bit loose. Off to the hydraulic press for some squeezing. The results were OK, but note that this will change the size of the hole and make it not exactly circular (not that it ever really was). After pulling in each of the bushings (one side at a time), I could see that the bushing had actually deformed to the shape of the non-round spring eye. My hope that with some hand reaming I would make it all good. I started with some very light cuts and progressively made the reamer larger and noticed the hole was becoming round again. I was always checking with the 5/8" Delrin to see when it was getting close to fitting to make sure I didn't ream too much. After about 6 runs with the reamer the hole was nice and round and a perfect fit to the tubing. Do this for each of the spring eyes...
Cut Thrust Washers
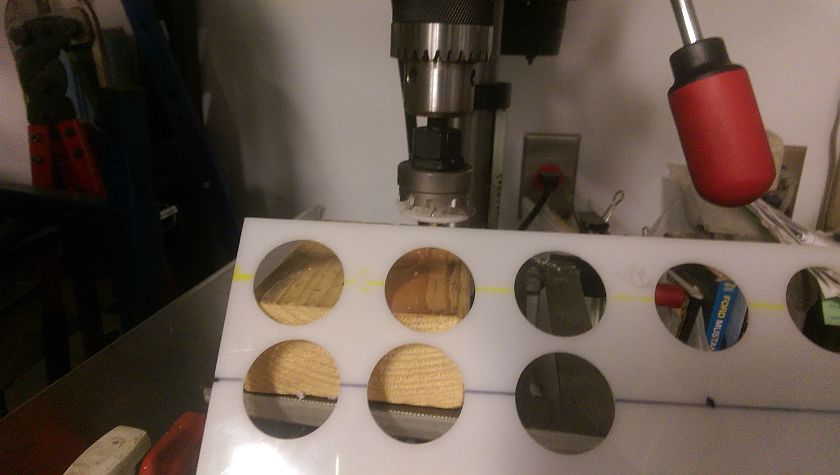
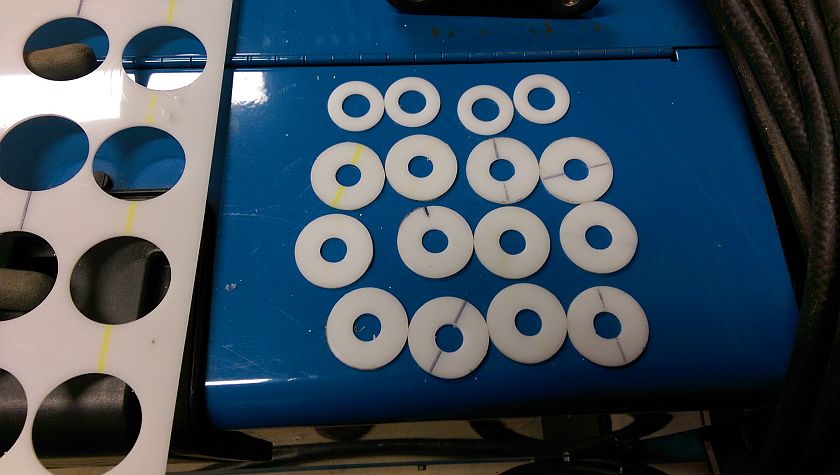
After that mess was done on to some easy things. Using some 0.0625" Delrin sheet I made some LARGE diameter thrust washers. McMaster only sells 1" OD for a 1/2" shaft and I wanted a bit larger size. The 1" likely would have been fine, but they are expensive as a sheet so I got a sheet and pulled out the Blair Hole Cutter and cut a bunch, then resized the hole with a Unibit. They came out pretty good and were about 1/10 the cost of the pre-made ones. In final fitment you may need more then one on each side of the bushings. If you have a lot of room you can also get thicker Delrin sheet from McMaster.
Grease up and assemble, onto the next project. Pics below!
See Below (way below) for the original design. It used machined aluminum based on your spring eye diameter.
Sunbeam Tiger Leaf Spring Bushing Upgrade - OLD
In looking at the rubber leaf bushings and how the are set up on the Tiger I thought while upgrading the shackles it would be a good idea to look at the bushings. I had a lot of ideas on how to fix this up, one was using SAE 660 Bronze bushing material and just run the bolt through that. Then started to think about the Global West Bushings I have on the Mustang, and thought, Delrin is a good material for this task and started looking in the McMaster Carr catalog for parts. They have it all, except for 7/16" ID Delrin bushing material (and most other material). So either would have to make my own or just upgrade the leaf spring bolts to 1/2" where more off the shelf parts exist. It's all very easy except for the one bolt in the rear chassis. I'm not sure yet how to remove that bushing.
For the side washers I ordered a 12"x12" sheet of Delrin and have a good sized hole cutter (The Blair Rotabroach) that hopefully will cut nice clean washers for the 1.5" side, the other side is available from McMaster (1"). I think it would not be a problem to use the 1" pre-made washer on the 1.5" side of the bushing.
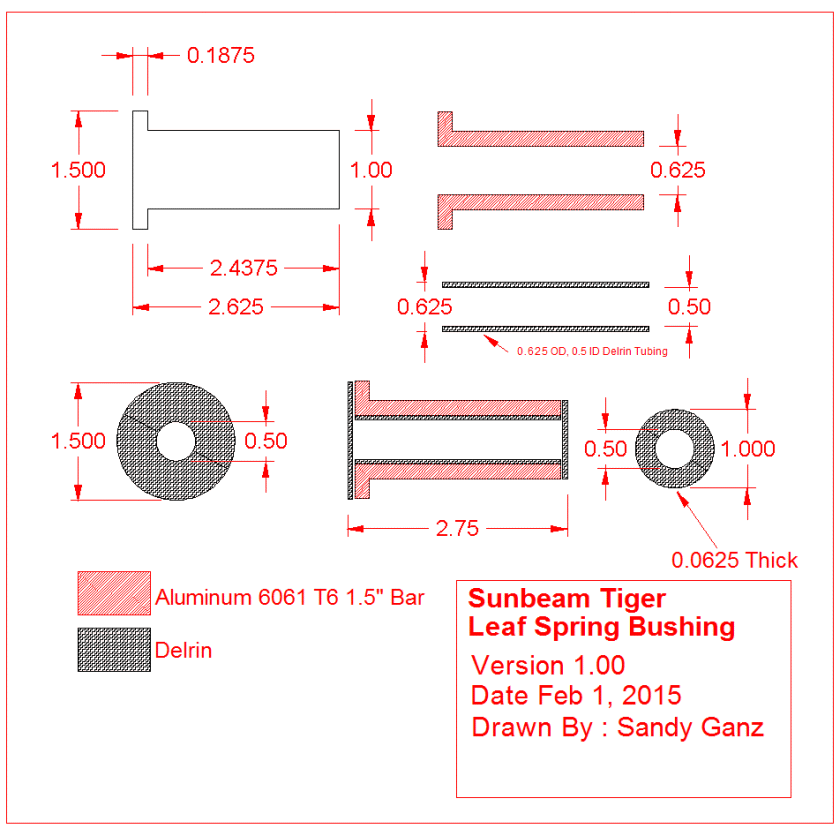
This could also be made with 1" bar stock if you want to forgo the positive stop to center the bushing. If you are good with a press just make it 1"x2.625" and press centered in the leaf spring eye.
The Tiger springs are supposed to have a 0.98" size for the eye in the leaf spring which should present enough press fit on a 1" bar stock of metal. My springs are not stock, not sure what they are, but seems the bushing is more like a 0.95" press fit. Adjust diameter as needed if your springs are different.
McMaster had Delrin bushing in various sizes but not one with the stock 7/16" bolt. That and a few other reasons will cause me to update the bolts to 1/2".
So to say this again, this project requires 1/2" leaf spring bolts NOT the stock Tiger 7/16"
Pictures will come as I get parts made - THIS IS YET TO BE FIT OR TESTED ON MY CAR CHECK FITMENT BEFORE USE
NOTE : AFTER CHECKING THE SPRING EYES ARE 7/8" Id so the OD of the bushing must change for that. See Above for another solution that was done.
Tiger Rear Frame Bushings
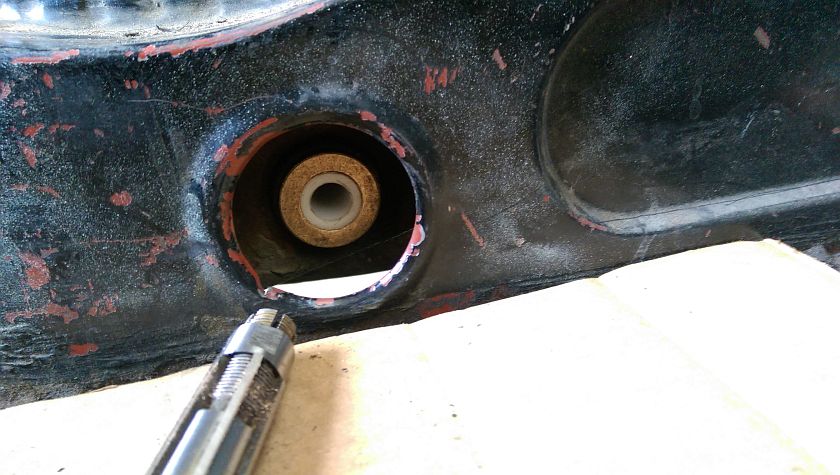
After pressing in the 2 Bronze bushings they needed to be sized. Any time you press a these bushings in expect the ID to get smaller. How much depends on how tight the fit it. I planned to size with these hand reamers so things would be correct. See the Sunbeam Bushing Tool for more info on how I got these bushings in an out!
Tiger Rear Frame Bushings Sized
After some reaming (checking size often) the Delrin sleeve fit with very light friction and no binding. Length of the tubing should be just about the same size (or slightly less) then the outer edge of the flanges on both bushings. Measure with a caliper.
Installing Leaf Spring Bushings
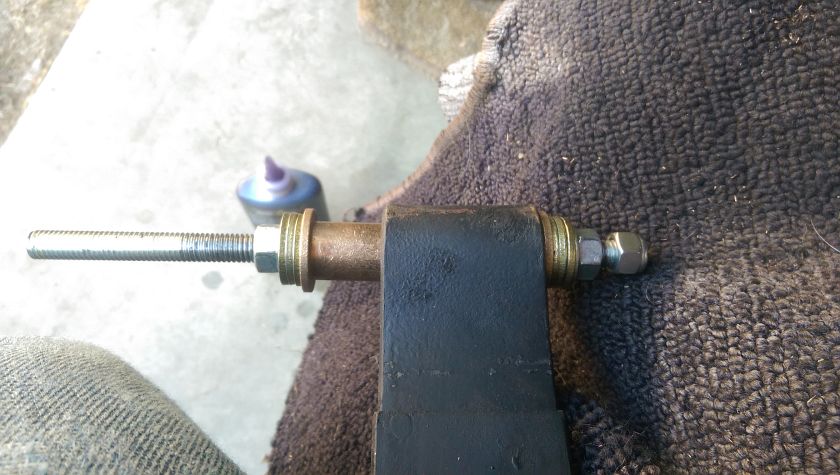
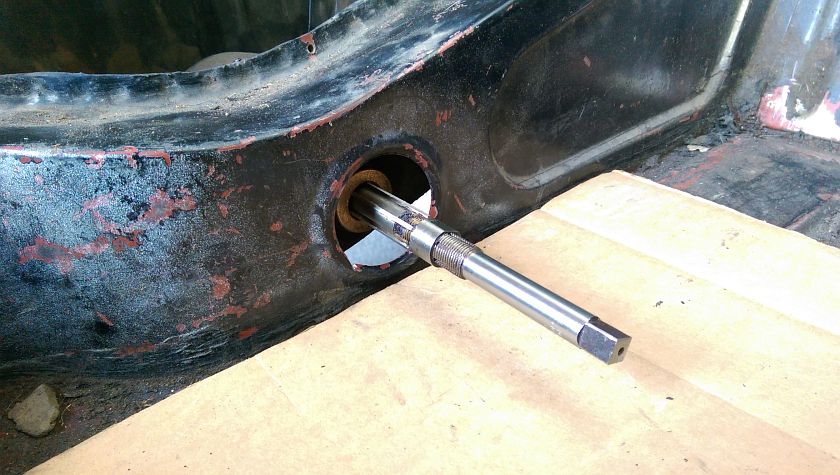
After the spring eyes were closed up a bit to cause a press fit, not a wobble fit, the all thread rod was put back into service with a few washers. I chamfered the ends of the bushings to help them start a bit easier. Then slowly cranked one side in at a time. I would NOT recommend trying to do them both at the same time. Pull one in at a time. After I did this I noticed that the non-round spring eyes distored the bronze bushings. No worries, next step will fix that...
Reaming Bronze Bushings
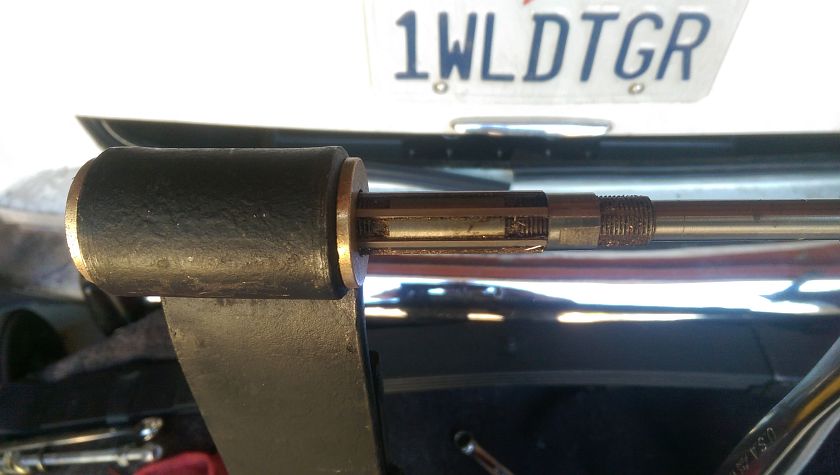
As mentioned the bushings were not round after pressing (well pulling) them in. I started with just a slight resizing on the adjustable hand reamer. I worked my way slowly up to the right size which cleaned up the out of round and allowed the Delrin tubing to slide in freely and twist without any binding. If you want to know how to remove these bushings after install shoot me a message (click the spark plug in the very top right).
Delrin Sheet
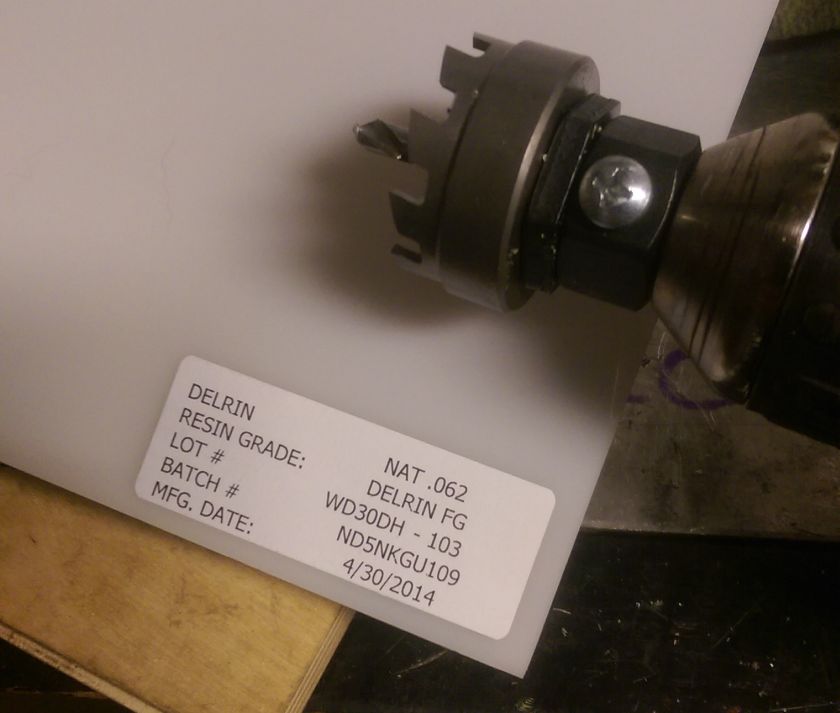
This is the material I made the thrust washers from. I used a Blair Hole Cutter which gave a nice clean cut and close to the size I was looking for. Not its intended use but worked like a champ.
Cutting Delrin Thrust Washers
Just start cutting. I cut a ton extra just in case I had to double up the washers.
Bushing Delrin Washers done
After cutting the circle out with the Hole Cutter, I used a Unibit to enlarge the hole to 1/2". It was much easier and cleaner then trying to drill a hole with a twist drill (not recommended). The top row is the largest 1/2" ID washers you can get from McMaster for size comparison. Sometimes bigger is better...
And In Conclusion
Yeah had to be said. At this point the frame and leaf bushings are installed. Now re-assemble them back onto the car if you are done messing with the springs. I'm not quite done yet, but close. Again watch out for the ID changing shape and size after pressing the bushings into the frame and leaf springs. Make sure things are clean, free of shavings, then greased up everything and assemble.
BELOW IS THE OLDER IDEA THAT I HAD


