Sunbeam Tiger Electric Fan Installation
This is how I installed an electric pusher fan on my Sunbeam Tiger. It did require some minimal metal trimming to
get the fan where I wanted it. The goal was to not have a lot of bracketing in front of the radiator and to mount the
fan as far away from the radiator as possible. This was done after reading various cooling articles about the Tiger
and what seemed to work best. Some folks had offset the fan to only need one bracket and bolt to the existing
radiator support. I opted for the center mount with some strong but non-restrictive bracketing.
Tools and Supplies Needed
Things to cut metal
Things to bend metal
Things to weld metal
Things to file and grind
Various nuts and bolts, most of what I used was 5/16" stainless button head bolts
The fan that I stated with was a Spal 12" Pusher and found that it was a tick larger then I could fit. So I
picked up a Spal 11" pusher fan which was just about right. With some extra work I could have made
the 12" Spal work but seemed not worth the effort as neither will likely keep the car as cool as needed
given the motor that is going in the car. Most of the fans I looked at were of dubious quality, and I can
say that the Spal brand is used by OEM's and their site had factual and detailed information about each
model. The Spal fans I used were paddle blade and seem to move a lot of air given the small size. They
are not very quiet but that was not something I was worried about. Most important is that the fan moves
a LOT of air given the small size.
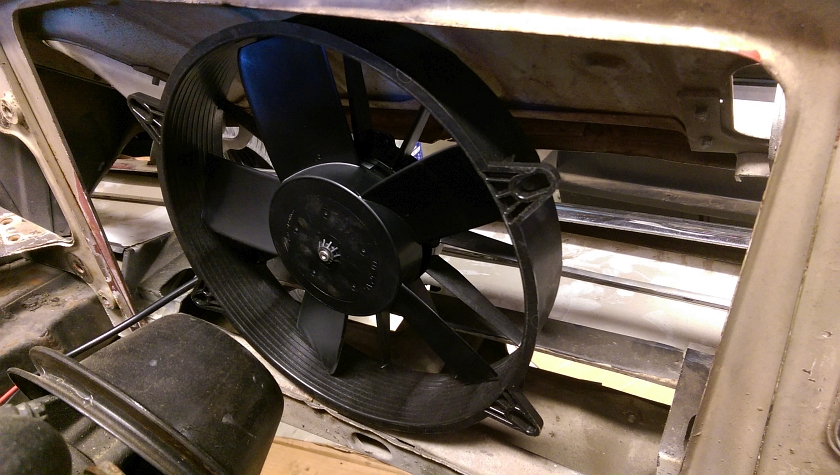
Offset Fan Mock Up
This is one possible installation of the fan. The radiator opening is small, and with the bottom seal (the fan is resting on it) in the way it makes for some work to do a larger fan then 11 or 12". While some fans may be that size they may not be as thick as the Spal fans or as good IMO.
Top Side Mounting Bolts
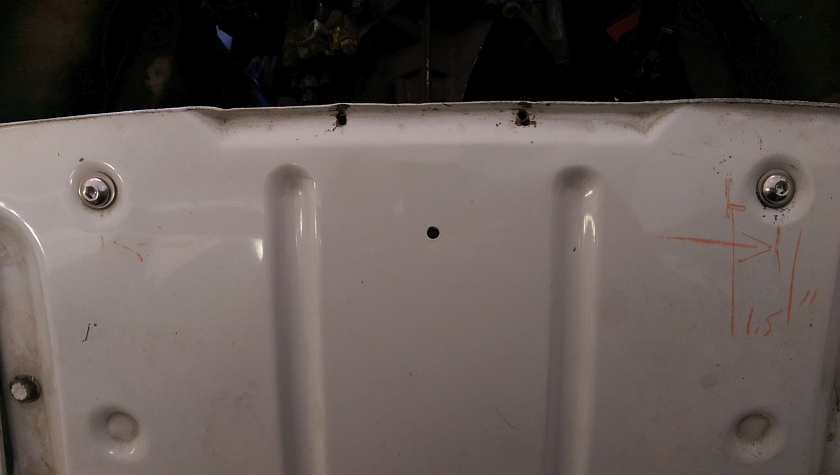
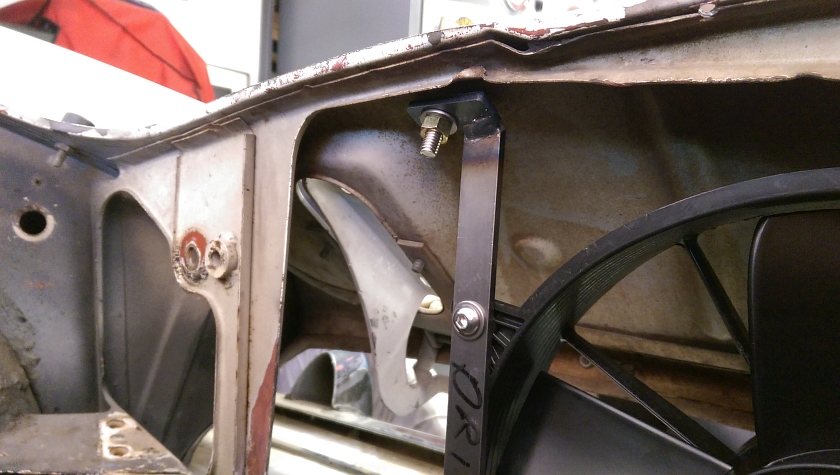
Looking down on the front of the car I reused 2 of the dimples for mounting the top of the brackets. I used 5/16" stainless button head bolts that fit really nice. Note that the bars are NOT straight down to align up with the fan, as the width of the fan was less then the spacing of the 2 dimples the brackets have the top offset a bit to make it fit.
Bending The Bracket
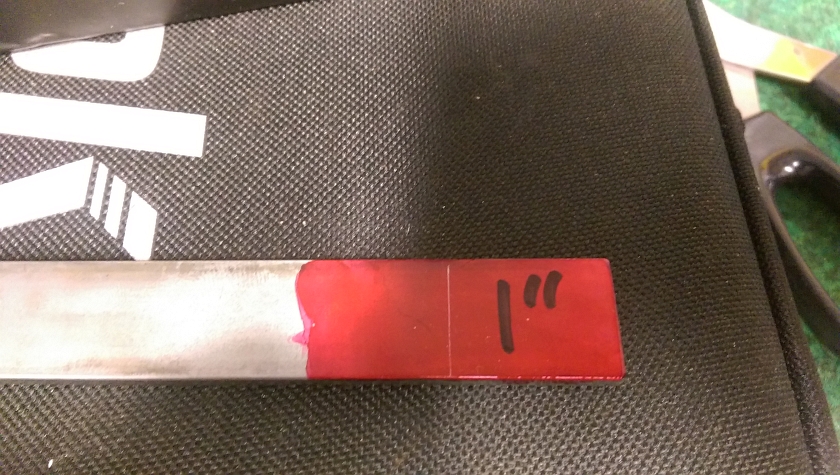
I thought I would just weld up both the bottom and top of the bracket to tabs that would follow the contour of the mount points... But I had the bright idea of just bend on side of it since I could manage the angle of one bend and then just weld the top plate on. Needed about 1" of material for mounting on the radiator opening.
Under Side Of Hood Mounting
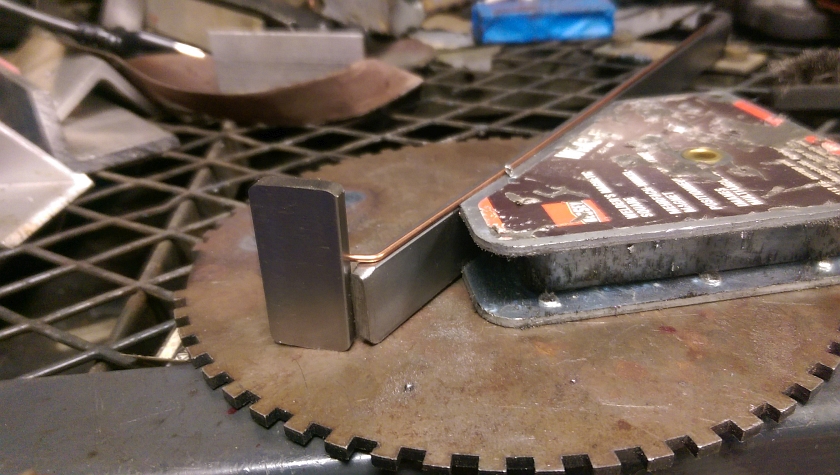
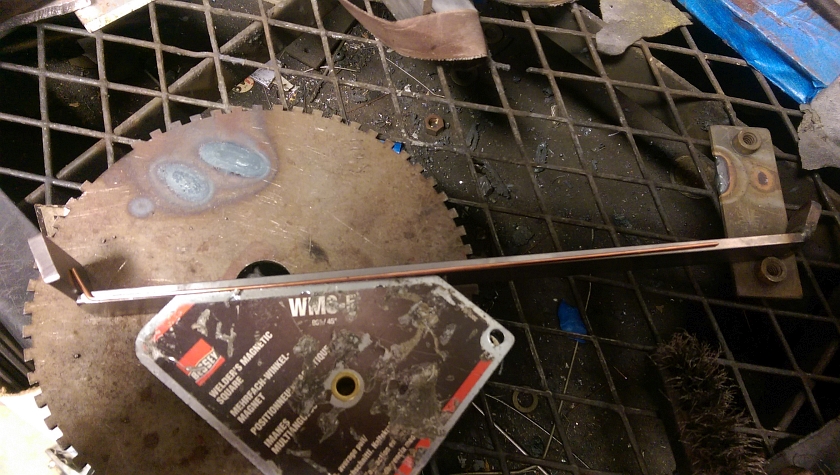
This likely should have come a few pictures above but I'm too lazy to move things around. Angles are odd and this is where I got the angle bent on a welding rod to use as a guide.
Top View of the Pad
This side will be bolted to the underside of the hood area right above and in front of the radiator
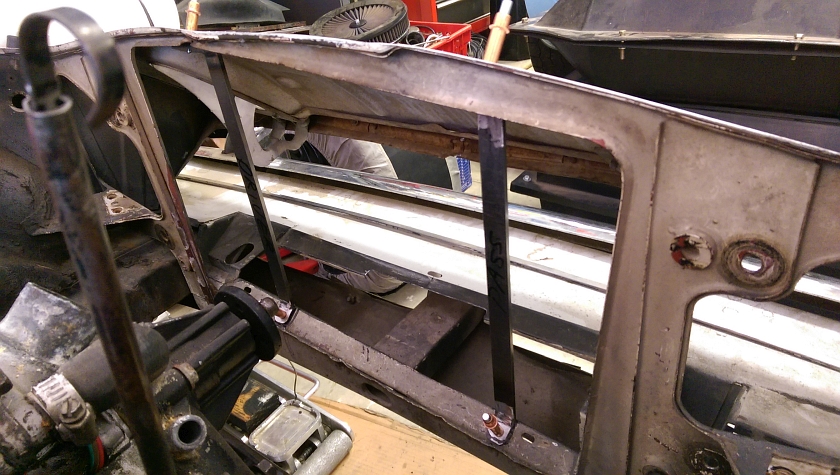
Mocking Up Brackets
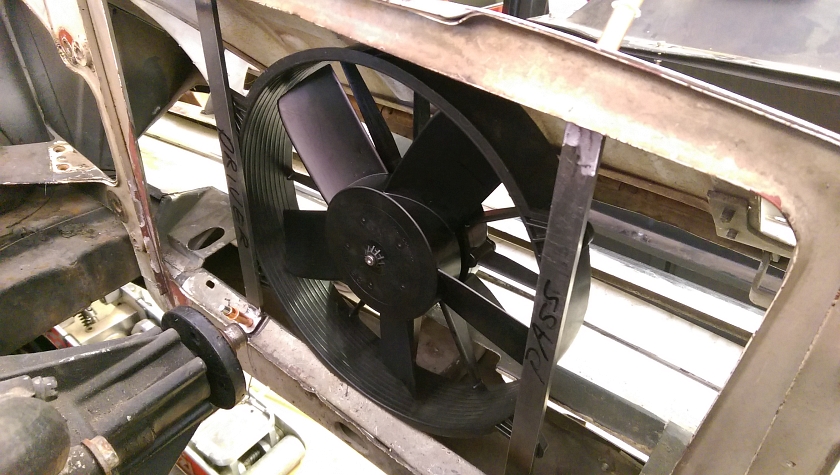
The brackets mount as shown, they are vertical and the spacing of them allow the fan to be bolted to the brackets directly. Using some cleco's to hold things down is a big help. Structurally these might do some good as things are pretty flimsy. Some trimming of the ends of the bracket on the bottom was done to keep it from getting into the radiator area.
Center Mounting Position
This is the 11" fan stuffed in the center. I pushed down the sheet metal a bit (it will be cut later) to hold it up. The 11" Spal pusher fan had built in mounting tabs on the fan housing while the 12" version needed additional parts. Again these fans are really well made and from the looks of them, would have no issues of chopping off your finger if it gets tangled up in it.
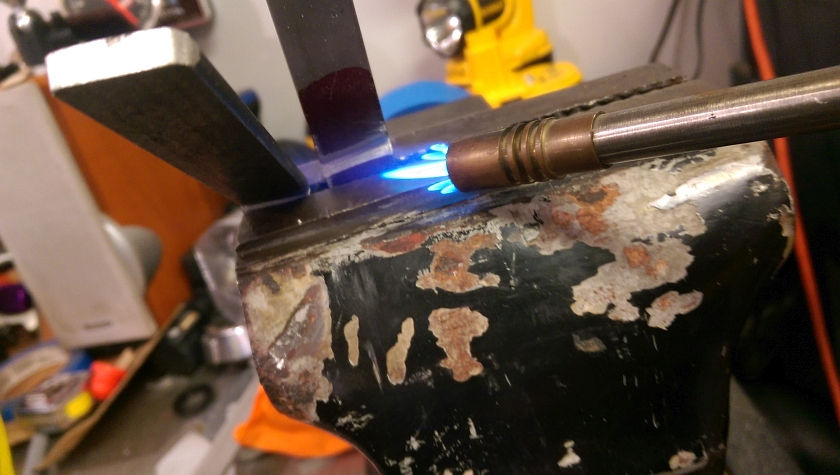
Bending with Heat
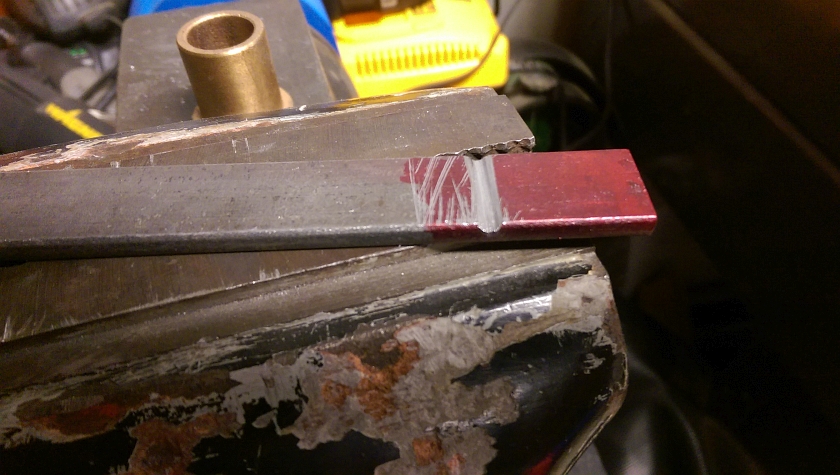
Being too lazy to pull out the Oxy/Acetylene kit out, I got a MAPP torch and got the crack hot (no don't say it). The one bar bent ok without it, but the second one cracked apart. The final one the head did help but still sketchy. At least It stayed together enough to get the angle matched and welded.
Fan Brackets
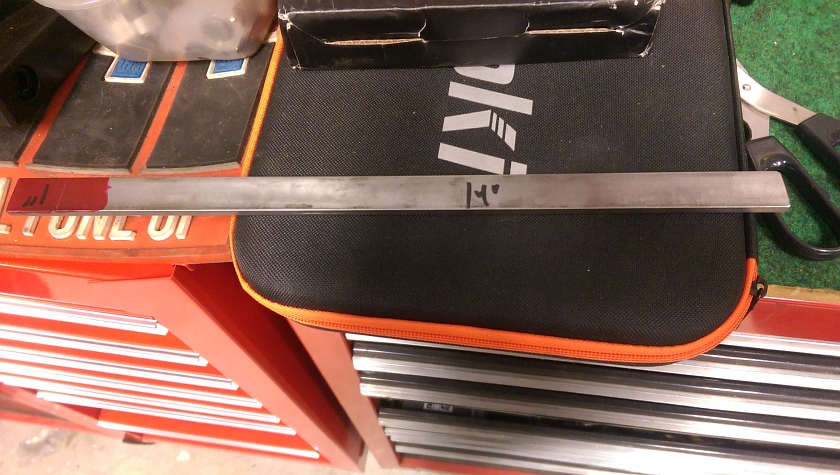
I started off with some 1/8" x 1" mild steel bar stock about 15" long. A few inches additionally will be needed for the mounting plate to the inside top of the hood.
Welding the bracket Parts
After bending the brackets to make them sit on the bottom of the radiator opening, I welded up the BOTTOM 1" bent part to fix that angle. Then mocked up the inside angle and tab for the top bolt that bolts up just under the front of the hood. I used a piece of welding rod to get the angles just right.
Grinding the Bracket
Using a small grinder and a file I cut a notch about 2/3 of the way through the metal bar. I figured it would just bend clean and I could have a nice easy line to weld. It sorta' worked. One piece of the metal was OK, the other was more brittle and just about broke off. I tried a third one with heat...
Fitting the Electric Fan
The brackets push the fan back a bit which is desired. Marking and drilling the holes for the mounting ears was next.
Fan Bottom Detail
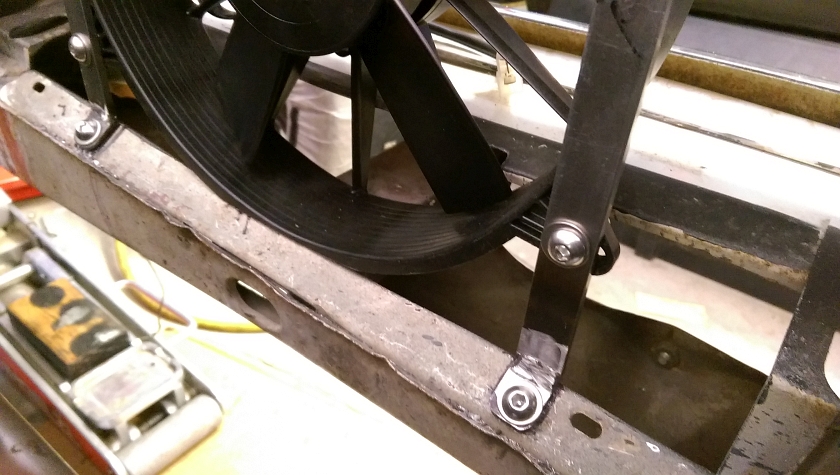
After marking and drilling all sorts of holes this is what it looks like. Things are shaping up, still a bit more to do like paint and some final clean up, but just about done with the brackets.
Fan Top Detail
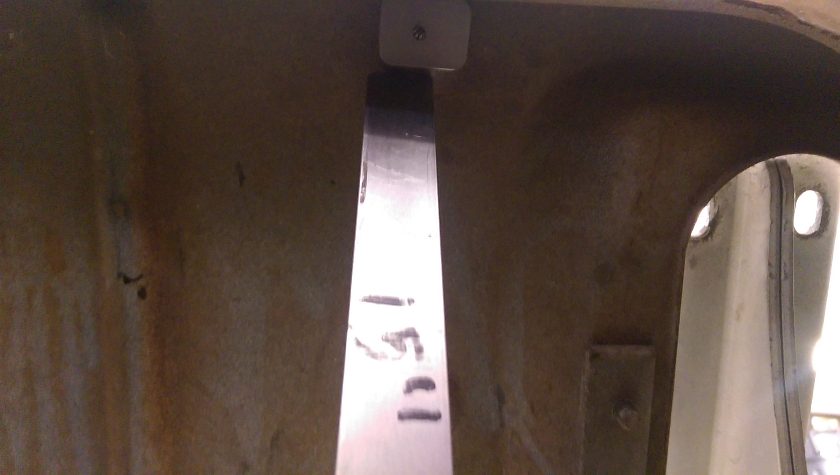
This is how things look up top. NOTE the offset mounting on the top brackets. I can't give a measurement, but the idea was to center the fan and make the top brackets fit as shown. One other NOTE is that the brackets are not the same length between the driver side and passenger side. This is due to the bottom radiator support not being horizontal. Take this into account as you make your brackets
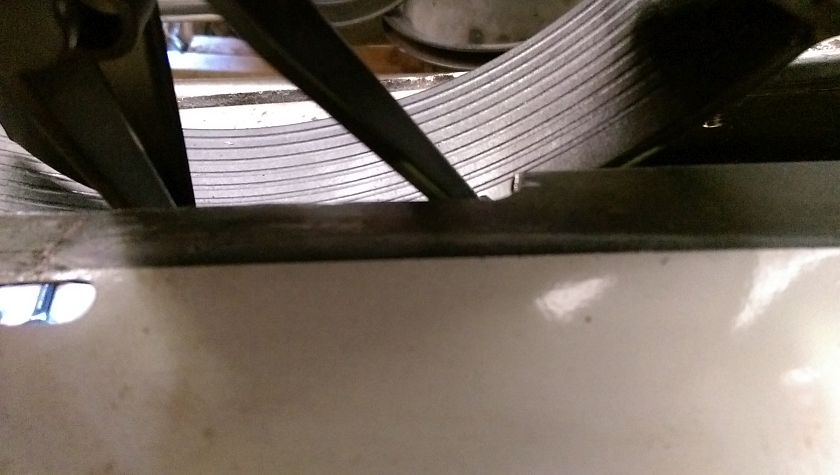
Lower Shroud Cut Back
Had to cut the lip back a bit to move the fan to the brackets. This was needed as the fan is pretty tight in the front of the nose area as you will see.
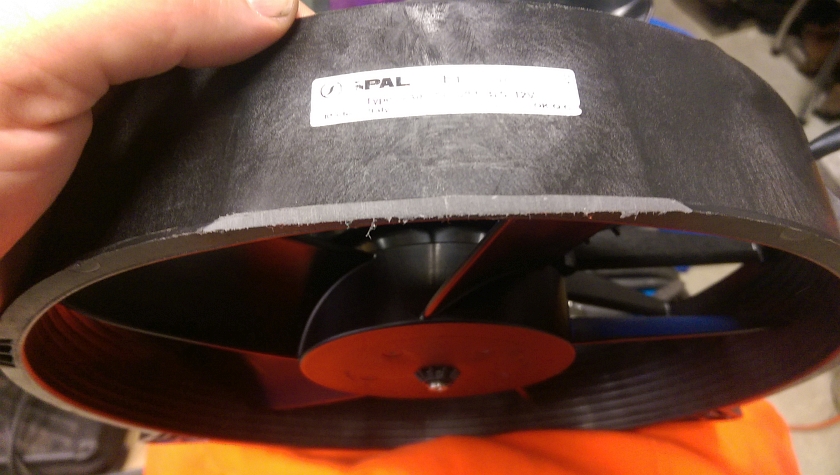
Trimming the Spal Fan Bottom
Since the fan is pretty tight to the bottom and top of the sheet metal a bit of trimming helps. This is the bottom of the fan where some minor sanding did the job.
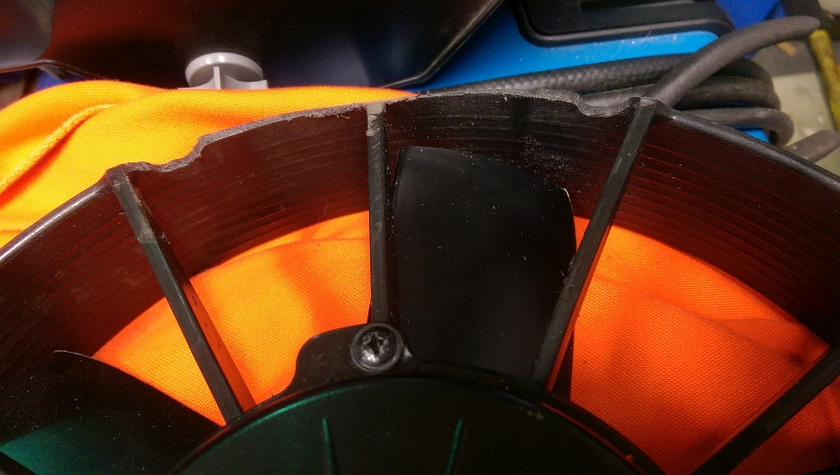
Trimming the Spal Fan Top
Trimming the top of the fan is a bit more detail, since their is some sheet metal that is formed under the nose, the fan needed to be trimmed a bit to match the contour of the nose. This allows you to put the fan in and not have it hit the body.
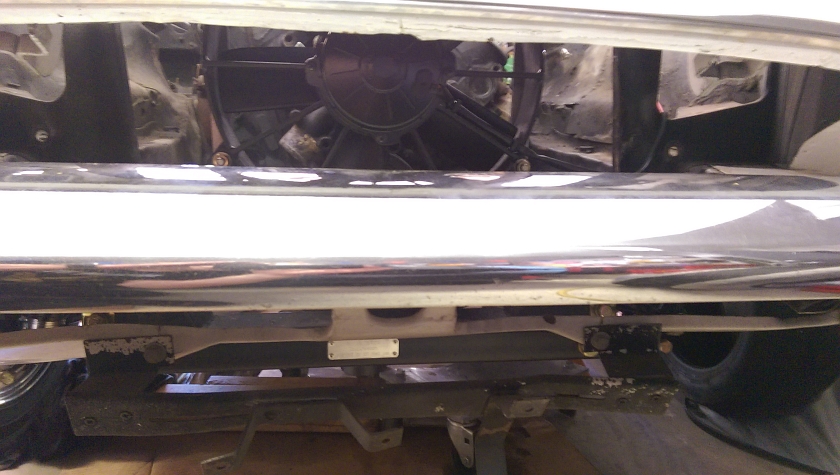
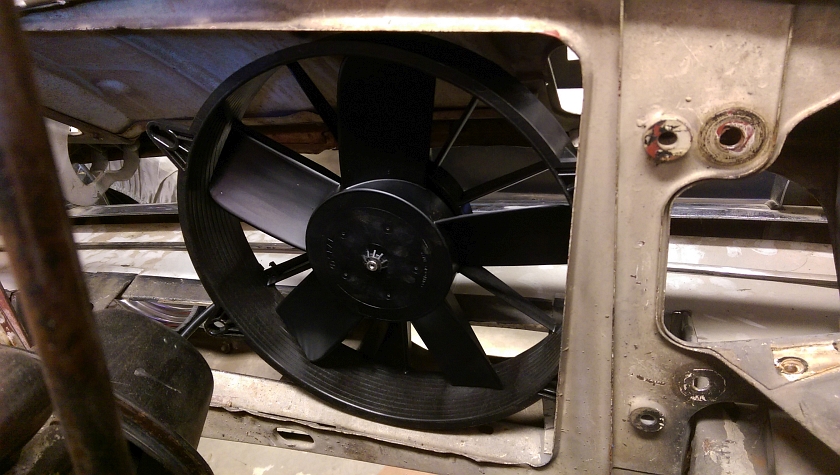
Front View of Mounted Fan
This is the fan as installed without a radiator. The fan sits nicely in front of the radiator with the fan pushed as far back as practical. After all this all the parts were removed, cleaned up a bit and then primed and painted. Ready to go when the car is put pack to gether.
Conclusion
This project was a fun bending and trying to find things that are not easily measured, the bottom and the top angles are different as well as the total lengths of the brackets so it made for some trial and error fittings. Otherwise it's a pretty simple project with only a little modification to the car. The main idea was to set back the fan off the radiator AND keep the bracketing as low a footprint in front of the radiator.
Happy Motoring and get your projects done!!


