Sunbeam Tiger Dashboard
This is the next part, well the part that I'm working on any-a-ways. I decided to sell off my spare set of Sunbeam gauges. I had a set that was restored and deemed them too nice for my project. I have ordered a custom set from SpeedHut.com. The Sunbeam Tiger Dashboard is a really beautiful piece, nice wood and nice gauges make them look fantastic.
I'll be posting them soon!
Below is the start of the new dashboard and some pictures of the 'Racing' modification I'm making to it.
>>> CAUTION TIGER PURISTS MAY BE OFFENDED BY BELOW VIEW AT YOUR OWN RISK <<<
The plan I had was to remove the still smoking Lucas wiring from most of the car and replace with some safer and more useful wiring. The Sunbeam dash is where I'm starting.
My plan in making this a sorta' race car is do the same for the dash. I love the wood work, and as such no billet aluminum stuff going to happen (I can hear some relief from the Tiger guys). I like the industrial look of the GE switches and the nice compact aircraft circuit breakers that I had done in the GT40 and Cobra so I went that direction here. Really trying to fill up the many holes with switches and other useful things.
One nice thing is that it seems I can even make use of the Cigar lighter hole by using that as the mechanical cable pull for the Halon system from Safecraft.
Here is a link to the YouTube Videos showing gauges and finished dash testing - Tiger Dash Videos
Sunbeam Tiger Racing Dash - The Beginning
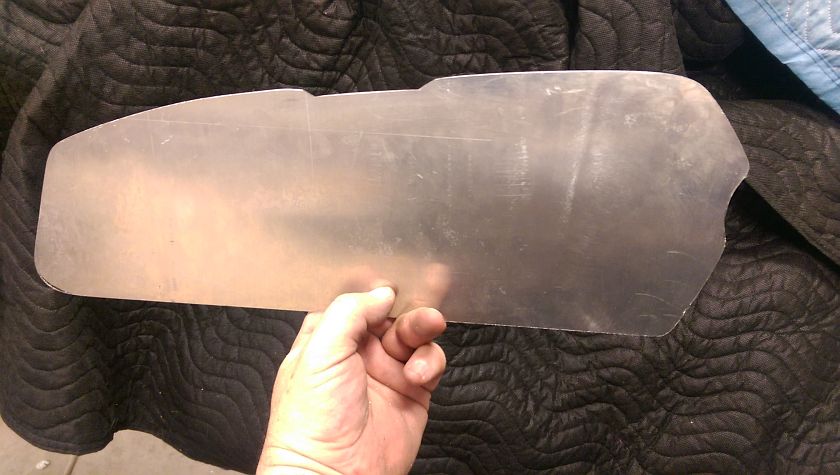
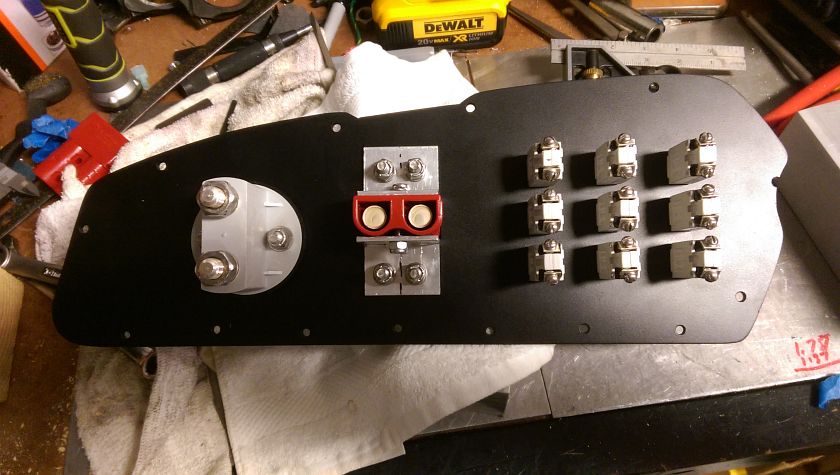
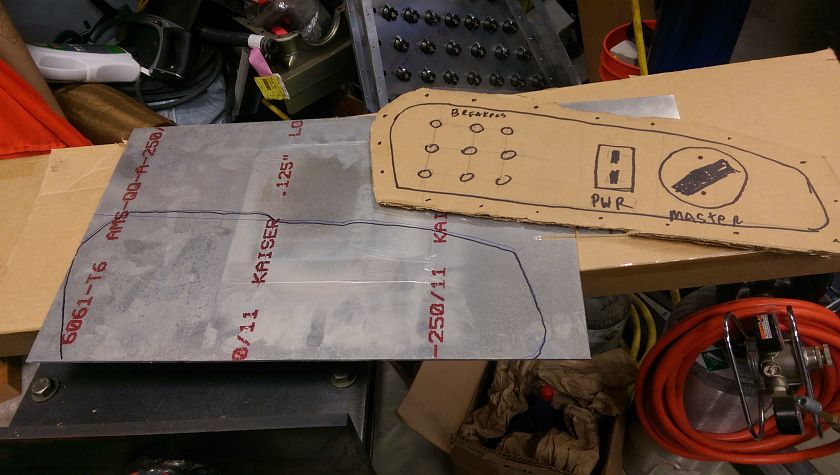
The basic Tiger dash is awesome looking, what I needed was a 'command' panel for circuit breakers, battery port for starting and the Hella master switch. I had some 0.125" aluminum and some cardboard, that's how most problems start... Note detailed and accurate drawings on mock up.
Back of fitted Dash
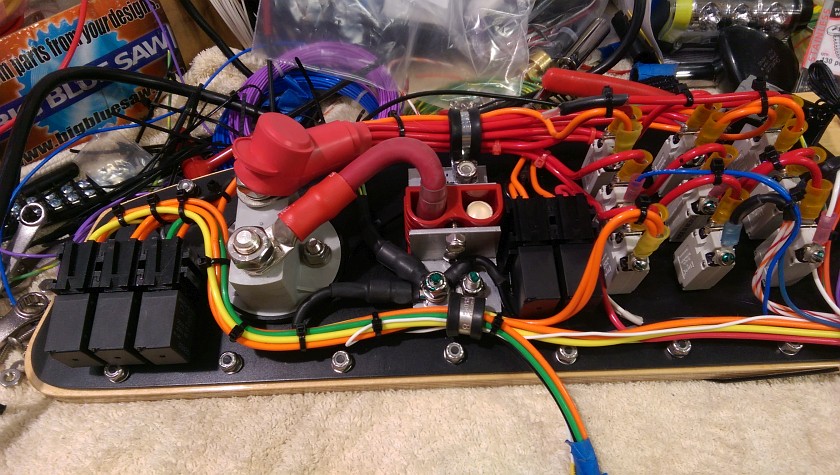
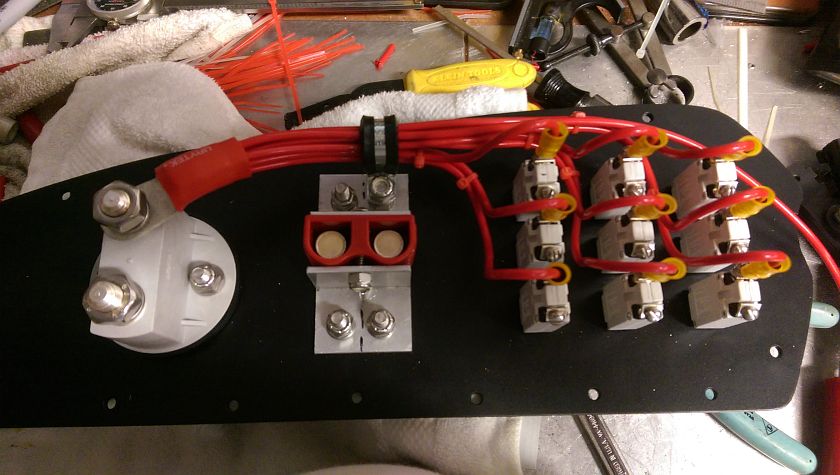
With all the parts mounted from behind this is how it looks. I make the same mistake every time I use the aircraft breakers, and that is I tend to mount them too close together. It's not a problem, just a lot slower to get things connected when doing the wiring. The bracket mess holds the power pole batter connector.
Front View of the Fitted Glove Box
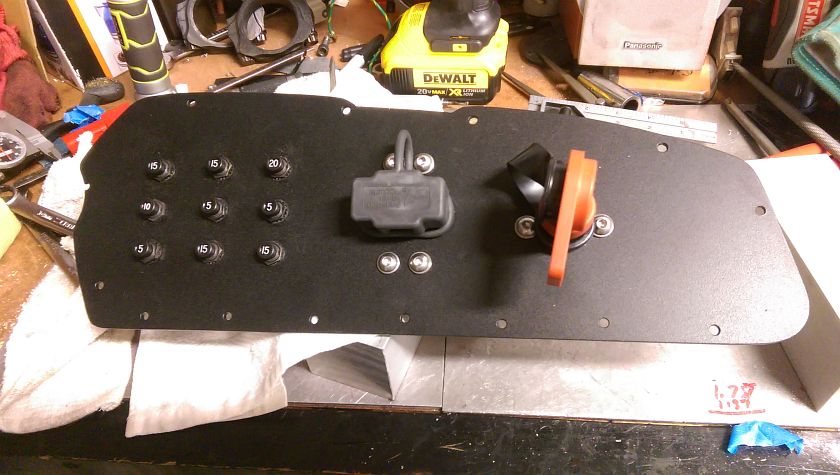
Ok, sorry for the tease in just showing the back of the glove box cover. Here is the front view. Paint is black texture and is nice as it does not reflect much. Hardware is stainless button head fasteners.
Circuit Breaker Wiring
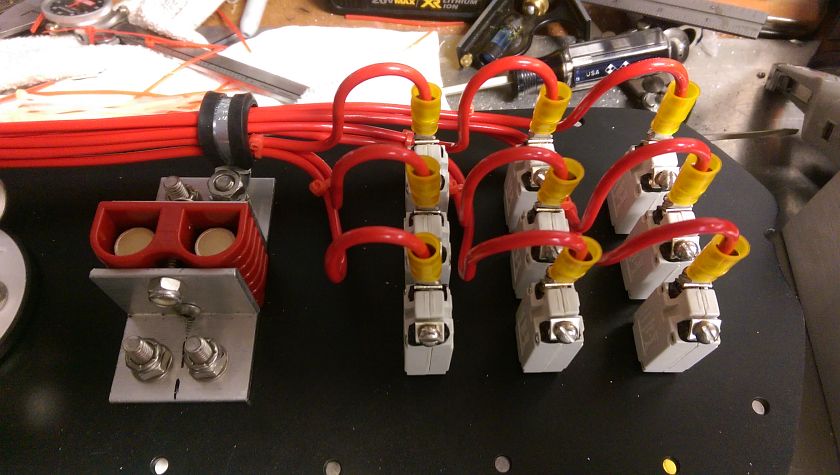
The first step is to wire up the breakers to the master switch. I used #10 Teflon silver stranded wire from an old stock I had picked up off of eBay. Connectors are crimped with the proper tool, not the all in one crimper! This is important if you want to keep things trouble free. Cheep crimpers and cheep terminals have no place on your car.
Tiger Circuit Breaker Wiring
The reason for using 10 gauge wire was that with this many breakers it's just about the right size to fit into a battery terminal for the master switch. I added ONE extra wire for a snug fit and then used a hydraulic wire crimper to make the connection. I left the extra wire for now as it may come in handy in case I forgot something, yeah, like another breaker or something. After the big terminal was crimped I used a large battery cable heat shrink tube to help cover and protect the end of the connection. Then added a few small tie-wraps to hold things together. The last thing was a cushing clamp to hold the harness and keep it solid.
The Glove Box Cover
As you saw with hint above, the cardboard was a tracing of the glove box. I made the panel large enough to mount it from behind as to keep the nice inset that will result.
The Glove Box Cover - Getting Done
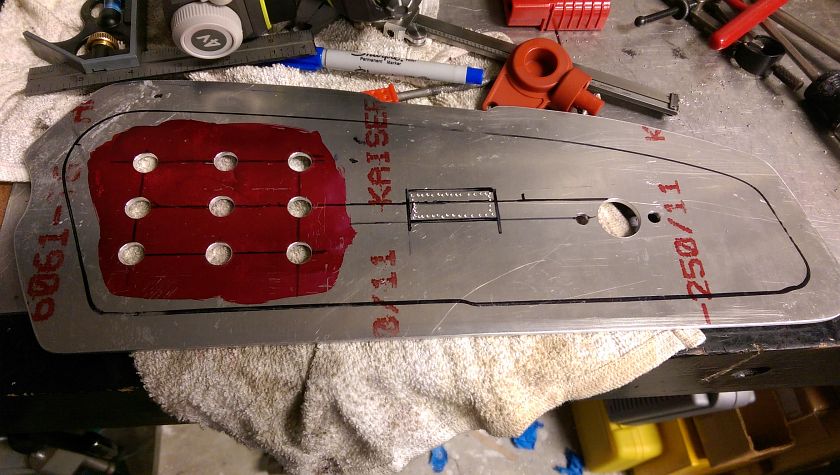
As you can see the Dyechem red makes it easy to spot the accurate drilling... The Master switch mounting is complete and you can see the beginning of the work on the rectangle needed for the Anderson power pole connector. Inside the black outline is what is will be visable in the dash.
Turn Signal Indicator
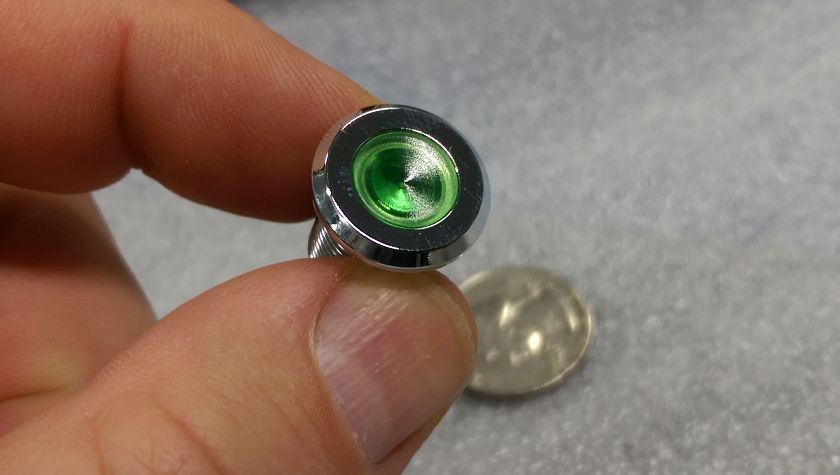
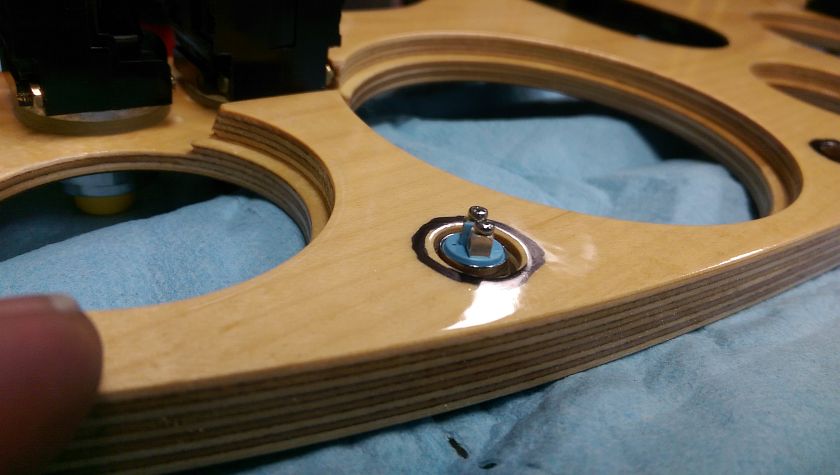
Picked these up from eBay. These are import (nice way to say made in China). They are a LED dash light that will compliment the nice gauges going in. They had them in black or chrome and available in many colors. The only issue is the wood dash is just too thick for these without just a little work.
Turn Signal Indicator Wood Dash
You can see the issue. Just a bit short for the thickness of the dashboard. A little wood work will be in order now.
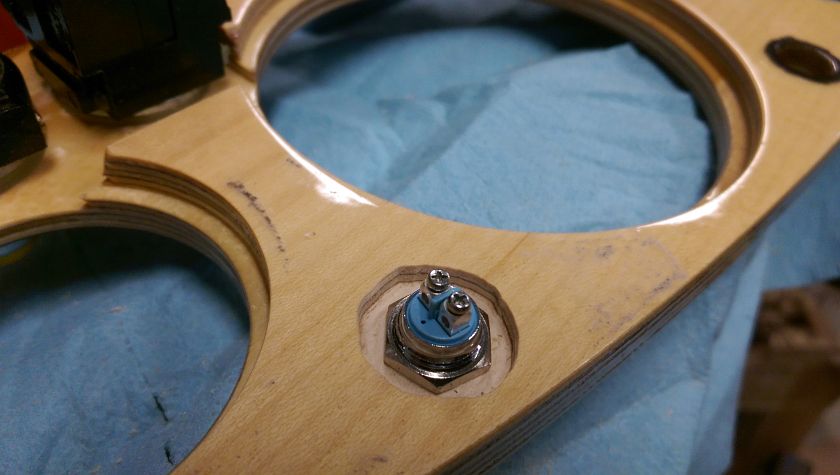
Dash Indicator Inset
Using a Dremel tool with a small base attachment that allows it to become a mini-router, I cut back around the dash indicator hole to open up an inset to allow the nut to grab the threads. I also made it just larger then the socket for easy tighteninng. I did this for the other indicator lamps as well.
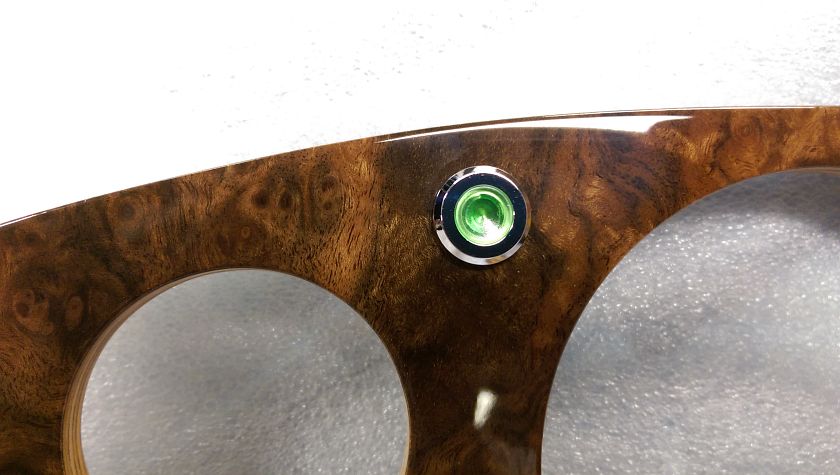
Indicator Lamp Installed
Here is a close shot of one of the turn indicator lamps installed. Yes I said ONE of the lamps as I'll be adding filling the holes with a left and right indicator lamp.
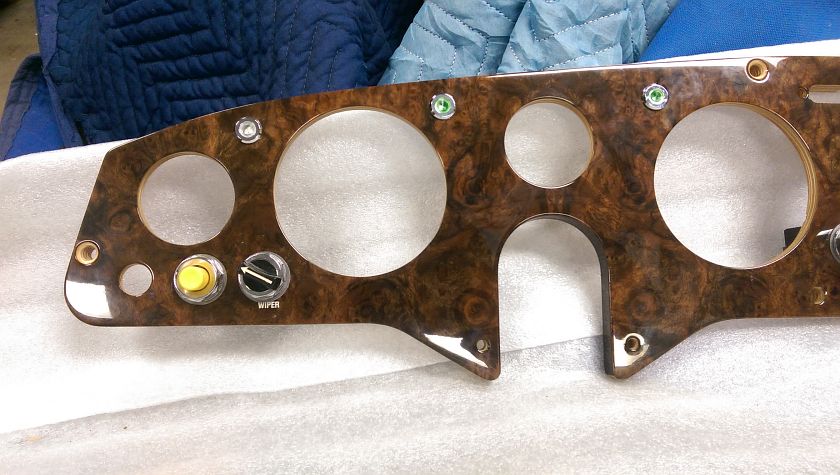
More Indicator Lamps
Here is another shot of the dash with the 2 turn indicators (green) and the high-beam indicator lamp (white). Ignore the switches for now... The Sunbeam Tiger Dashboard is coming along now that I have most of the switches and indicator lamps.
Cigar Lighter Hole
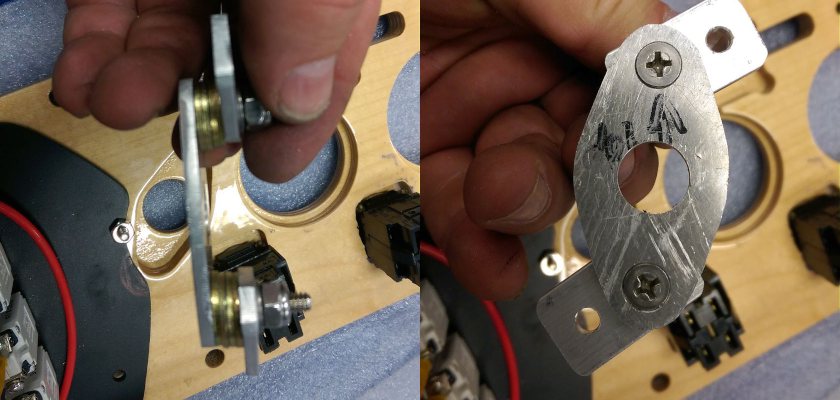
Their are a few holes that I don't need (funny if you think about it). The Cigar lighter is one that will be re-purposed to be a Halon Fire System actuator. The dash gets a bit thin in this area and the control can require some force to actuate so I had to make a small bracket with extra support to ensure it would not break out the dash in the thin area.
Fire System Pull Bracket
Using some 1/8" aluminum I made a bracket that fits the cut out in the dash and has some 'wings' to keep it from pulling through. The stack of washers was perfect to provide some pressure when the bracket is screwed into the dash from behind. You can see a bit of the nice work the Tiger dashboard poeple did when making it.
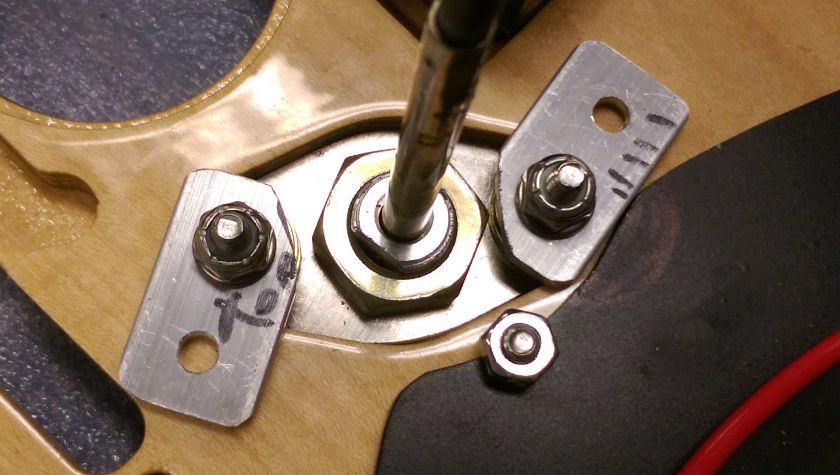
Halon Pull Bracket Back View
Mounted in the dash with the pull actuator and cable. The brackets were notched to allow the bolt to slip past the 2 wings. The 2 remaining holes will get a short wood screw to keep things from popping inwards.
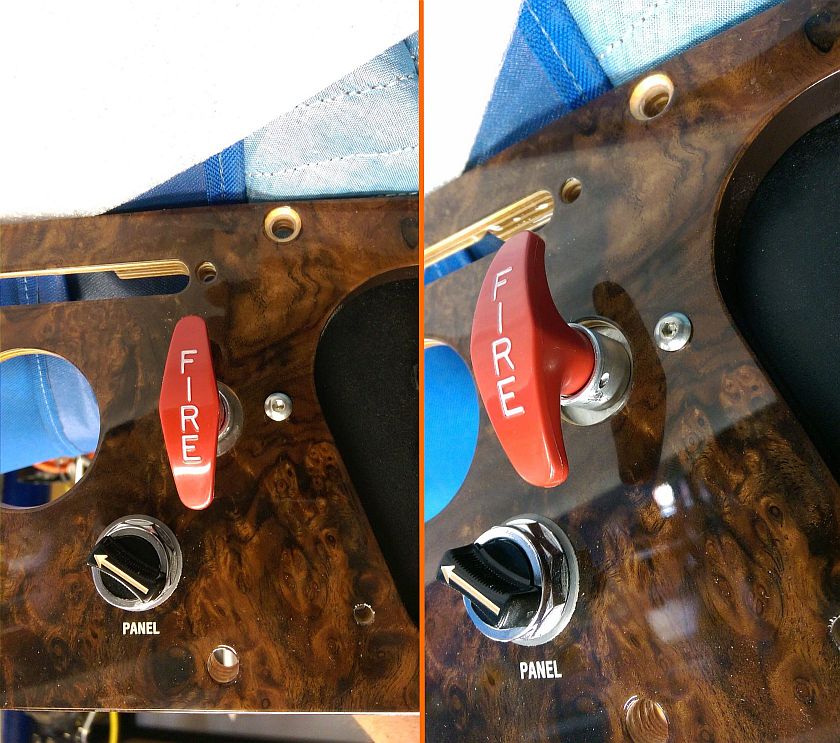
Installed View of Pull Handle
The bracket behind will get a couple of coats of paint to match the glove box cover. The small hole in the fire pull handle is for a pull pin that prevents accidental pulls of the handle by small children or dim-witted adults. The dash will look good and be safe.
Oil Warning Lights
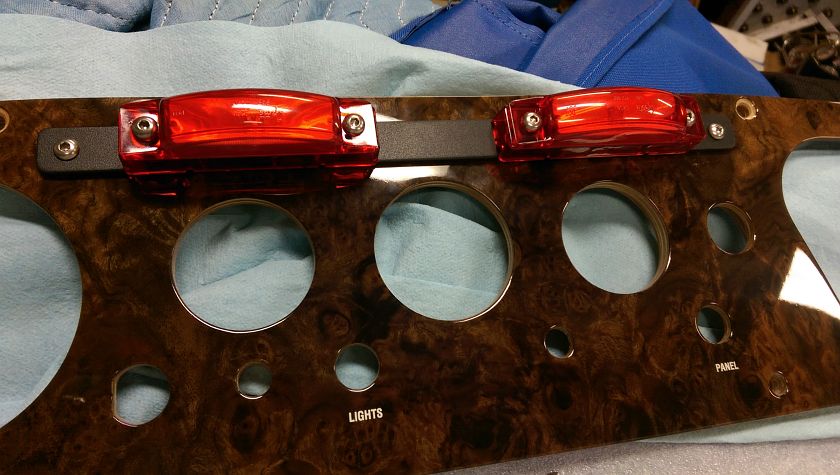
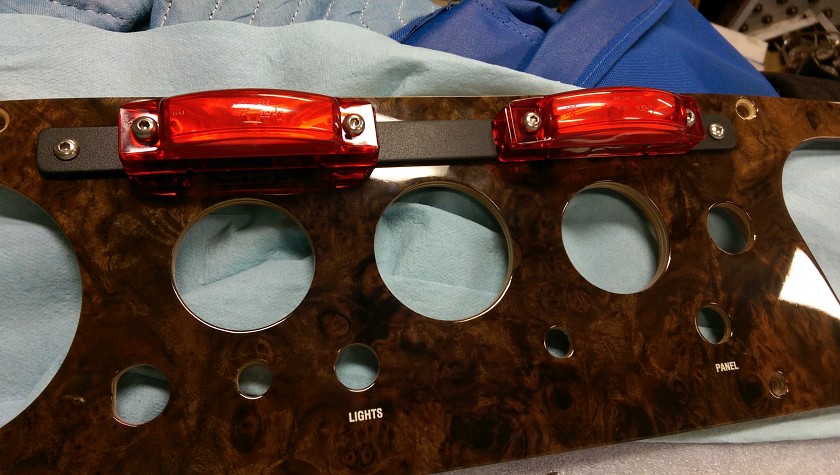
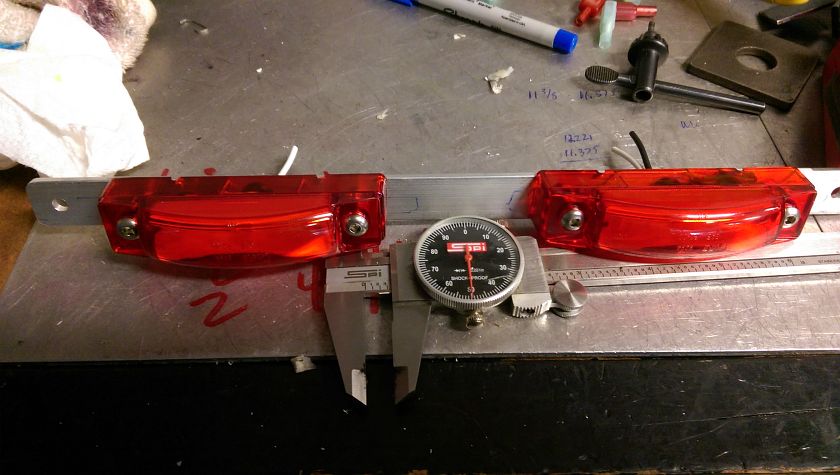
Having lost a motor due to lost oil pressure, and causing an excessive amount of damage in not catching it in a reasonable time I found that many track cars have a bright RED light to indicate loss of pressure. Most have a secondary oil sender that triggers when oil pressure falls below a set value. The idea is to immediately alert the driver and to relieve the paranoid burden of watching the oil gauge all the time. My attempt is a couple of LED side markers that are thin enough to cover the unused place where the heater controls were located. I used some thin aluminum and made the hole match up with the Tiger's holes in the dash for the heater escutcheon. It's not pretty but effective, and that's the point.
Oil Warning Lights - Mounting
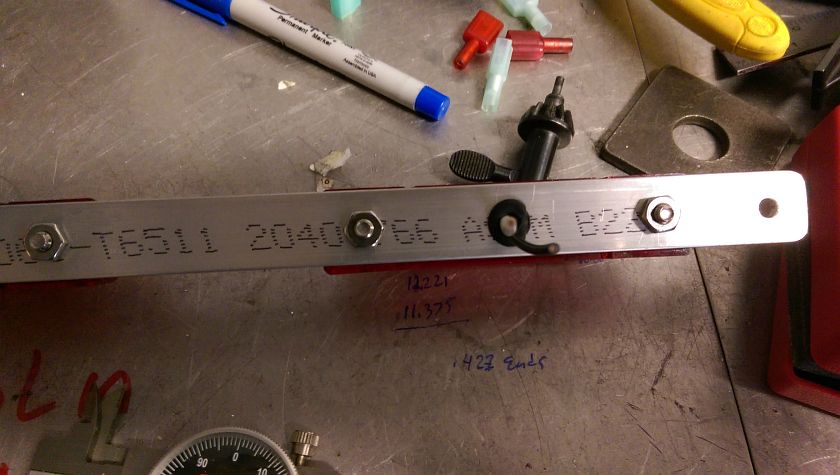
After the metal was drilled for the mounting to the Tiger's dashboard, I mounted the marker lights centered over each opening. The nuts fit in between the slots so no hacking of the dash is needed. A hole for the wires are also done in this manner so it all can be removed if I really hate it.
Tiger Oil Warning Lights - Rear
This is the back side a grommet is used for the wires and small hardware. It all fits within the slot, so no dashboard damage is needed to make it fit.
Oil Warning Lights - Painted and Fitted
After some self etching primer and the light texture paint it's seems to fit just fine. How does it look? Well hard to say until all the parts get reinstalled, but it won't be something that goes unnoticed when they light up.
Rear Dash Wiring Loom
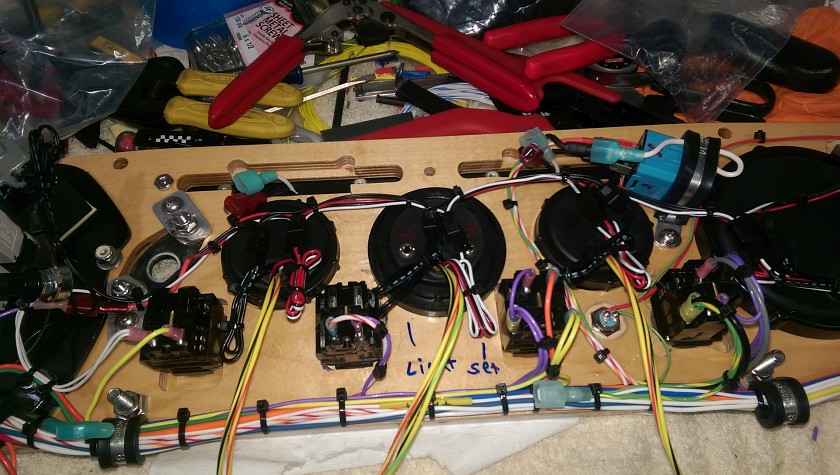
Here is a view behind the dash in the circuit breaker section. Lots of tie wraps, wires held with cushion clamps, etc. This is the high density part of the wiring, lots going on here. Just make sure things don't vibrate or move around.
Sunbeam Rear Dash Wiring
More of the rear of the dash. Cushion clamps are installed where the lower trim bracket would go for now with temporary bolts. Turn signal flasher is the blue box in the upper right corner, again lots of tie wraps.
Dashboard Wrap up
Ok that's enough dash work for a bit, final bit's of wiring can't be completed until the Speed Hut gauges show up, and a few bits of wiring parts I need as well. I'll get some pics of the Speed Hut custom gauges that I had made, hopefully it will counteract the look of the oil warning lights!
NEW - Check out the gauges installed and a couple of videos, Speedhut Gauge Install


