DIY Excursion, Super Duty Front Brake Job
Finally got my Excursion back from the rebuilt engine fiasco and noticed the front brakes were pulling. I know that is
almost always something going wrong with one of the caliper slide pins. Pads were looking really thin too, so figured
might be into the metal, but won't know until taking it all apart. This was done on my 2003 Excursion.
For this I had picked up some HAWK pads on good recommendations from many of the Ford Truck Forums and had
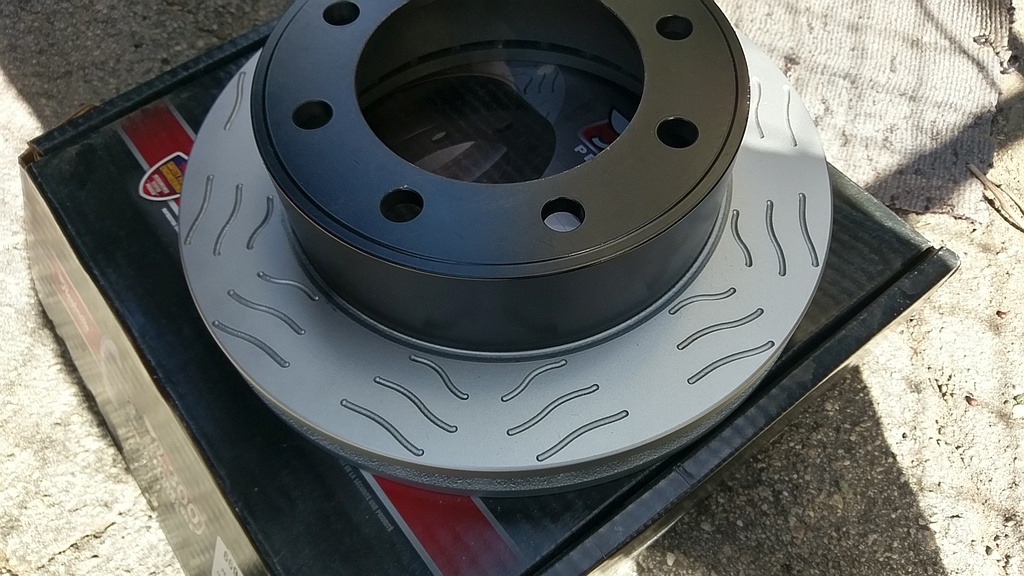
picked up a pair of Raybestos grooved rotors. I had used these rotors on the Expedition with really poor results. Hoped
the Super Duty rotors where better built and have no warping issues like on the Expedition.
So a couple of notes here to help others -
If you brakes pull and the pads still are good you may have a couple of issues-
One is leaking caliper and fluid soaked pad
Frozen or Rusted Caliper Slide Pin
Both cases are going to likely require you to hit the auto parts store so don't block your other car in with the truck when
you pull the wheels or you are going to have to call a buddy and buy him beer to haul you dumb a$$ to the 'zone.
My NOTE on Raybestos Rotors
I updated the rotors on the Expedition to the Police Versions which are not grooved, but look like they had either updated
the design or added more vanes inside the rotor. For what its worth I would NOT recommend the grooved rotors, they
are over priced and I'm not sure they do anything other then promote warping. I had purchased the rotors for the
Excursion a while before the Expedition rotors went wobbly (WARPED).
CAUTION : THIS INVOLVES MESSING WITH THE BRAKES. IF YOU ARE NOT COMFORTABLE DOING THAT TAKE
IT TO A SHOP THAT CAN ASSIST YOU.
Needed Tools
1/2" Drive Metric Sockets 17MM Slider, 21MM Caliper Bolt
1/2" Breaker Bar or Torque Wrench
Brake Piston Compressor - OEM 25741 Works Fantastic
Large Screwdrive or Pry Bar to remove Hub Cap Thingy
Brake Cleaner
Rags
Bungee to hold Caliper
Needed Parts
Caliper Slide Pins (If needed) Ford (FRONT) #2C3Z-2C150-AA (Includes Boots, look on eBay), Wagner Pins
High Temp Disk Brake Lube (May have enough with the HAWK kit), Many Sizes Here
Brake Job Bolt Torque
Wheel Lugs 160-165 Ft/Lbs Or what ever your manual says (This was for Aluminum Rims)
Slider Bolts - 42 Ft/Lbs
Caliper Bracket Bolts - 160 Ft/Lbs
Remove Battery Connections
Before stating this project you should remove the battery connections. NOTE if you have a Diesel you will likely have 2 batteries, make sure you remove the ground connections from each battery. This will ensure you have no power as the airbag is triggered by electricity! You should also wait at least 5 or 10 minutes for any possible charges to dissipate before messing with the airbag.
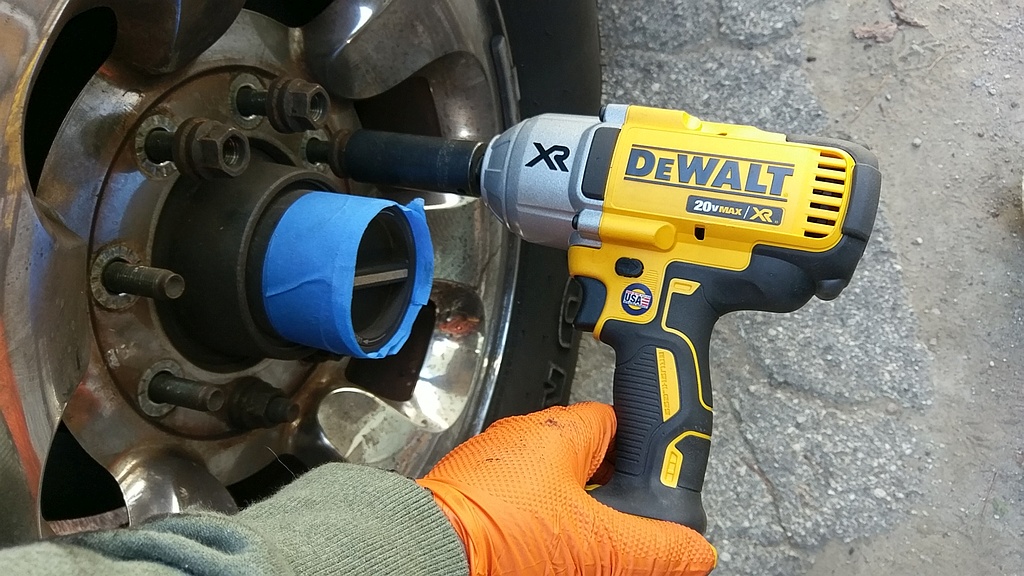
Remove Wheel Lugs
An impact here is your friend. If you don't have the luxury of an impact (air or battery) get a nice long breaker bar and get to it. Also not the generous use of BLUE TAPE. As I have said many times, it's not a project unless you can use Blue Tape. In this case just protects the paint on the hub as I'm getting old and just dragged the rim off.
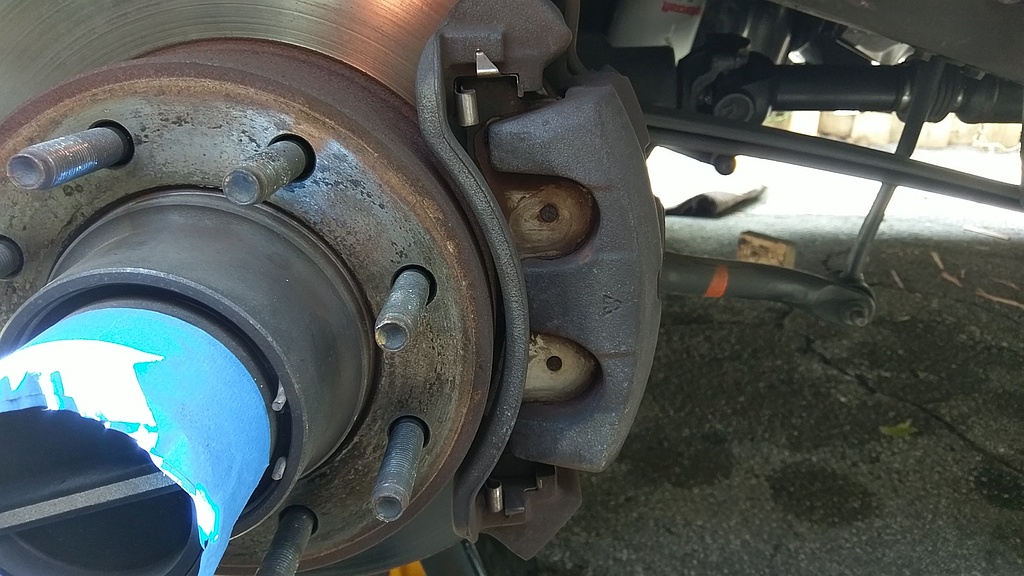
Before Removing Stuff
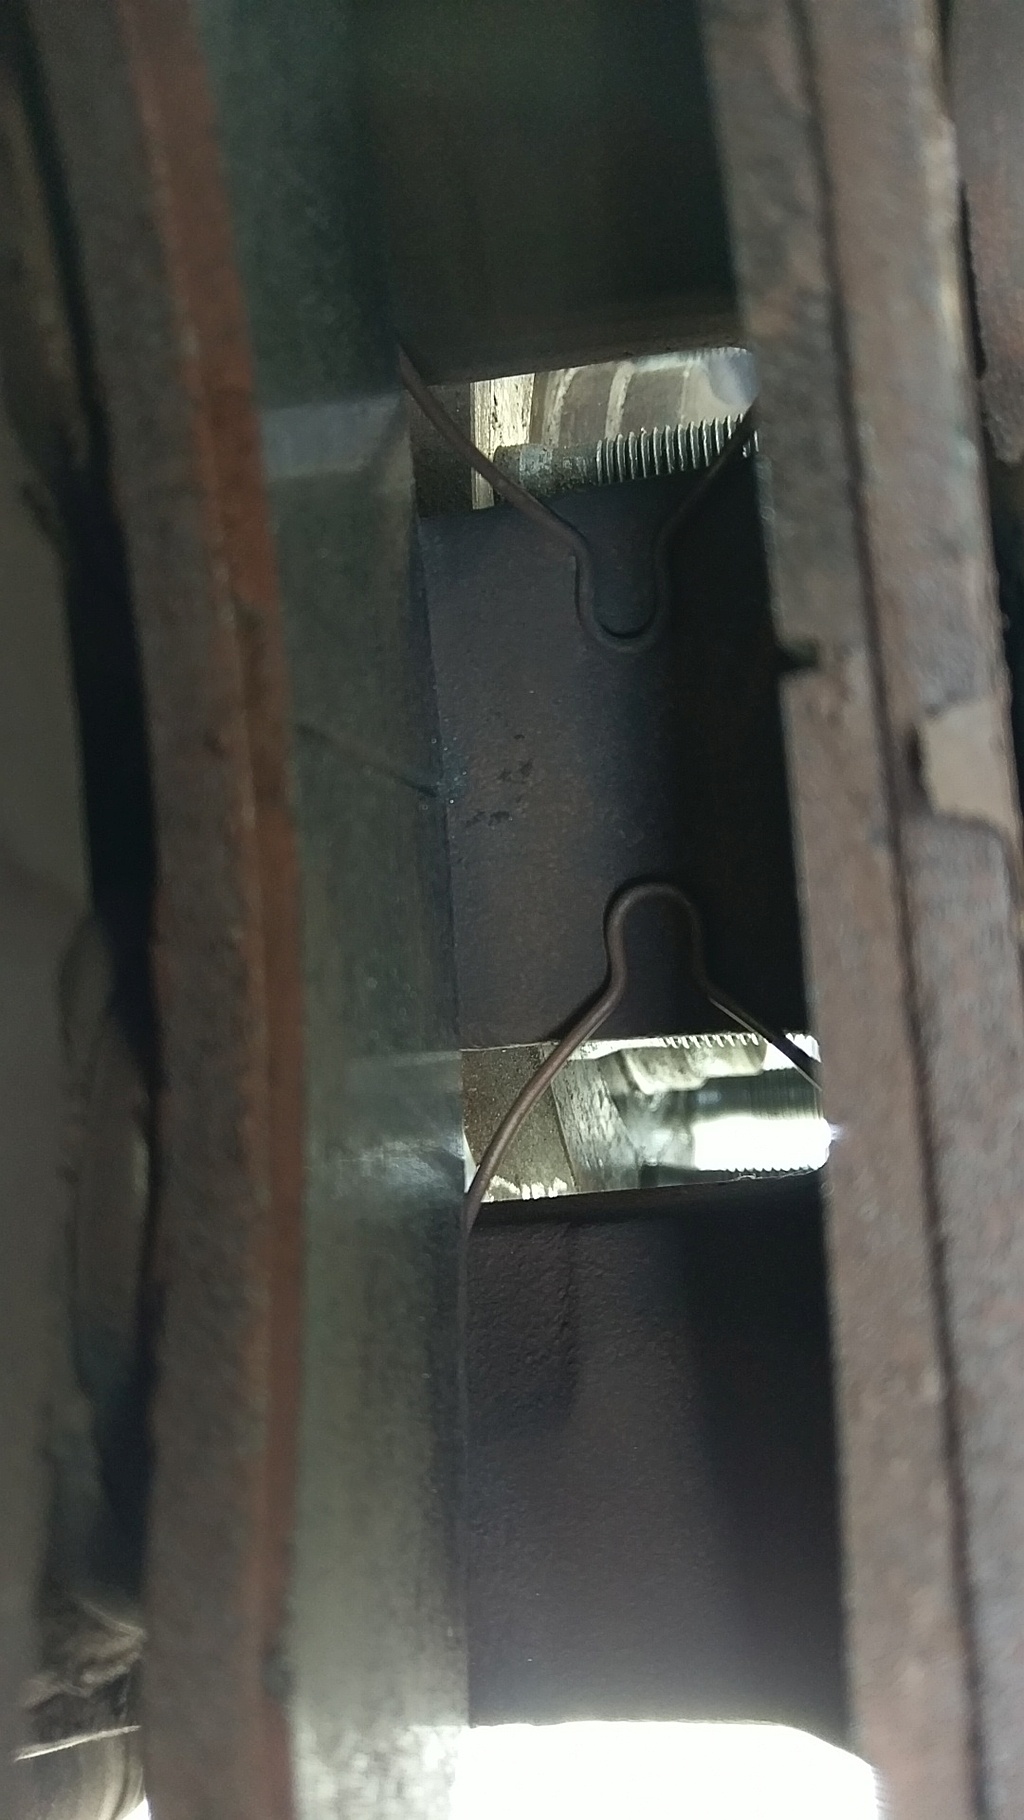
Always like to catch a picture before I start removing things. Shows the pads and the clips, just for a reference, you know the just in case photo...
Bolt Removal Time
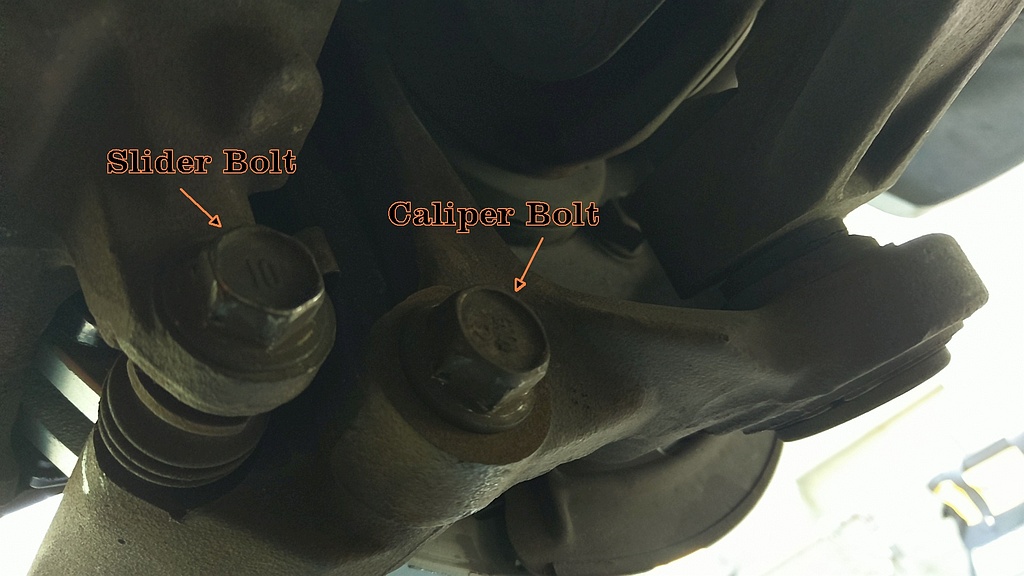
Their are 2 Caliper Bolts (21mm) and 2 Slider Bolts (17mm). IF you are not replacing the rotor (usually a mistake) you only need to pull the slider bolts off and pull the pads of with that assembly. In my case putting on rotors so I cracked the slider bolts as well as the Caliper bolts. As with most things on the SD and Excursion things are heavy, tight and usually dirty.
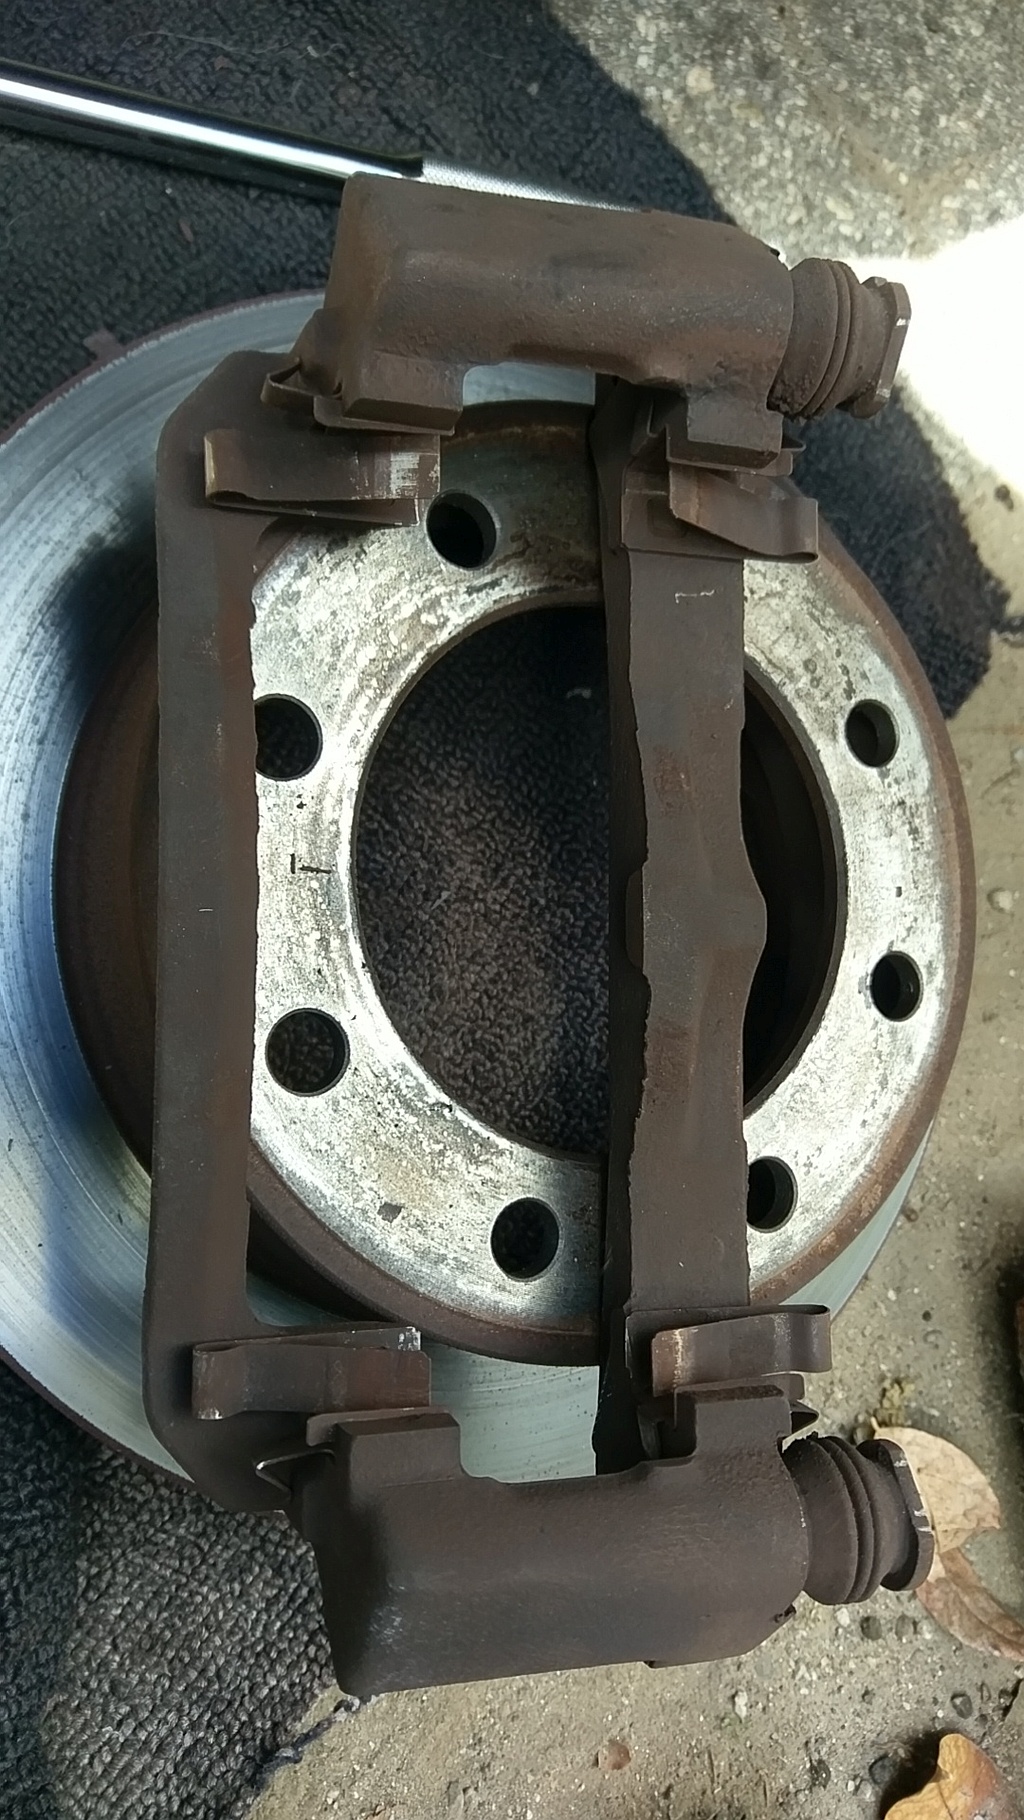
Caliper Removed, Underside View
Since I pulled both the caliper and cross over bracket (Not exactly sure what it's called). You can see how the pads sit int the assembly. NOTE the spring clips. These can be tricky so good to get an idea of how they look.
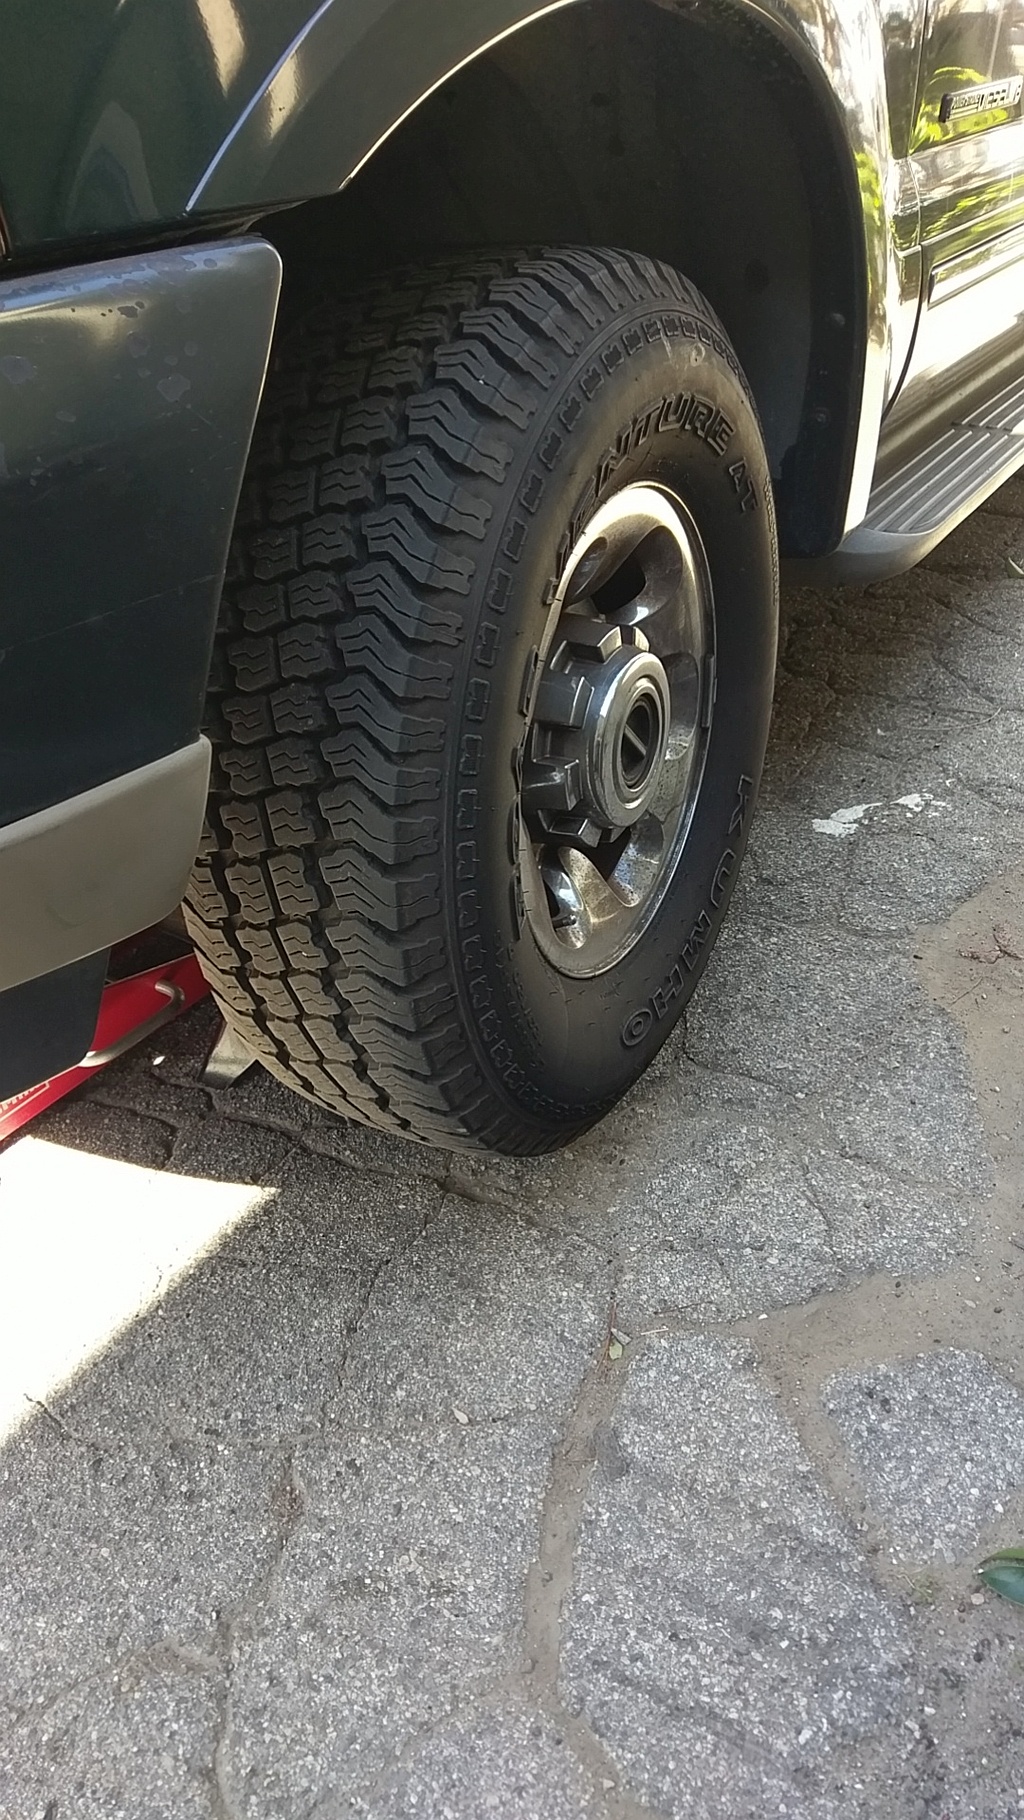
Jack Up, Jack Stand
The Super Duty trucks and Excursion are HEAVY trucks. Add in a heavy Diesel Engine and 4 Wheel Drive and you have the makings for a hydraulic jack destroyer. Use a capable jack and heavy jack stands to support your truck while you work on it. Of course you don't have to, but if you are dead who will read this?
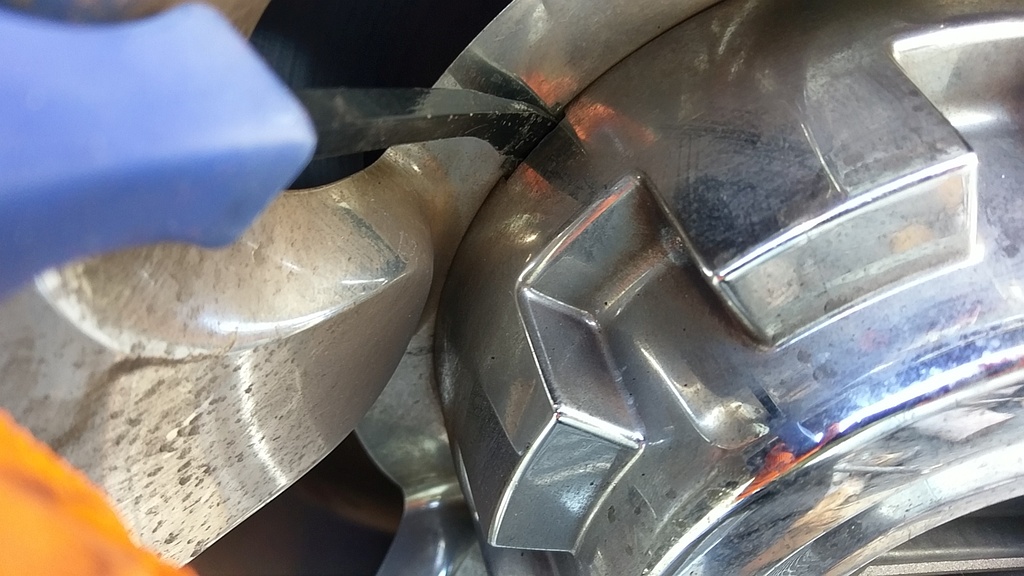
Remove Hub Cap
I guess that's what they are called, but using a large screwdriver or pry bar just pop it off. If you are worried about scratching the rim just a shop rag under the pry bar
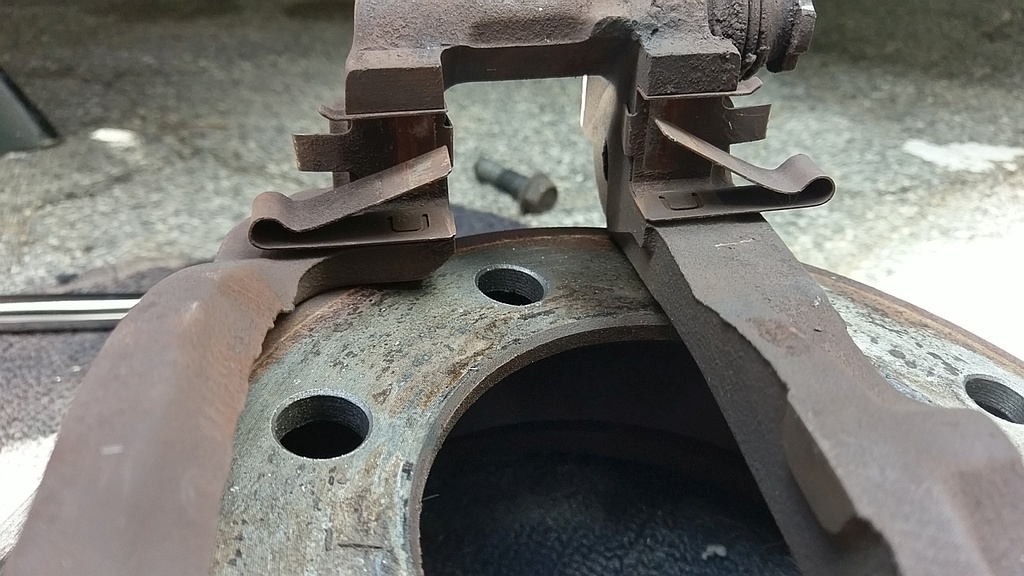
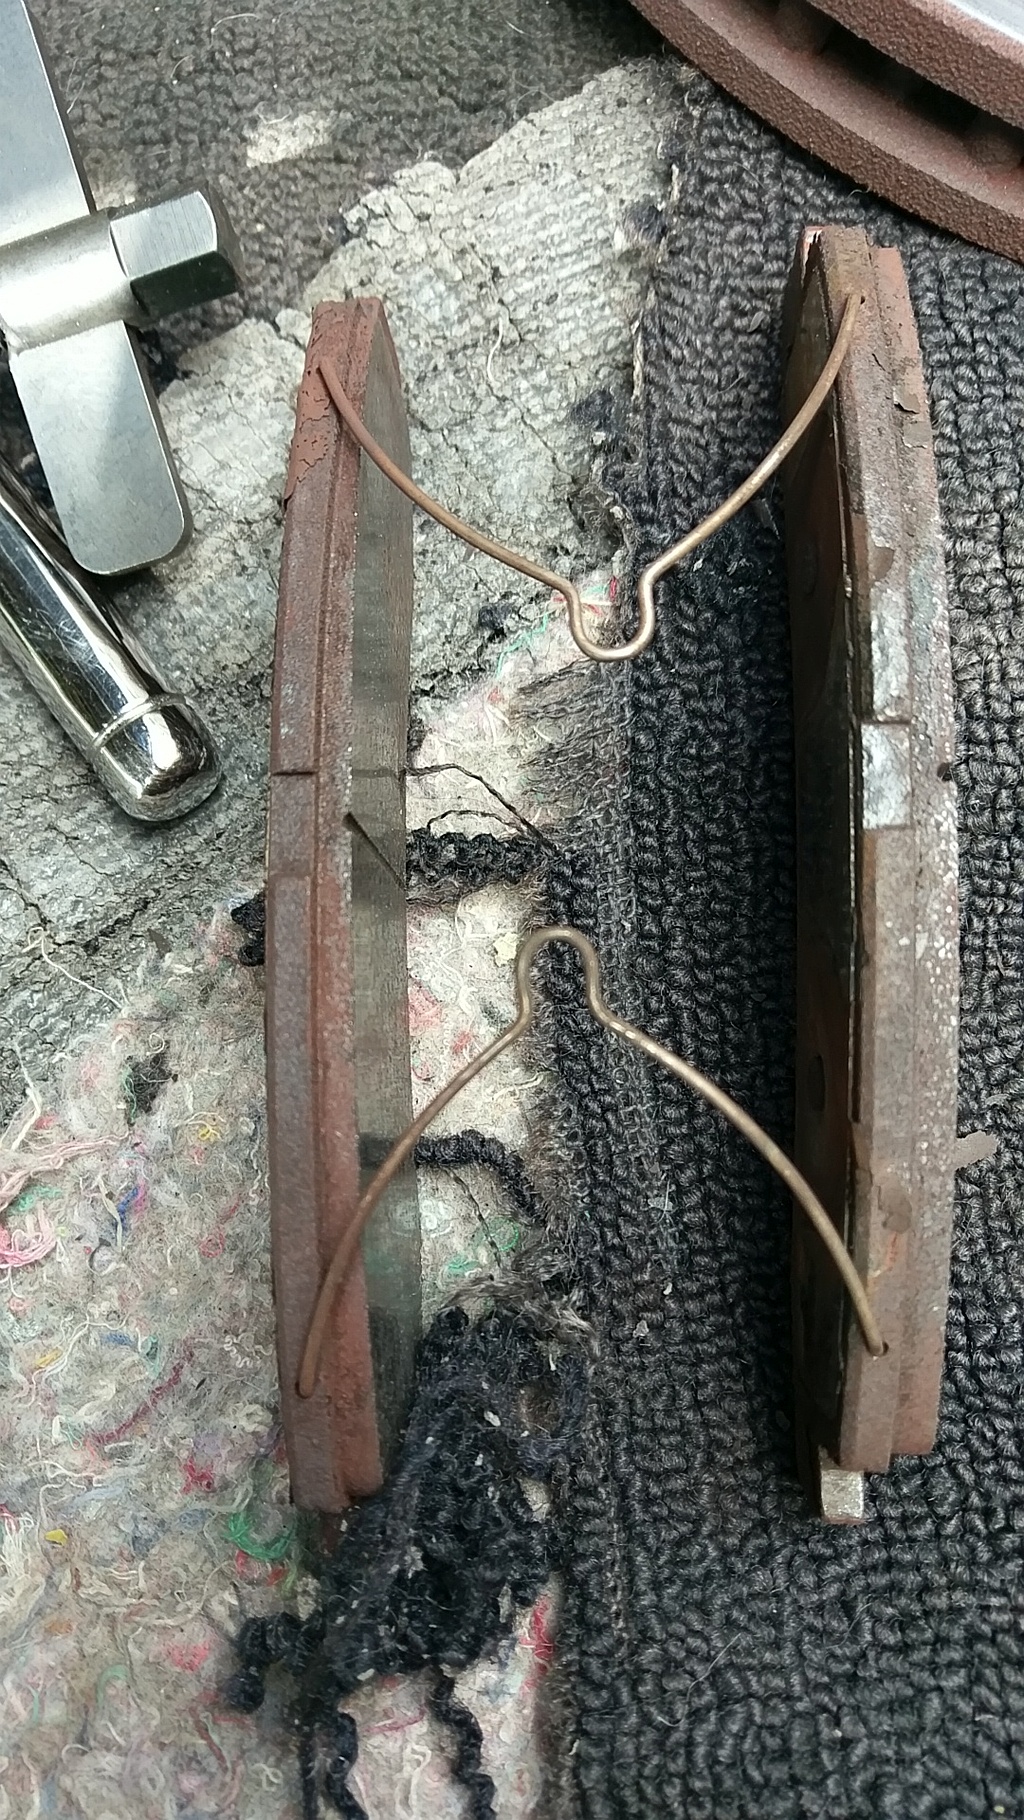
Pads Removed, Spring Clips Shown
Here is how they would look if they were installed. Key is these spring clips which I'm guessing keep things from rattling as well as keeping some tension off the rotors, maybe for mileage reasons.
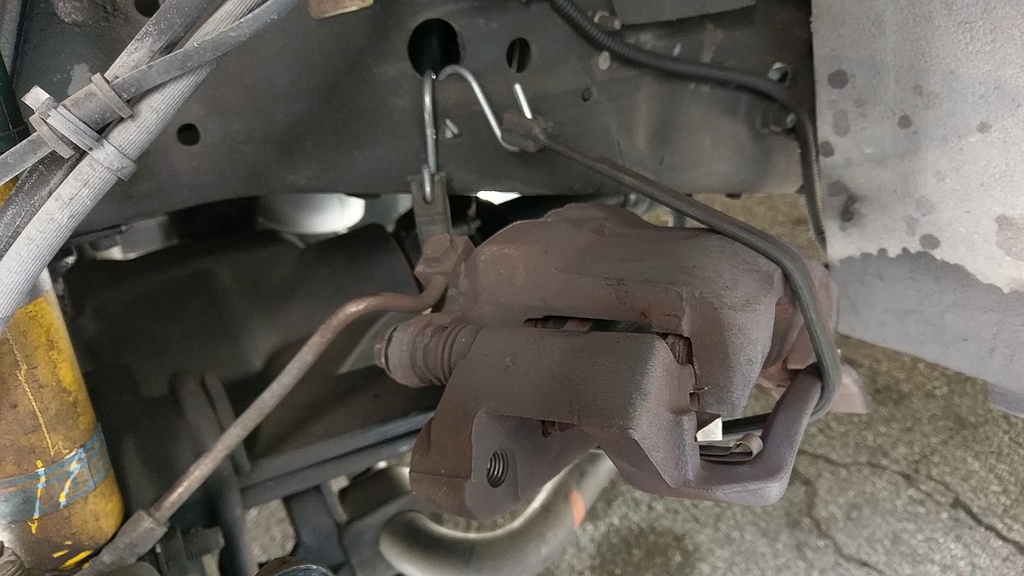
Safely Support the Caliper
You can get creative here, bungee cord, straps, etc. As these truck get older the rubber hoses get more prone to damage. And btw, if your hoses look bad, best pick up a new set. In this picture I still haven't remove the bridge or bracket that slides. Bolts are loose so just a matter of pulling it off.
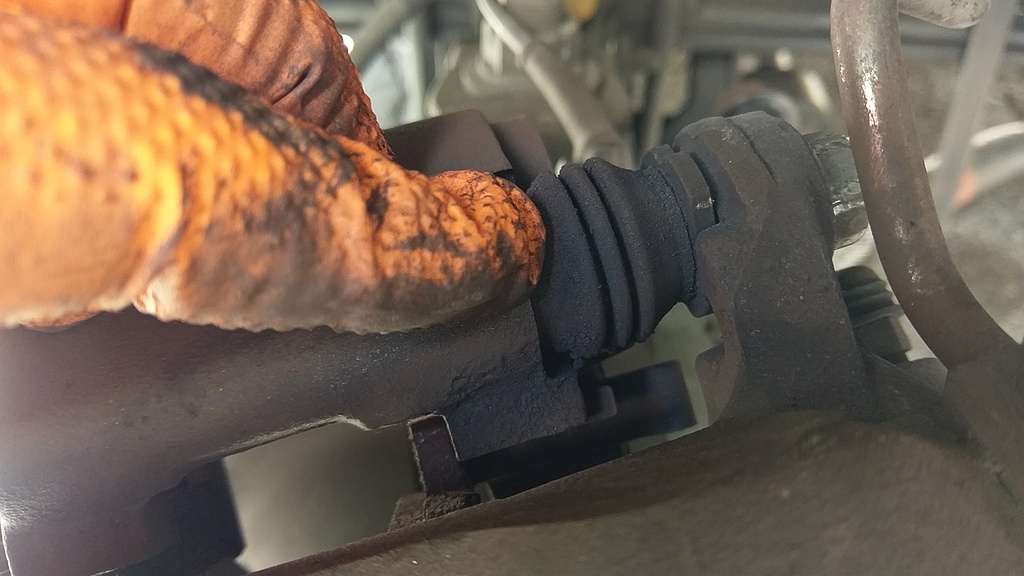
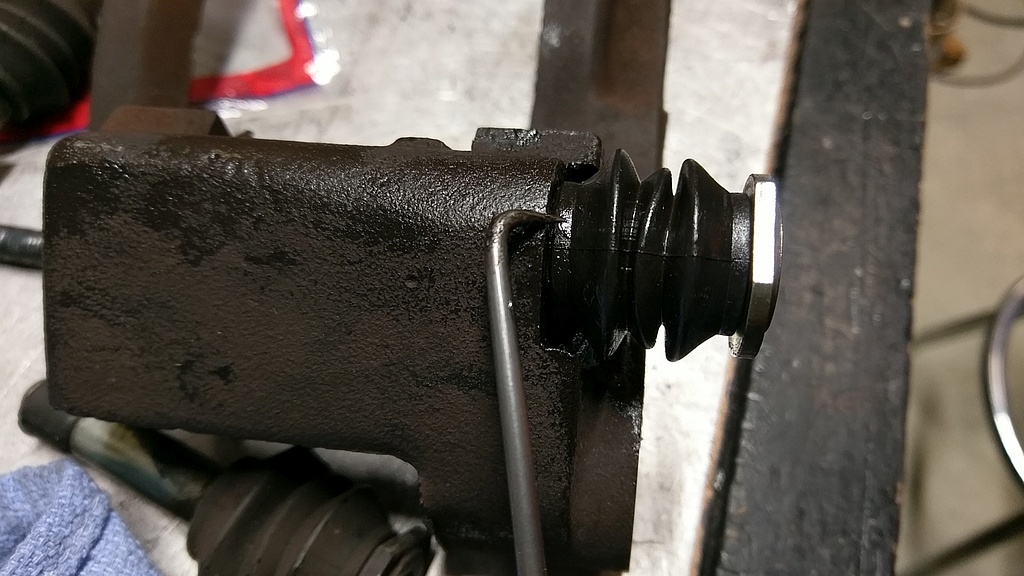
Inspect Caliper Pin Boots
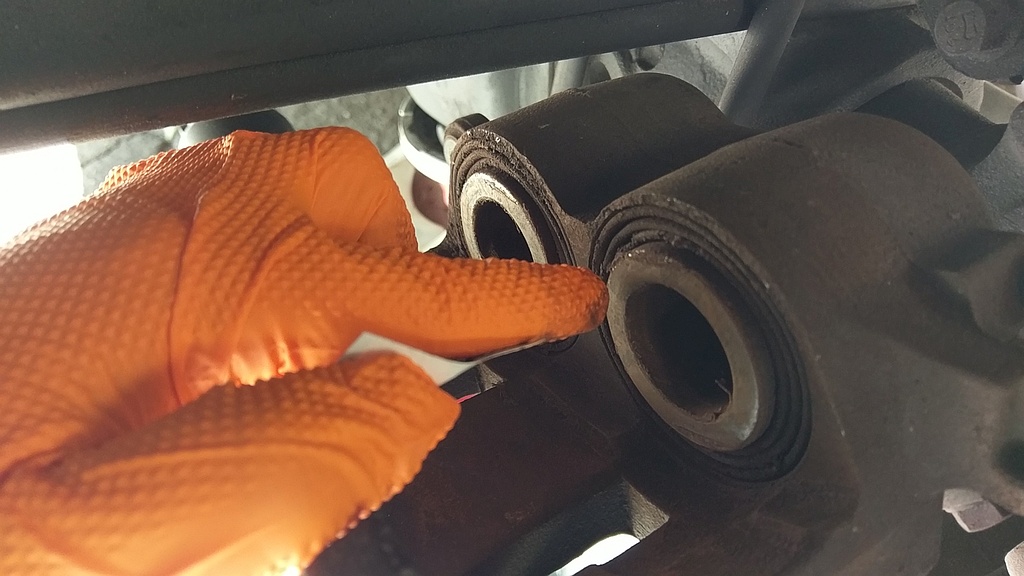
If these are cracked expect the pins to be in bad shape. You can get these along with pins if you run into trouble. These are fair and will need replacing on the next brake job.
Bridge Bracket Removed (That's what I'm calling it now)
This holds the pads and they are slid into this, obviously facing the metal sides out and pad sides in... More important is checking operation of the sliders. If they don't move in and out easily but move you may be in for just a cleaning and re-lube. I have had one rusted in and had to get on it with a hammer to break it free, then a large pair of channel locks to twist it out. If you have brakes pulling when you mash the pedal, this could be your problem. Happened twice so far so expect it as a common issue.
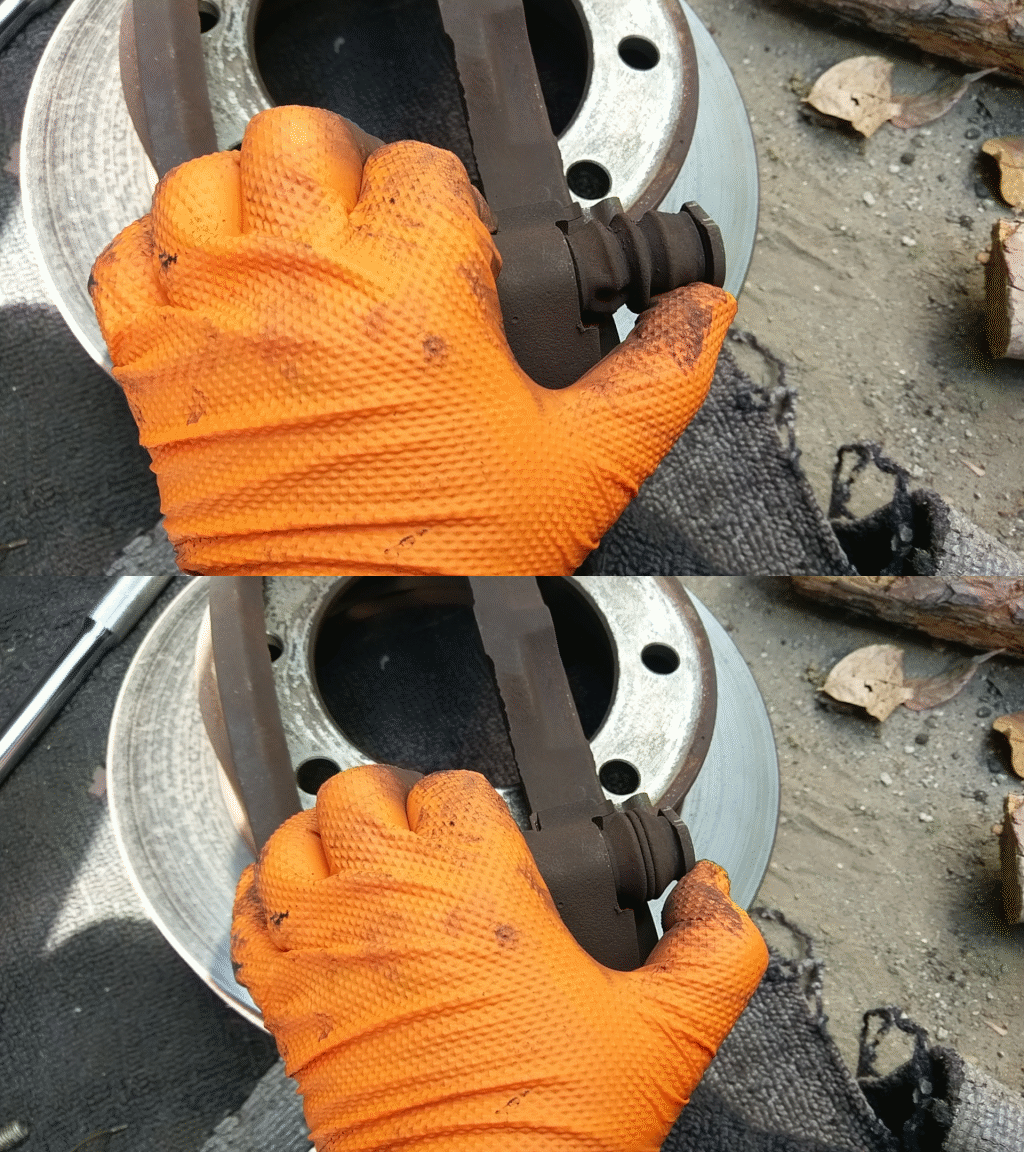
Annoying Caliper Pin Animation
This is how easy the working caliper slide worked in and out. I'm not sure if this is really an animation since it's just 2 frames in a GIF image. But you get the idea. These pins should be able to move if you haven't figured that out yet.
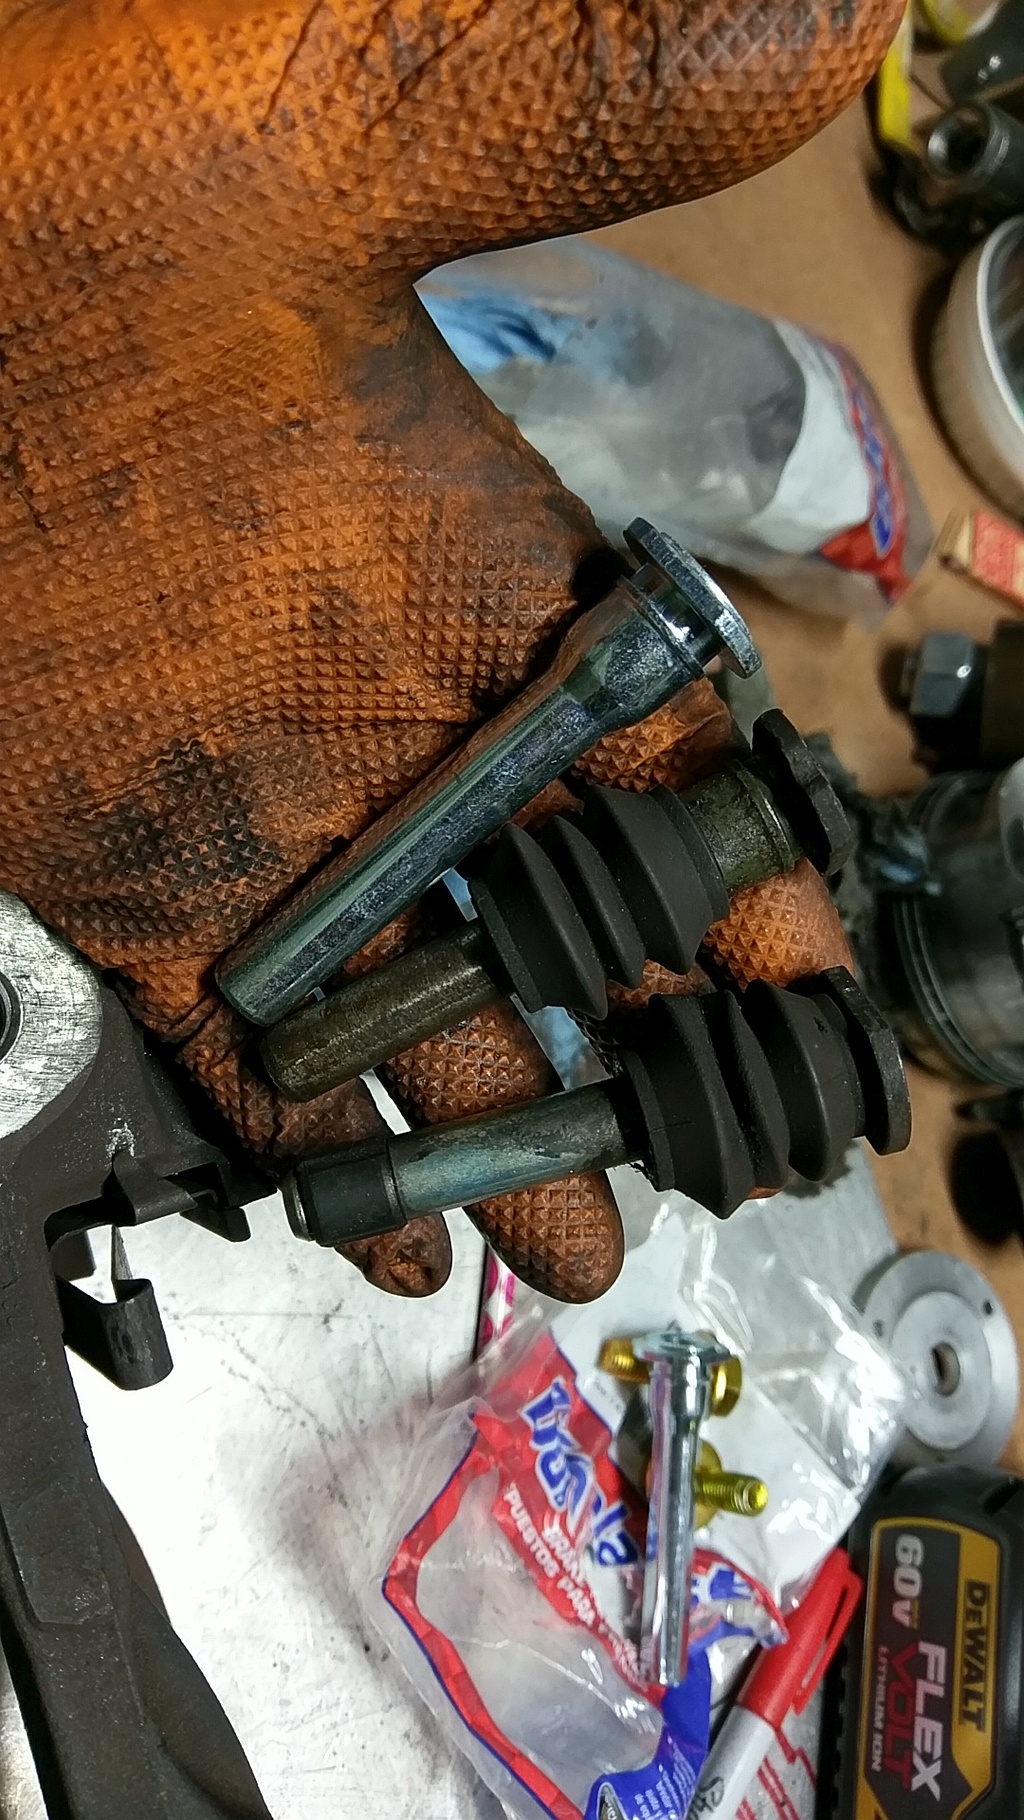
Excursion and Super Duty Caliper Slides
Their seems to be no clear reason on why these are different, I think the main thing is that they slide and are clean. The new one is from Autozone and the others are the stock. Even the stock ones are different, one has a small flat like the replacement, the other has a piston. In thinking of this design about the only thing that I can come up with is that the brakes will tend to pull when the piston crams all the grease in the bottom of the hole for the slide. You will fell this with the wheel pulling, and maybe that's by design??? In any case I decided to replace BOTH with the new Autozone pins.
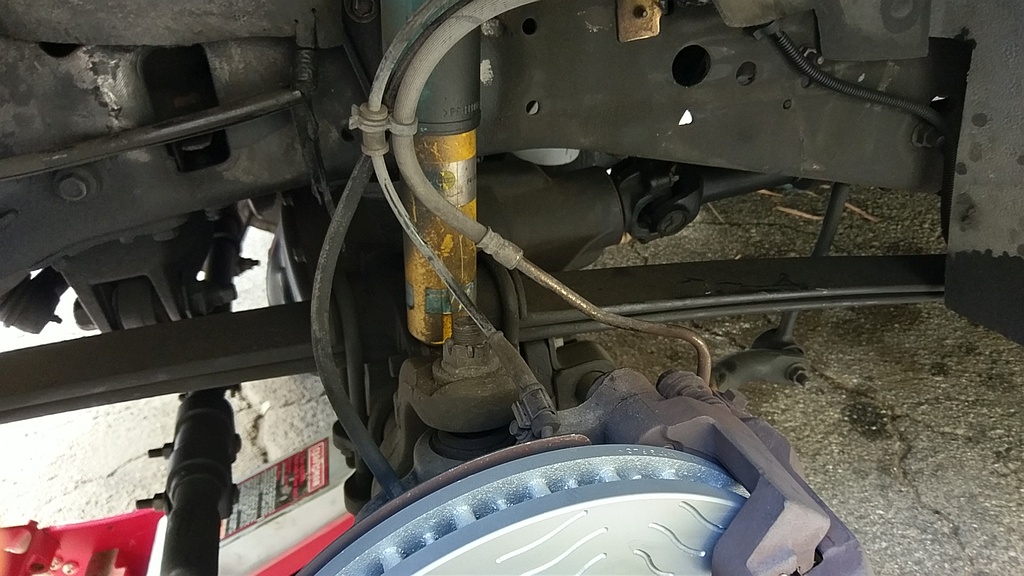
Brake Hose Routing
This is how things look when all done. If your hoses are twisted it will be a bad situation so it's a good idea if you have a phone to take a few pics of things before you take them apart. Worse case is you will have to look at the opposite wheel and figure out how things work (Hint, it's flipped around).
Conclusion
This is not a hard project, if it's your first time take pictures before disassembly and you will be fine. When working on the Super Duty and Excursion brakes you will need a good torque wrench and a few other tools like the piston compressor, other than that it's pretty much like any other car.
Please double check your work, check for leaking or rotted hoses and anything that looks bad, it's your life (and others) if you don't.
Happy and Safe Motoring, get your projects done!
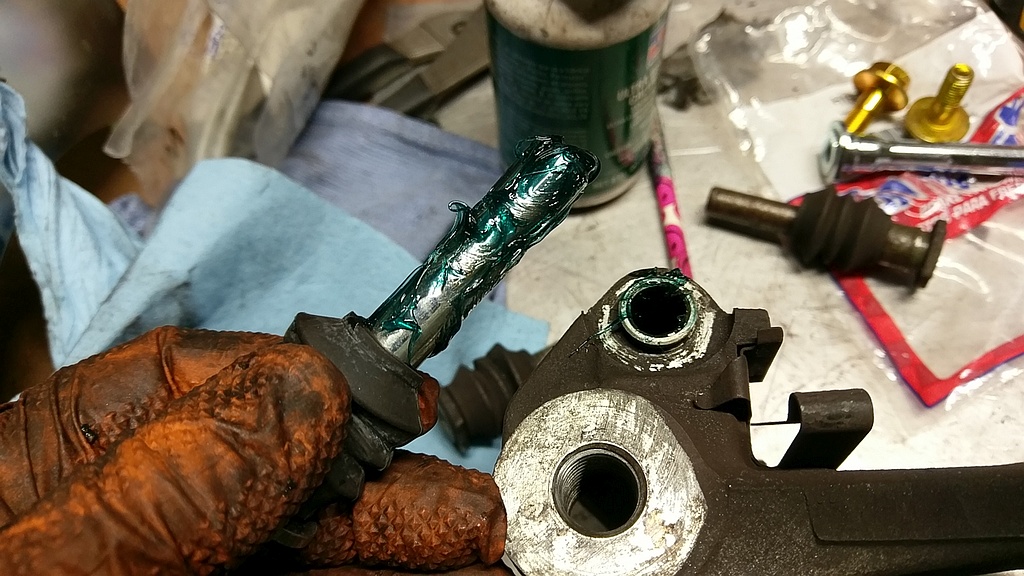
Clean and Lube Slide Pins
If you are replacing the slide pins, get a wire brush (like one you would clean a gun barrel with) and get out all the old goo from the slide holes. Then re-lube the pins, You don't need a lot but enough to make sure everything is covered. Don't worry if they are hard to push in (or hydraulic themselves out), just push them in!
New Slide Pin Boots
I had a set from the last job, I put just a bit of grease on the inside and with some difficulty slid them over the ridge that keeps them on. I used a small pick to carefully start the process, but be careful as it will have no problems tearing the boot if you go crazy with it.
Time to get Back to it, Piston Retractor
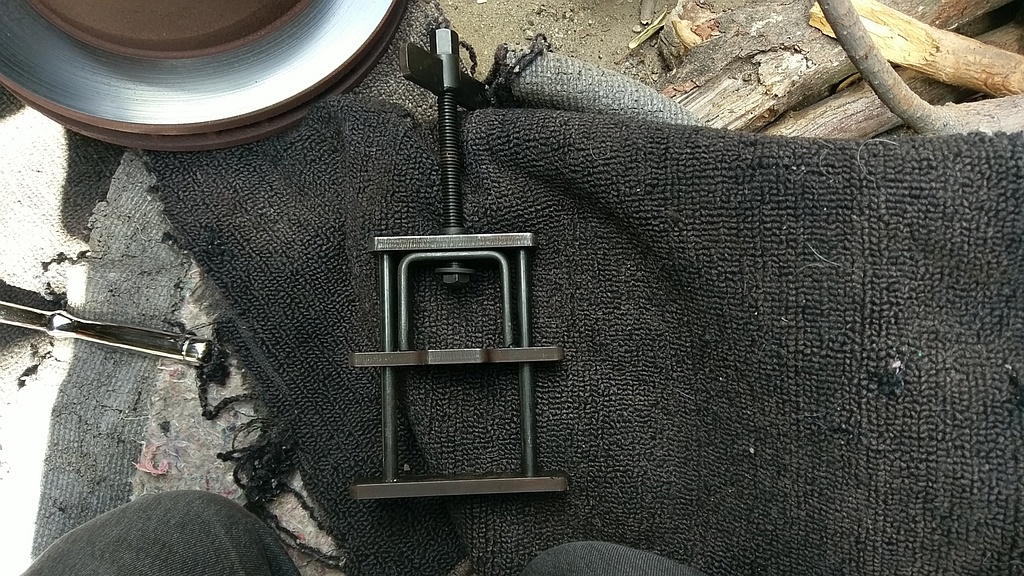
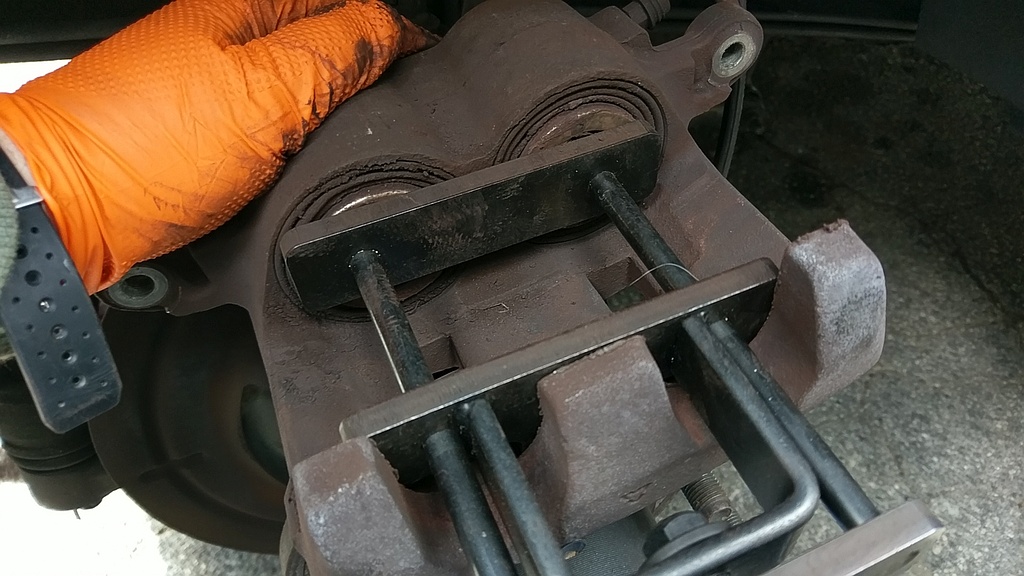
I have used this on a few jobs and it's a really good piston compressor (or retractor). It's all steel and works well with the double piston calipers on the Super Duty and Excursions. This one is Made by OEM and is not cheap but well worth it as the piston must be really pressed in good for the brakes to slip over the rotor.
Cram those Pistons into the Caliper, ALL THE WAY
Get your pistons into the caliper all the way, if you don't you will have difficulty to get the pads over the rotor. It's also a good time to make sure you have some room in your master cylinder or you will have a brake fluid mess.
Again this is the OEM 25741 tool and is not cheap about $40 bucks, but makes for short order for the task of compressing the pistons.
Lastly if you boots are cracked, expect trouble down the road. My boots are on their last legs. I think next time will need new boots, or just get a rebuilt caliper at some point.
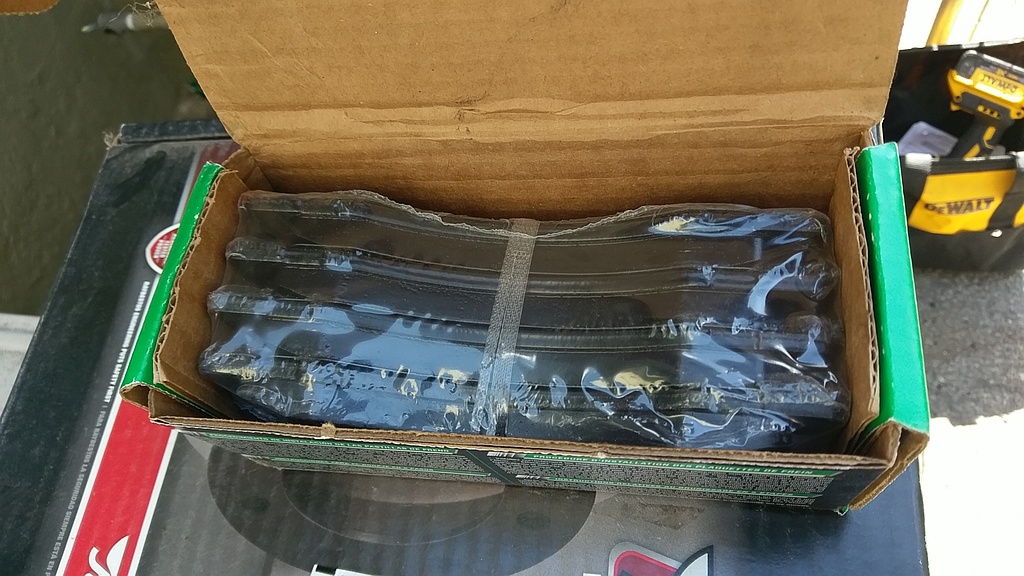
Hawk Pads Unboxed
Not sure why I put this in but this is how they come shipped. Somewhere in the box is a packet of brake lube.
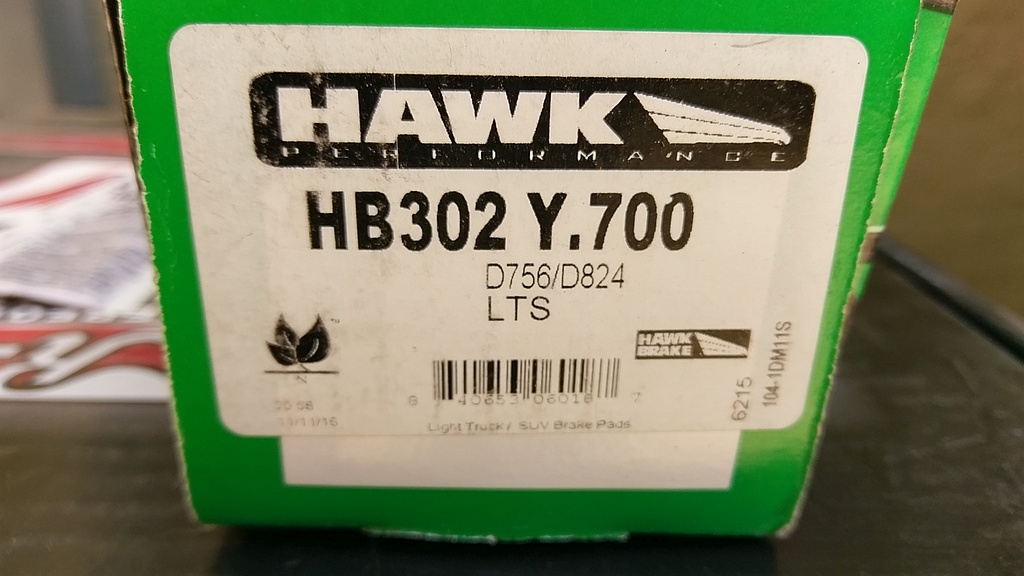
Hawk LTS Front Pads
I used the Hawk LTS pads for this job. They came from many recommendations on various forums. I had previously used some Carbon something or others and they were very good pads. Hope these hold up as well as the Carbon ones. I got these from Amazon - Hawk Excursion Front Pads HB302Y700
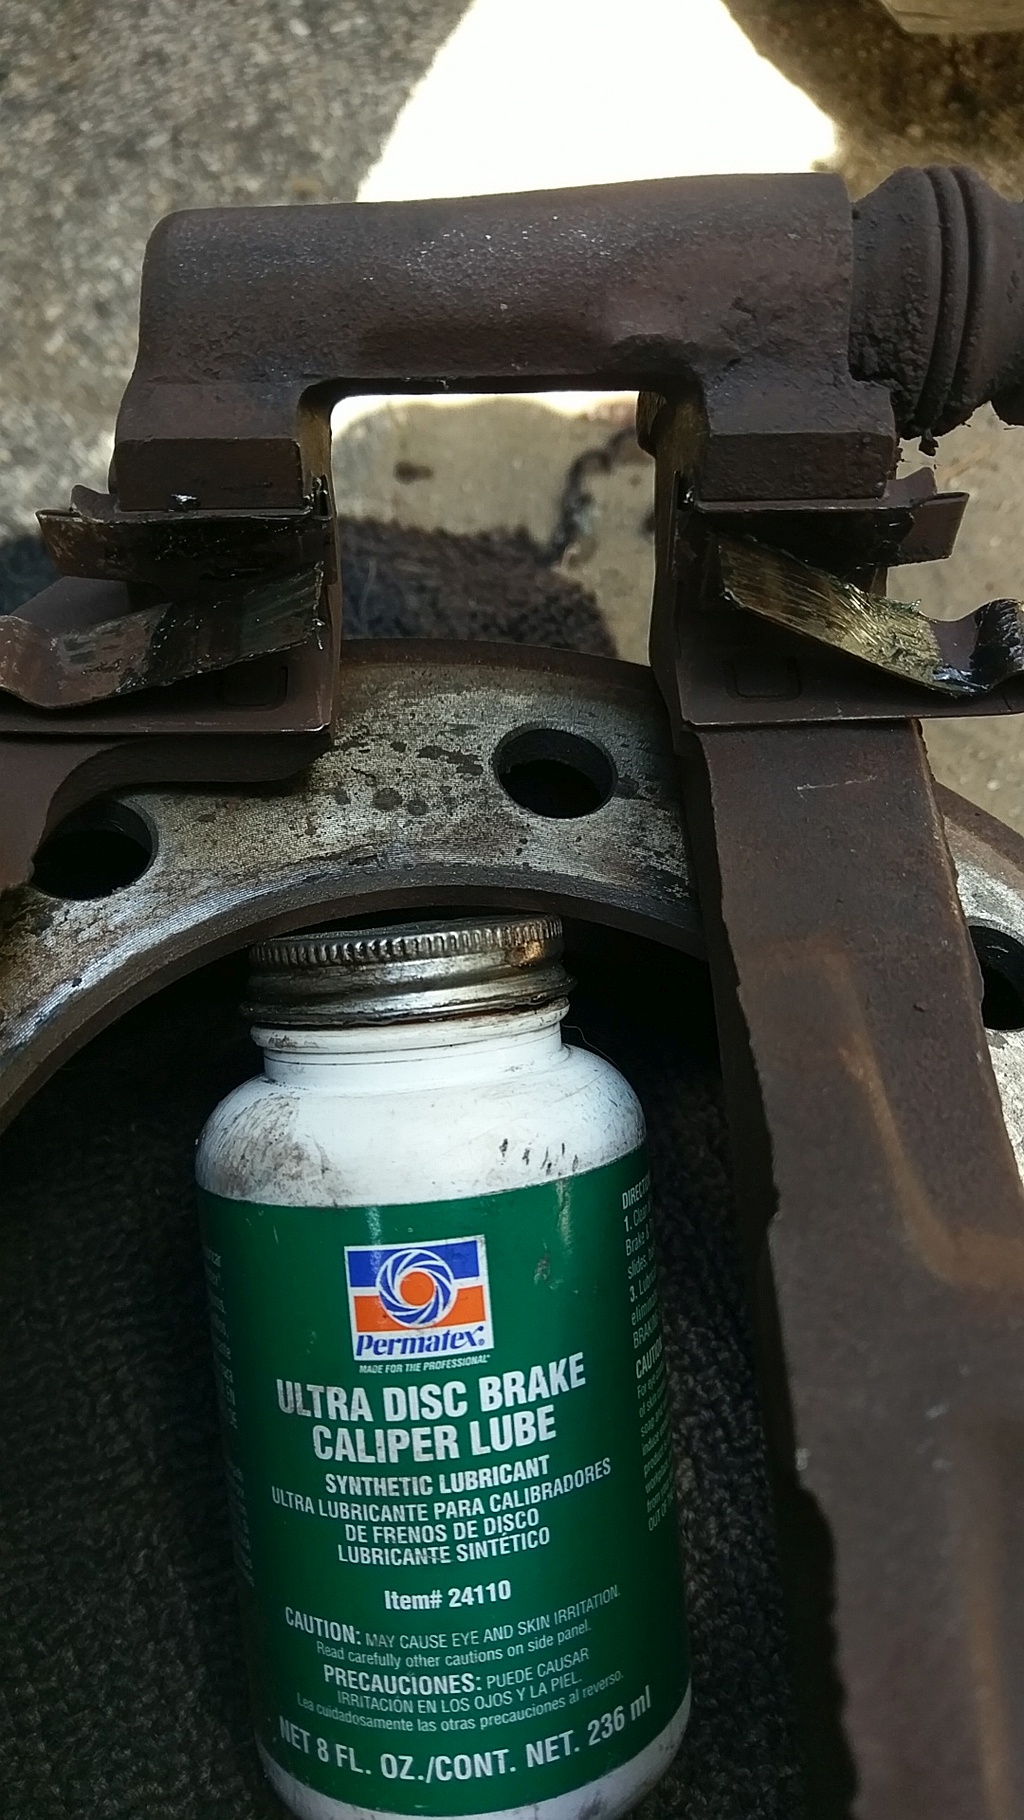
Lube up the Slide Points
Since I have a huge jar of Permatex Lube I saved the packet that comes with the pads, and just touched a dab of it on all sliding surfaces.
Touch of lube on the Pistons
Sparingly wipe the face of the piston with some brake lube. Don't use too much or it will blob on the pad which is not a good thing. Keep things clean, usually after this I toss the goo covered gloves and start fresh for the final install of pads.
Time to Replace the Rotor
If you have the caliper completely removed, you should just be able to pull the old rotor off. If it's not to be reused, feel free to hammer it if rusty. If it's to be reused, don't use a hammer without something to cushion the blow like a block of wood. Usually these come off pretty easy. Again, I would not waste any extra $$ on the grooved rotors, they are expensive and likely not going to make a difference. If you can tell what they do please let me know...
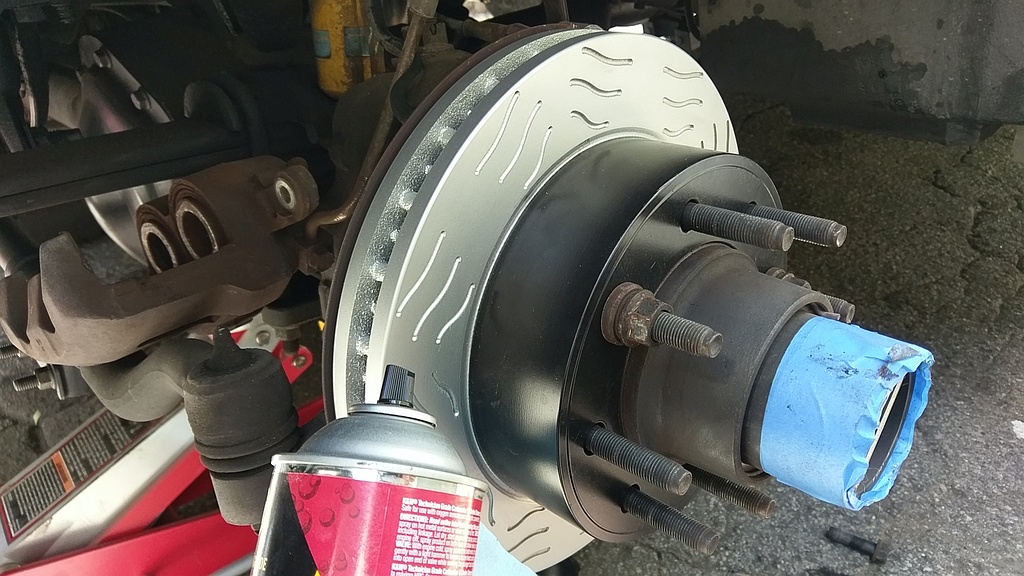
Rotor Installed
This is the easiest part, unless you couldn't get the old rotor off. Any-a-ways, just plop it on, put a wheel lug on to keep it on the axle. I had previously cleaned it off with some brake cleaner, made it sparkly clean. One thing that was nice about these rotors were that they were plated and didn't have the heavy rust coating like many of the standard rotors have. I guess when you pay double the price you do get something...
Replace Pads and Re-install Caliper and Bridge
Ok, I'm a dumb-a$$. I forgot to take one picture of the pads installed onto the assembly. Don't worry I'll talk you through it, hopefully you remembered how you pulled it apart.
As I recall (Note the disclaimer) I think you reassemble the bridge to the caliper and then slide the pads in. The tricky part is getting them in just right where you don't push them out. You will also need to get the anti-drag springs on the pads as well while keeping things all together.
Once you got things looking OK force everything over the rotor. ENSURE your hoses are oriented correctly (See next picture). IF it won't fit you likely didn't compress the pistons enough. I'll say it again, ALL THE WAY IN.
Once you get things back on the wheel bolt things down with the proper torque as indicated at the top of the page. For ONLY the caliper bolts (not slide pin bolts) I would use some Loctite on them. Can't be too careful.
Double check everything is torqued properly look to make sure the hoses are oriented OK, and think I only have to do the other side.
