Wilwood 340-12043 Dual Pedal Upgrade
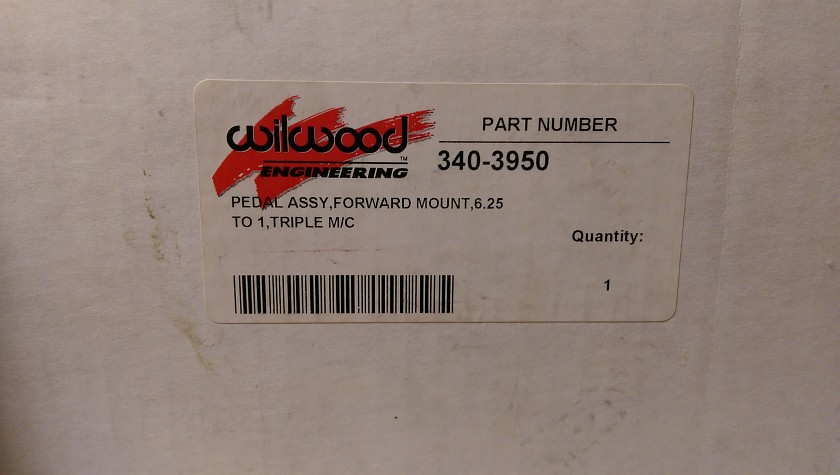
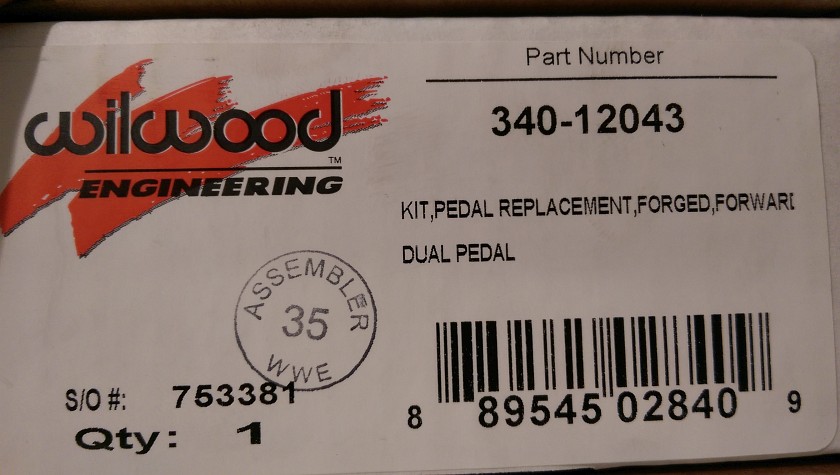
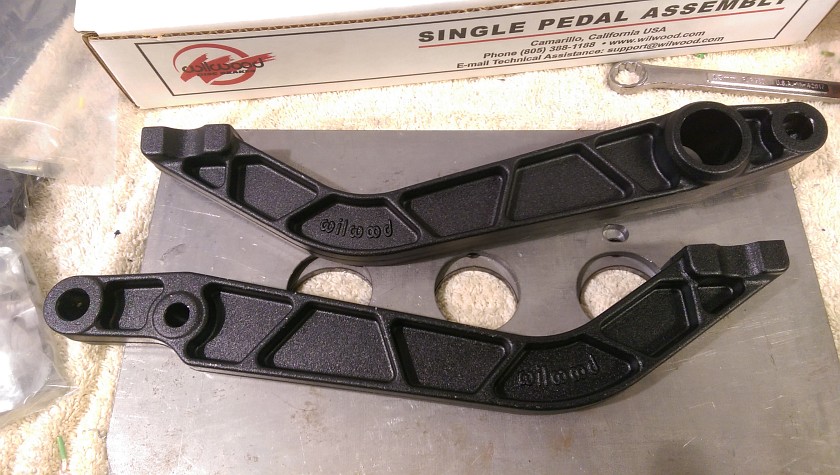
This is the face of the box and the part number being used in my install. These are for the forward mount style pedals, you know the ones with the masters in the back. They make another part number for reverse mount pedal style. Check www.wilwood.com for that.
Wilwood Pedal Assembly prior to update
Here are the pedals prior to the update. They have nice friction material on the pads, but that's about it. The upgrade kit only comes with pedals and a few bits of hardware. You reuse the main bracket.
Side View of Pedals
You an see the rough casting on these pedals. They look OK, but the new ones are much better!
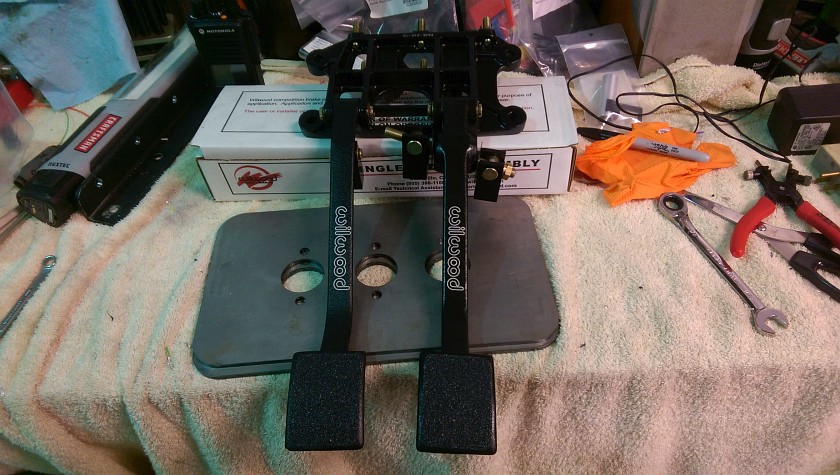
Upgraded Wilwood Pedals
Here are the new brake and clutch pedals. Much nicer. You will need to replace some hardware, but not all. The kit comes with everything you need.
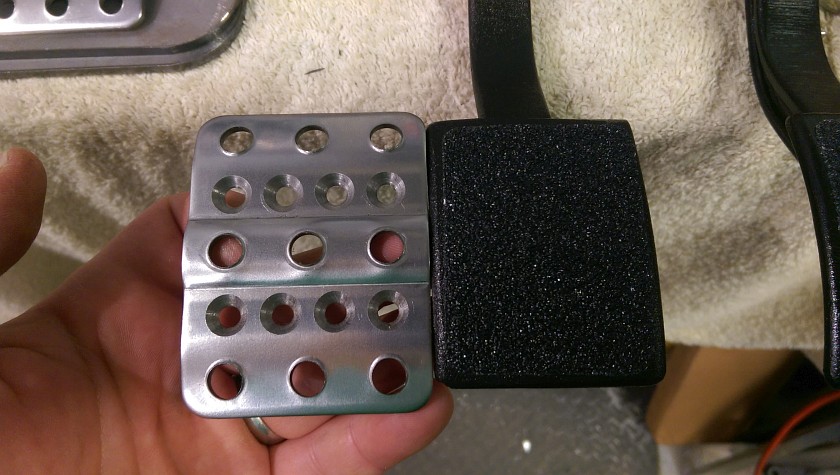
Pedal Pad Comparison
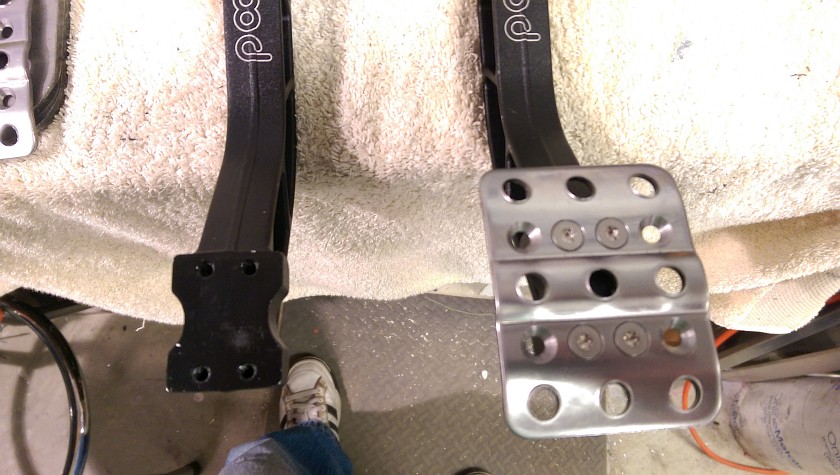
The pedal on the left is the new one if that isn't obvious! It's also a bit larger and I like that.
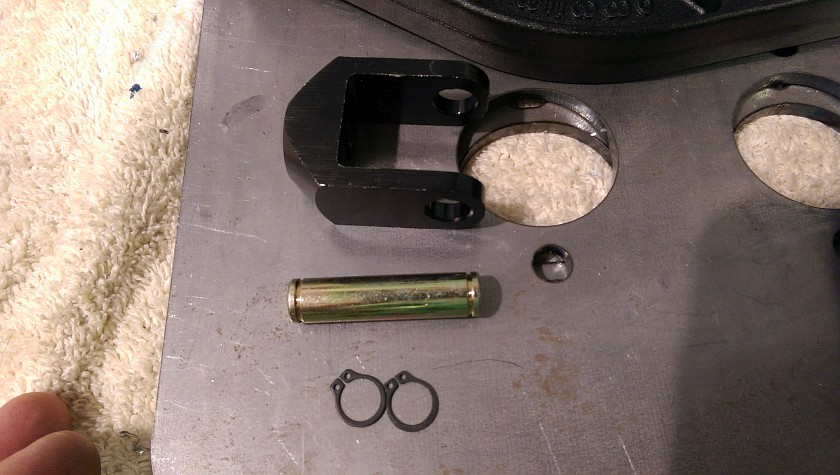
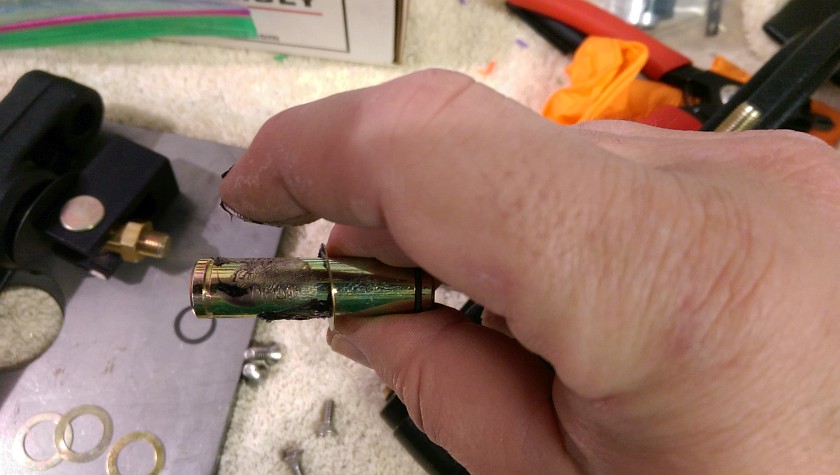
Clutch Pedal Hardware
Wilwood supplies all the parts including the new clutch pedal hardware. The old cluctch pedal is narrower then the upgraded one. So you need a few parts. Don't lose them!
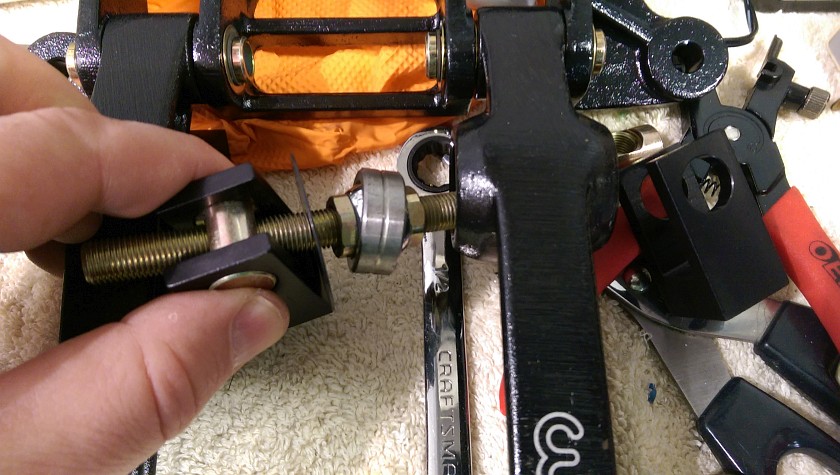
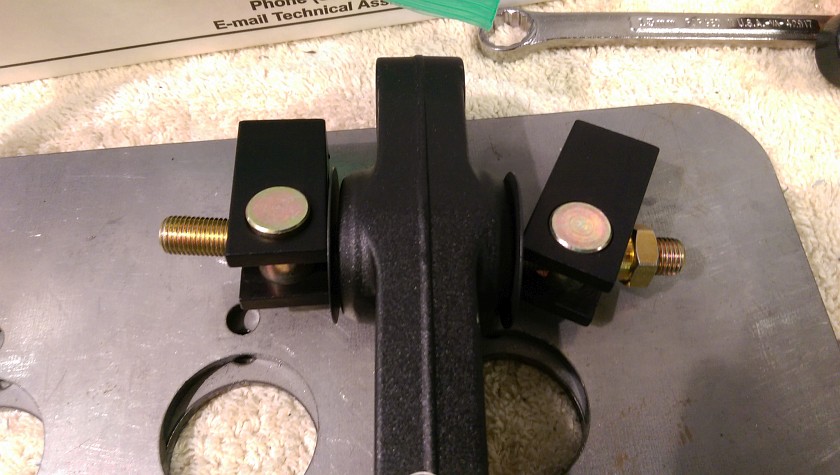
Disassemble Brake Bias Adjuster
Start by removing the brake bias adjusters, bar and related. Take a picture if you have a bad memory so you can see how it all gets re-assembled. Really just unscrew one of the clevis and it will come a part. You will be reusing all of these parts on the new pedal.
Install Bias Bar and Clevis on New Pedal
After removing the parts install on new pedal. Make sure you get the 2 washers on each side of the clevisus or is clevi?
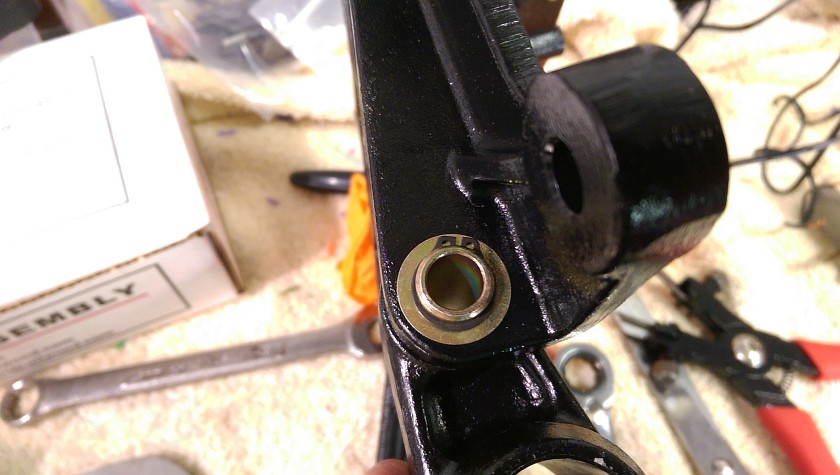
Remove Brake Pedal
To get the pedal off, use a set of EXPANDING snap ring pliars to remove. Watch out for the flying clip if it springs off. Push pin though the hole. Note that their are inner and outer washers, make sure you keep an eye on them too.
Reinstalling the cross shaft
You nice new pedal is ready to reinstall. The cross shaft is pretty much dry from Wilwood. Add a sparing amount to the shaft and washers too.
NOTE : when reinstalling the brake pedal make sure it's in the correct position. The new pedal is thicker on the top and if not in the right position it will not be movable all the way to correct. So if you put the pedal on really high it will not swing down into position. Just double check before you lock the clips on.
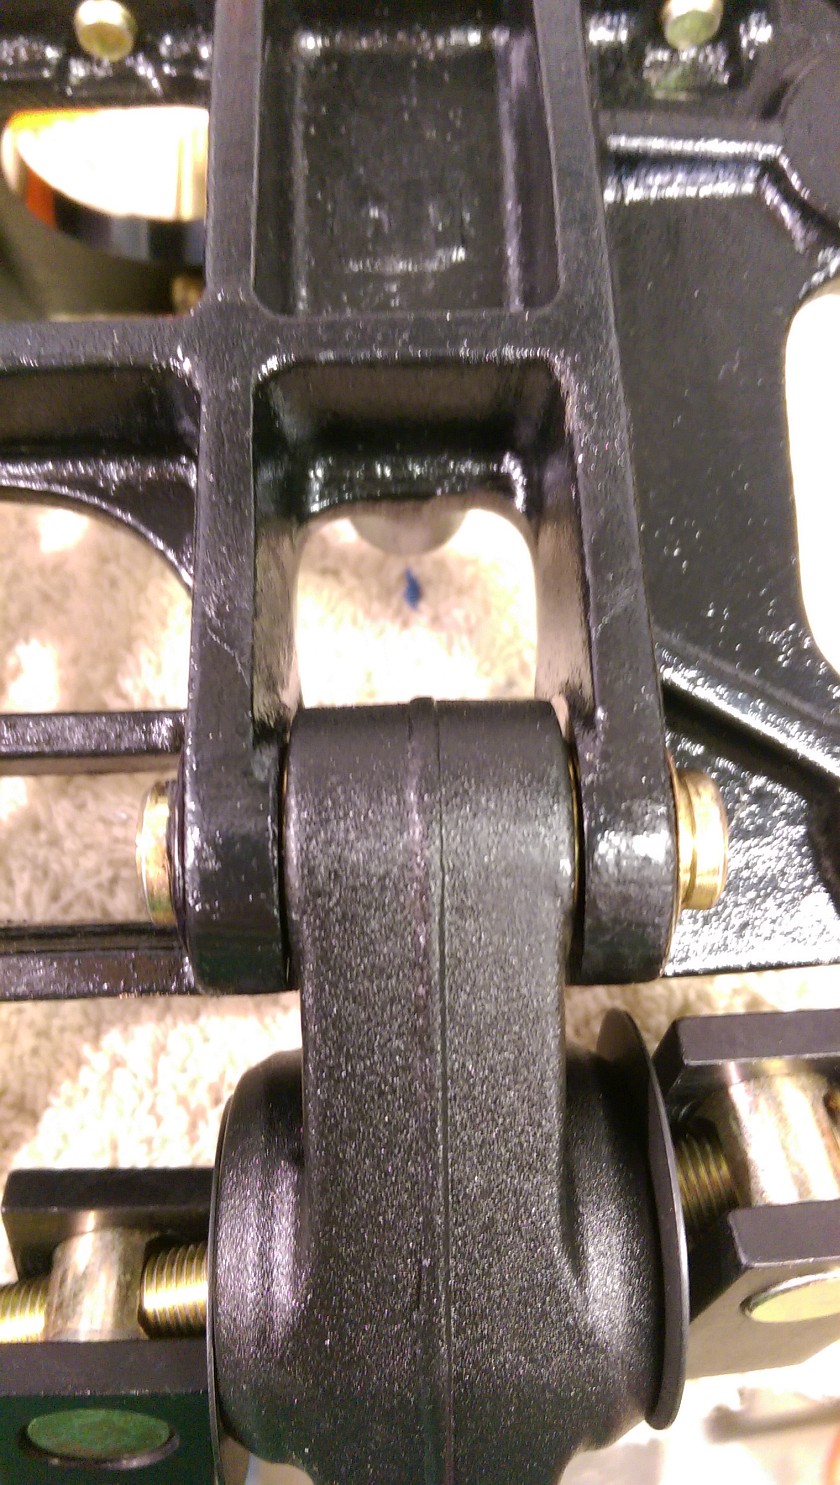
Close view of Brake Pedal Installed
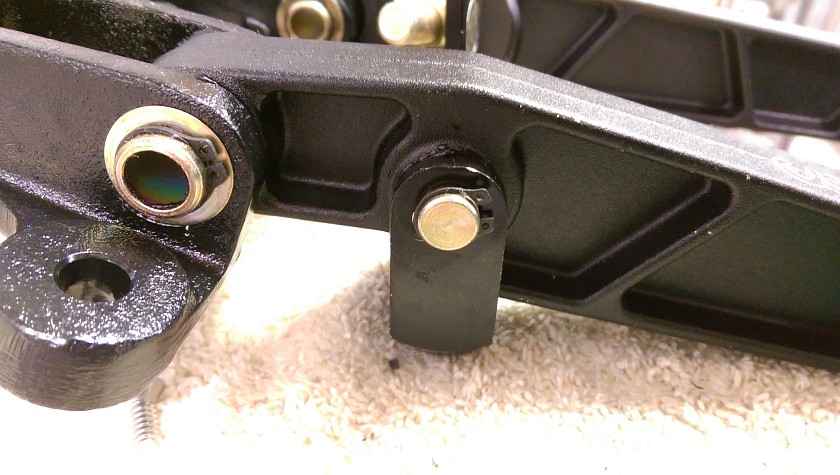
You can see the cross shaft, washers and how it all should be. Their should be 2 washers under each C-Clip, and one on each side of the pedal. The right C-Clip is waiting to be installed at this point.
Install Pedal Pads
After installing both pedals, you can now mess with the pads. In my case I'll start with them centered but I may offset them one hole to make them closer to the gas pedal. The kit comes with torx screws for the hardware, nice touch.
Conclusion
If you have the older cast aluminum Wilwood pedals these are a nice upgrade if you have worn, or beat up pedals and want to freshen things up. In my case it was not needed but go figure, me doing something that was just fun.
Tools Needed
Expanding Snap Ring Tools
Torx bit to tighten up the pedal pands
Happy Motoring!
Wilwood Pedal Upgrade
When you buy parts for a project early you end up with many things that change though out the project. One thing that can offten happen is that the parts you got are upgraded by the manufacturer. That was the case with the tripple forward mount Wilwood pedals a I got. I have the 340-3950 version that have been updated to a newer part number. One thing that I like about the new version was the pedals are forged and they have an adjustable foot pad. This feature alone will make it worth while to swap. The kit was about $120 bucks as I recall and it's pretty easy to install. Besides the pads on the pedal, the new pedals look nicers and are less of a raw casting.
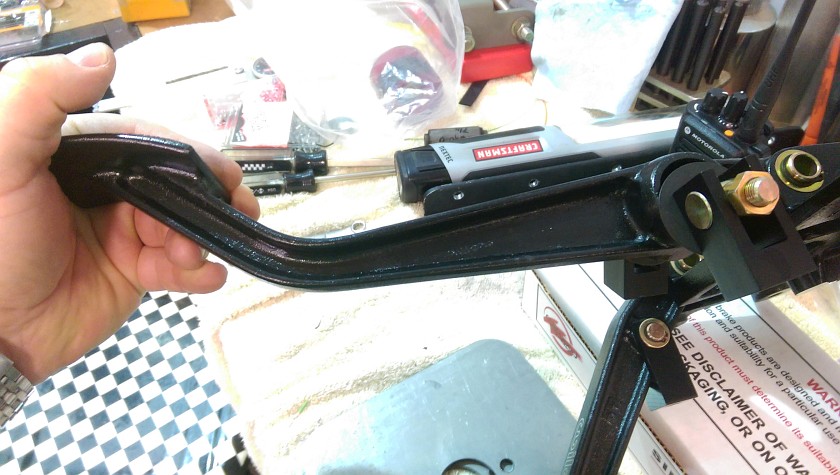
Install Clevis on Clutch Pedal
Using you expanding C-clip tool add the NEW clevis and bar to the NEW clutch pedal. Add a little grease. This pic shows the arm already on the bracket, but follow along below for more on that, it's basically the same as below.
