Excursion, Expedition, Explorer Lift Gate Fix
A quick and simple project to fix the weak or blown hatch lift cylinders. You can tell that these are going weak when the
lift gate hits you in the head. This is especially true of the Excursion since the lift gate is really heavy. I have done this to
the Expedition and Explorer as well. Doesn't really matter what year or make / model of car it's pretty much the same
process. Best advice is get a helper to hold the lift gate as the card board box method used here should be a last resort.
Links below from Amazon and TASCA if you need for the Excursion.
NOTE : This simple process applies to both lift gates, hoods, or most anything using these gas struts (gas lift cylinders).
Be careful with these as they can be under a lot of pressure and hold up something that will likely make a dent in you
head. Have a helper help if not clear!
Needed Supplies
2 Excursion Replacement Gas Cylinders (Gas Struts, Gas Lifts)
Tools used
Small flat blade screwdriver to pop the clips
Shop rag
Helper
Gas Lift Cylinder Replacement
This again is a simple DIY project, save yourself some money and time and just pick up a couple of replacement cylinders and pop them in. Hardest part of the project is finding someone to hold the lift gate (or hood) up while you swap them out.
Do them one at a time if that's not obvious and have a helper hold the Lift Gate or Hood while you swap them!
Happy Motoring and get your projects done!
Helping Hand to Replace the Lift Gates Gas Cylinders
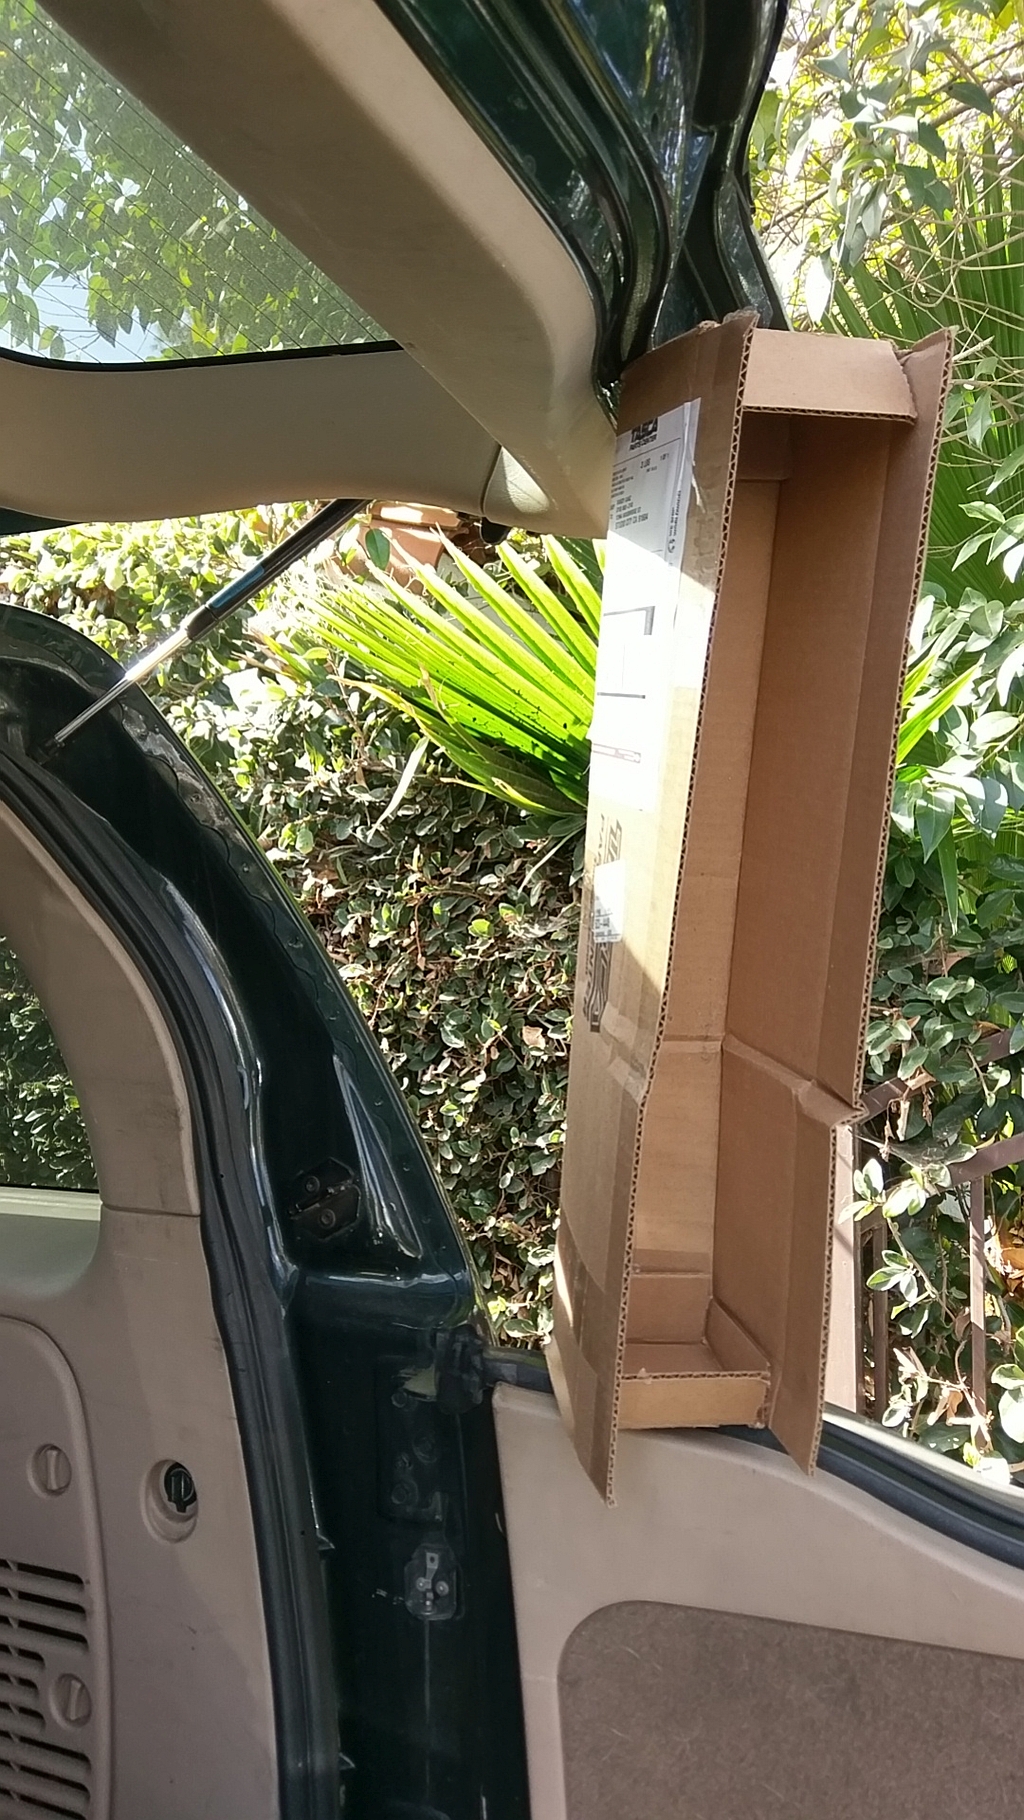
If you are a one man show, or have kids that are too busy playing video games you will find a friend in a cardboard box. Don't worry the lift gate is still going to hit you on your head when you lift it up to pull the gas charged cylinder off. I used the shipping box from TASCA Ford where I got my lift cylinders.
Allstar 1.75" Roll Bar Clamp
These are available from a few vendors, Allstar had these for their Roll Bar Bottle Mounts, I figured they would be pretty good for holding on the fuel pump. These are not as heavy duty looking in person, but still pretty good. These were in the $40 range each. For a lower cost solution look below!
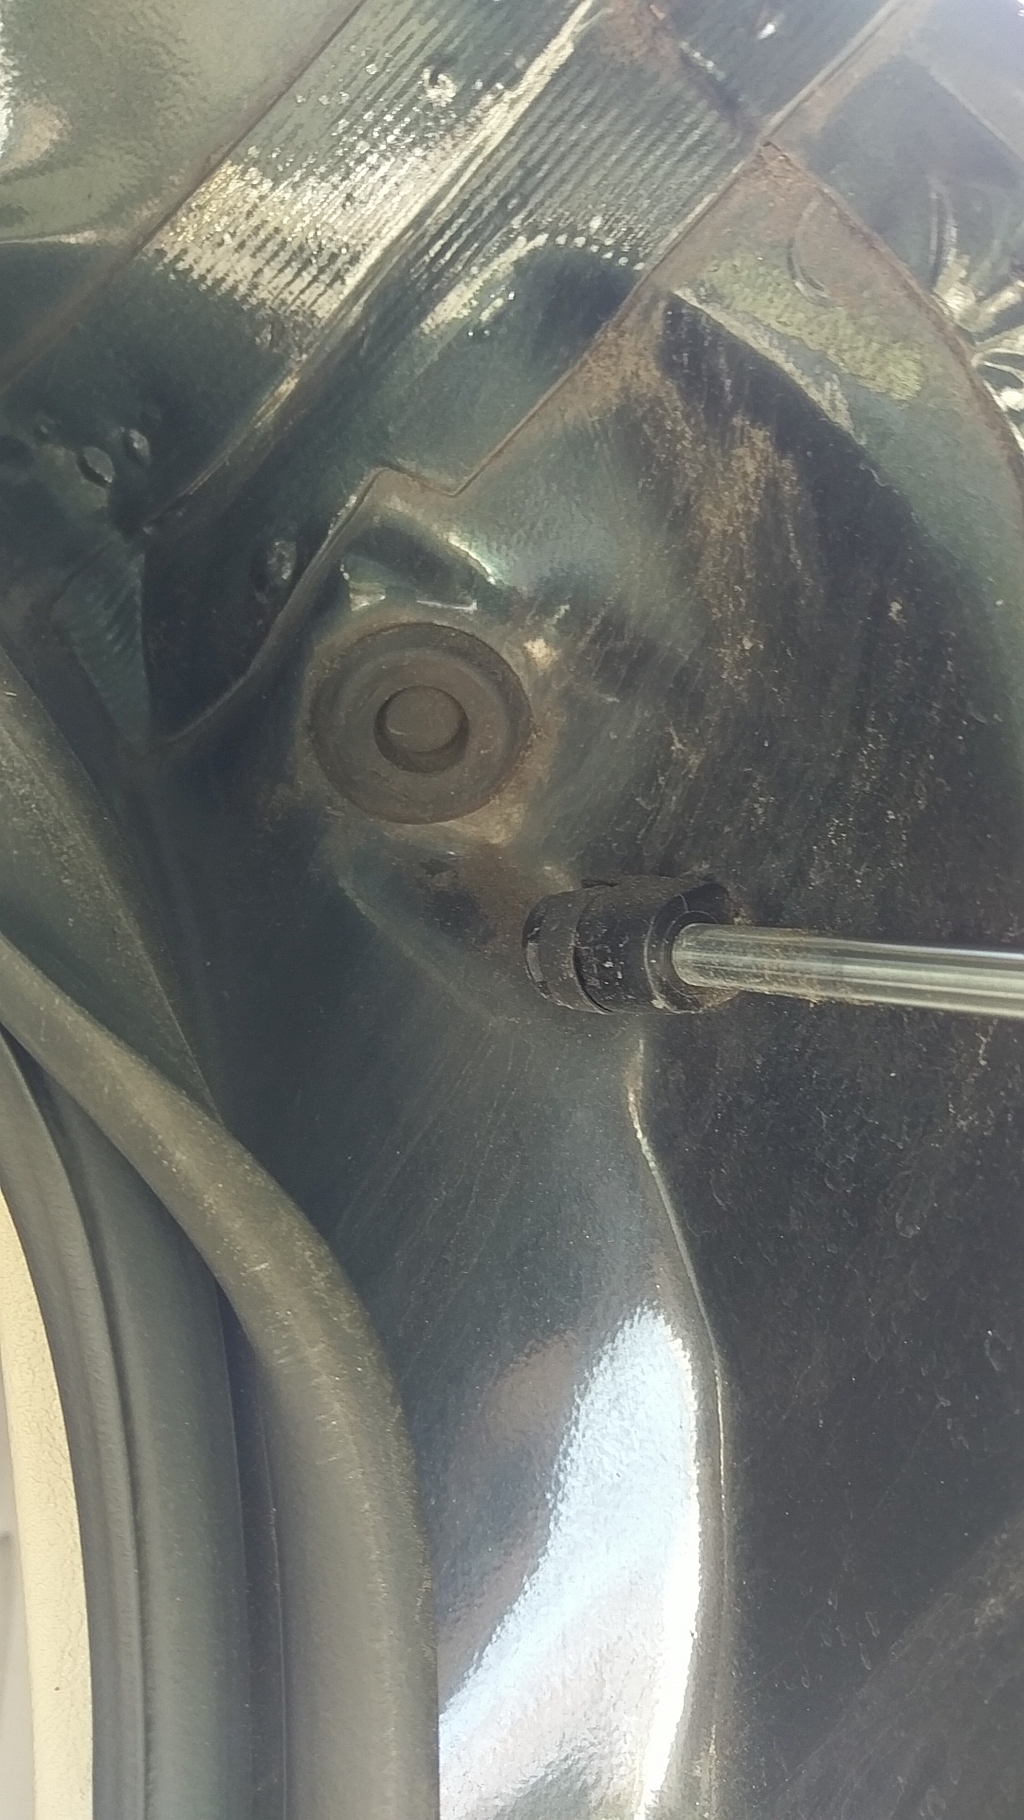
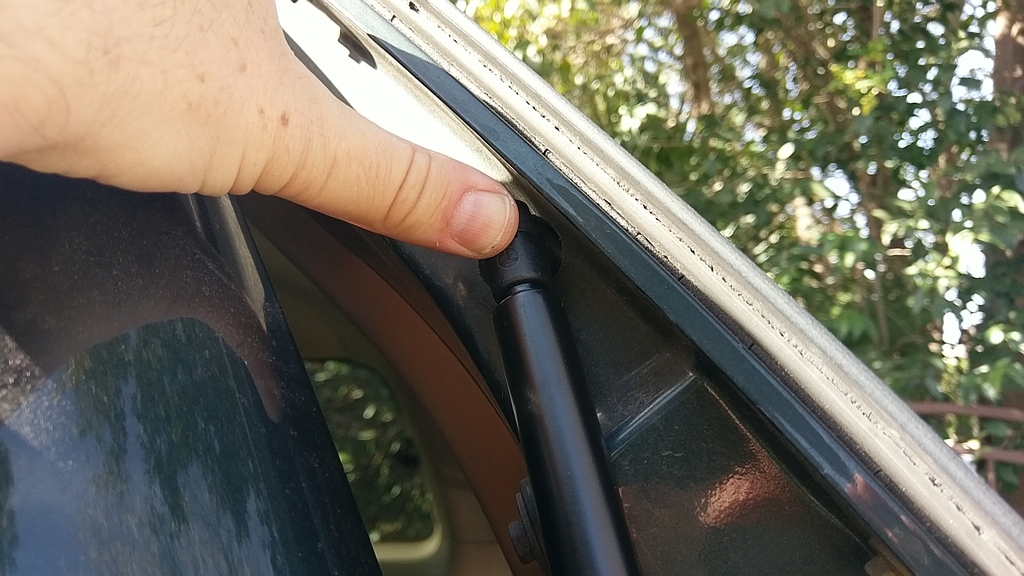
Body mount side of the Lift Cylinder
This is a close shot of the mounting on the Excursion. You can see the black metal clip that surrounds the head of the cylinder. Note that cylinder body is mounted downwards, with the exposed rod mounting to the body not the lift gate.
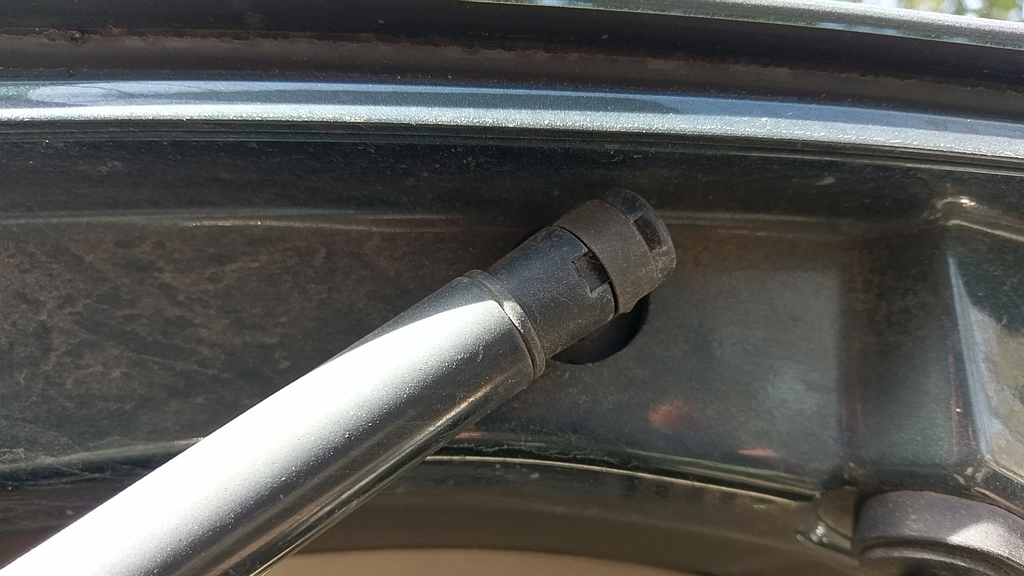
Lift Gate Side of the Cylinder
Similar mounting to the Body side of the cylinder. You can see the notch where you pry up the clip. NOTE: some cylinders may have a thin wire based clip. The operate pretty much the same way.
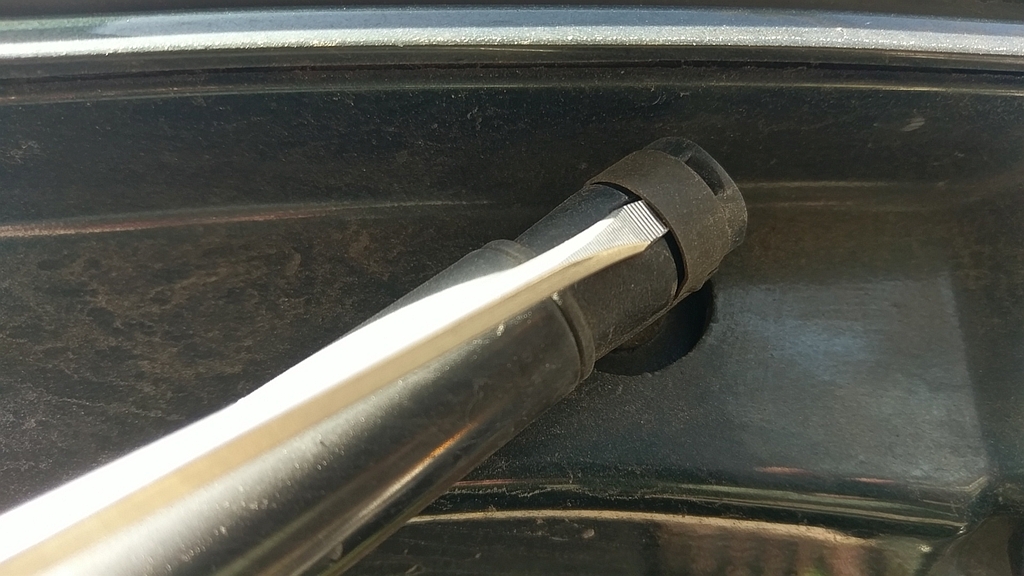
Pry Clip with Screwdriver
This will be the same for both sides. You need to pry up the clip. You may have to relax the tension on the lift gate by lifting it. This is where a helper is nice, otherwise you need to start juggling things a bit.
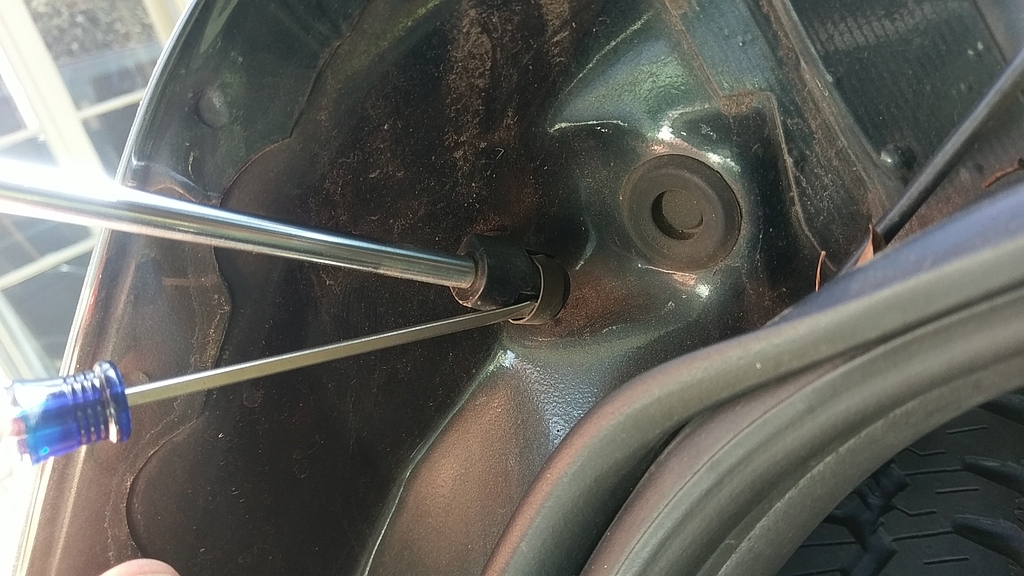
Remove the other end of the Cylinder
This is the body mounted side of the cylinder, do the same and pry up the clip. Don't worry about bending it, the new gas cylinders should have them already installed.
If your Cylinder is Sticking on the Pivot
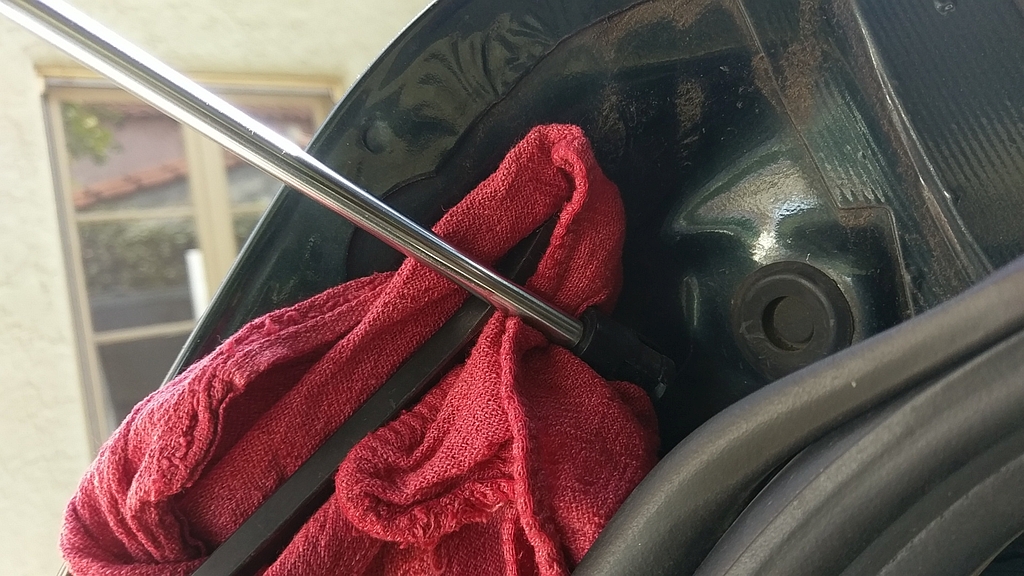
I had a few that don't easily pop off, just stick a rag or something to protect the body and pop it off with a larger screwdriver. Since you are not going to reuse the old cylinder don't worry about scratching the shaft.
New Replacement Lift Cylinder (Gas Cylinder)
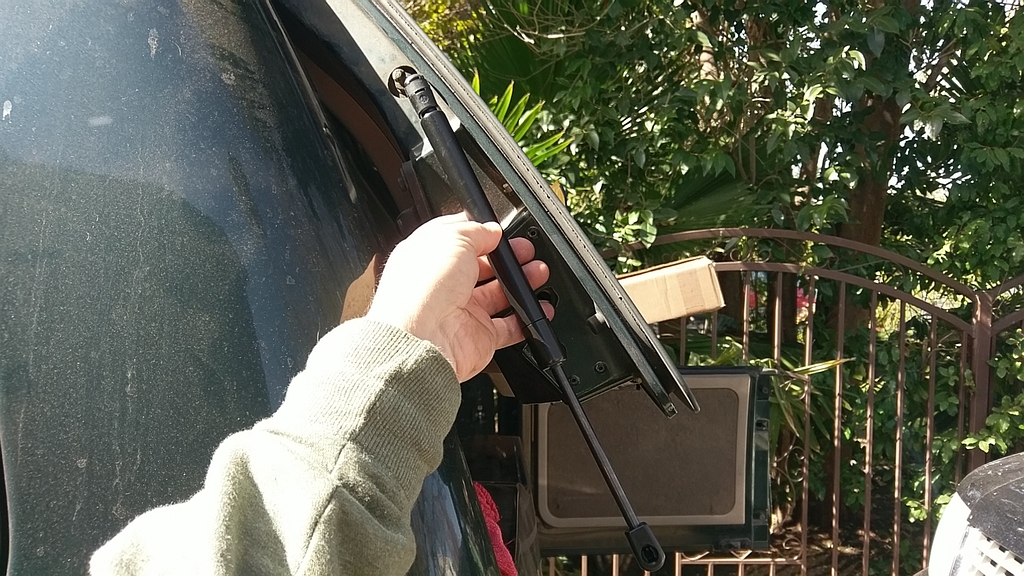
This is the way it fits on the Excursion, check your other side if you forgot how it goes.
Re-Installing Gas Lift
Just Snap it on, NO NEED TO REMOVE CLIPS!!!
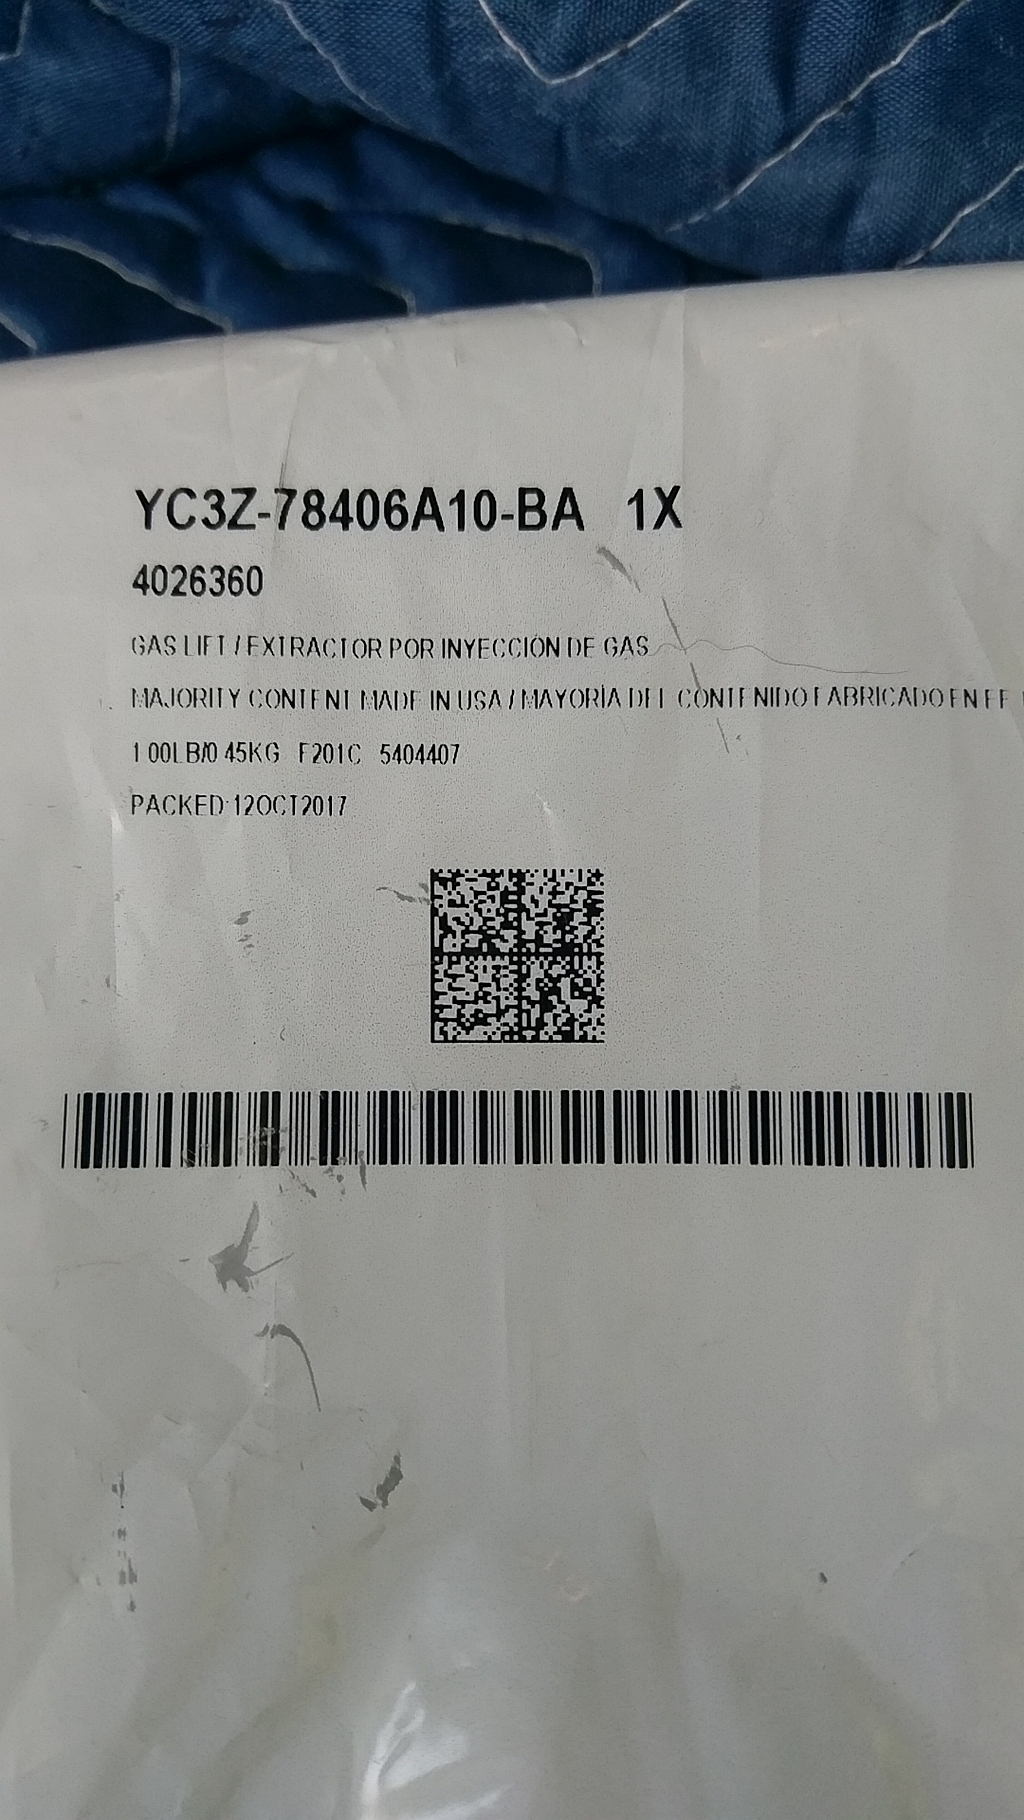
FORD OEM Gas Lift Part Number
This is the package the lift came in, Ford part number YC3Z-78406A10-BA. You will need 2 of these. These cylinders are made in USA as a nice bonus, and you could likely find them (Same brand as OEM) by looking around on the web. You will need to measure them expanded and contracted and with that you should be able to match them.


