T101A Mustang Transmission Swap
This is the next phase of the TexRacing / Gforce T101A transmission swap into the Mustang (The Ripper). At all turns of the project I would say the key was to trial fit and re-trial fit! While the swap was not difficult it took some time to make it nice. The biggest hurdle was fitting it into the smallish Mustang transmission tunnel. A few areas proved troublesome, one was the shifter, the next was the linkage, and finally the overly large vent on the top of the transmission. Each issue was solved by trial fitment and removing the assembly then fixing the problem. Also let's not forget to note the engine stand has been re-worked into a transmission stand.
Link to PAGE 2 of the T101A Transmission Swap Project
The Project - T101A
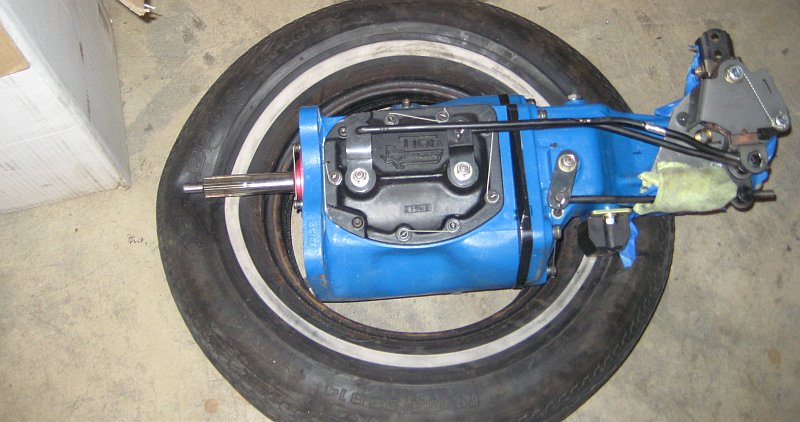
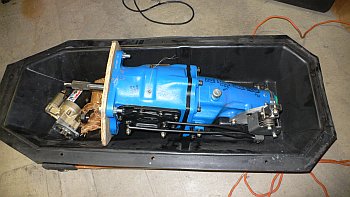
This is the TexRacing / GForce T101A in all it's glory. The shipping container looked like a small coffin when I received it, but openning it up yeilded someting much better. The shifter was a Hurst competiton plus with simple rods for linkage to keep the package as narrow as possible due to the narrow transmission tunnel in the car. You can see the silver breather in the top of the transmission.
Removing Tremec TKO
The transmission in the car was a Tremec TKO and while a very strong transmission it really didn't like to shift at higher RPM (7000+). It also had one other issue when installed in the stock transmission tunnel and that was the top of the case was a bit too wide and forced the transmission and engine to sit at a steeper angle then what I would expect. This also caused some high speed driveshaft vibrations that always plagued this installation. Lastly, never needed 5th gear. The needed scattershied (heavy) and odd hydraulic slave was not to my likeing either even if it was a slick setup.
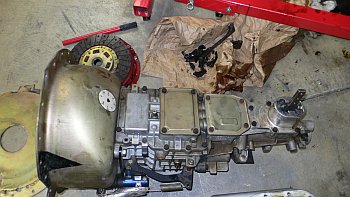
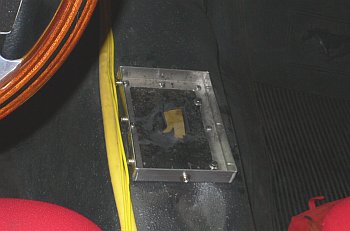
Old Shifter Location
The one very nice thing about the TREMEC TKO was that it pretty much aligned smack dab in the middle of the old Ford shifter hole. Made for an easier swap. With the T101A I had the transmission shifter placed in the correct location fore/aft but as you will see that is only half the solution. This was one benefit to purchasing directly from Tex/GForce as I could specify that offset.
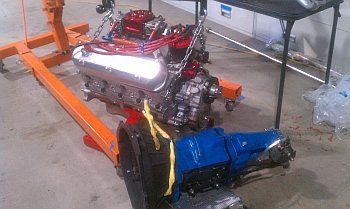
Engine and Transmission
The completed engine awaiting the new Transmission package.
Transmission Tunnel Work
First mock up with the engine and transmission shows that while I guessed pretty close on fore/aft placement the width of the tail housing on the T101A is way thicker then the old T-10's and Toploaders so the trans tunnel hacking begins. The shifter needed to come over about 1" into the drivers footwell side and it was either a big cut or some smashing of metal...
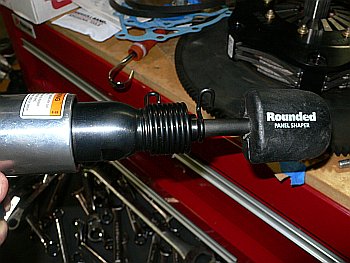
Steck Body Panel Tools
I was going to get the torch and a hammer out to start moving the metal to clear the shifter, but found these cool body shaper tools from Steck Manufacturing. These are a nylon type of material that when attached to an air hammer will allow you to stretch and form the sheet metal. So I marked off the area and began the smashing ordeal (wear both eye and ear protection). After a few minutes I had a nice bubble right were the shifter needed to sit. The metal gets thin as you stretch it and you need to watch for tears and small holes as you work it.
New Shifter Cover Plate
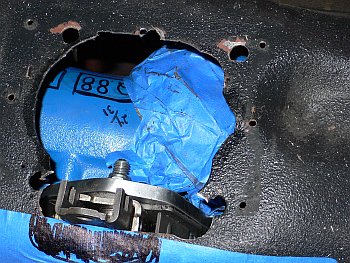
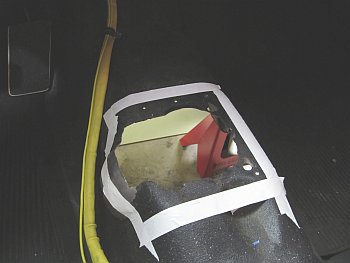
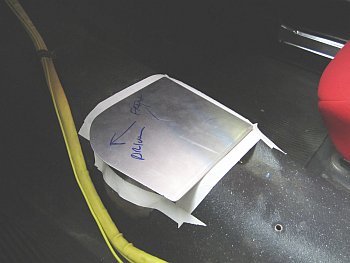
You can now see the 'bump' where I pounded out the metal for the shifter, now I marked out an area where I needed the new cover plate to fit.
Cover Plate
I started with a piece of thin aluminum, and had some bad results. They were not totally unexpected.
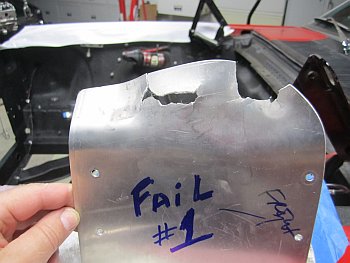
Cover Plate Fail
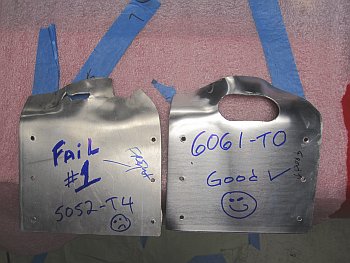
The metal I had was 5052-T4 which is has some heat treating to it. It's not going to conform well to the compound curves so I had the brilliant idea to heat it up. Well here are the results. I think I might have succeeded if I got it hot and slowly formed it, but that was not the case as I was a bit over anxious with the hammer
Preview of Fail and Good
After I though about it I though I should just get some dead soft Aluminum (6061-TO) which is used for skinning things like car bodies (think Cobra). This made the job easy, no heat, just a soft mallet to form around all the odd curves. I picked up the material from Aircraft Spruce as it's not very common. It almost cost as much to ship as the material itself, but I have a good sized sheet for other projects if needed.
Cover Plate Progress
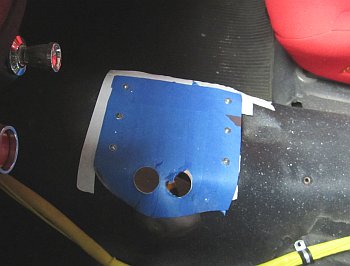
After contouring the cover plate it was time to cut out the hole for the shifer. It gets a bit tricky with the soft metal so I bolted it through the transmission tunnel in a few spots and used a hole saw to start things off,
Magnesium Bell Housing
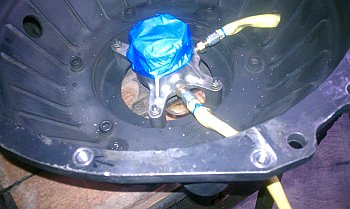
Since I'm gaining weight, I figured the car must lose some. In removing the scattershield and replacing it with a Tilton Magnesium bell housing, a good amount of weight reduction from this alone was realized. This system also uses the Tilton concentric style throwout bearing. This cleans up the area near the headers where the old clutch and slave were too close.


