Tweco Welding Magnet
In the quest for more tools and interesting things to add to the work bench I picked up a Tweco SMMA300 which seems to basically the Magswitch #8100351. Not sure who makes it, don't really care, just figured that I would get one and updated to use it for a Ground Clamp. It has a built in hole for a bolt that was designed just for that purpose. The clamps are nice as they can hold several parts of metal together while grounding them all at the same time.
My plan was to make an adapter that I could use my existing grounding clamps to clamp to a nice piece of metal and use this as an adapter for any welding in the garage, each has a different connector so would be a pain to try to make a cable for each one, so just use the clamps I have and make an adapter.
Note they make a coupe of styles of the magnet, some are designed just for holding metal some have the optional hole for a bolt so they can be used as a grounding source. Double check before purchase.
Parts
Tweco or Magswitch Ground Clamp - Amazon
Welding ground cable of suitable gauge
Couple of cable lugs for 3/8" bolt
Couple of bolts and related hardware.
Shrink tubing
Scrap aluminum
Tools needed
Wire Cutters/Strippers
3/8" Tap and 5/16" drill for tapping
Heat gun for tubing
Crimper, can use vice grips in a jam.
etc.
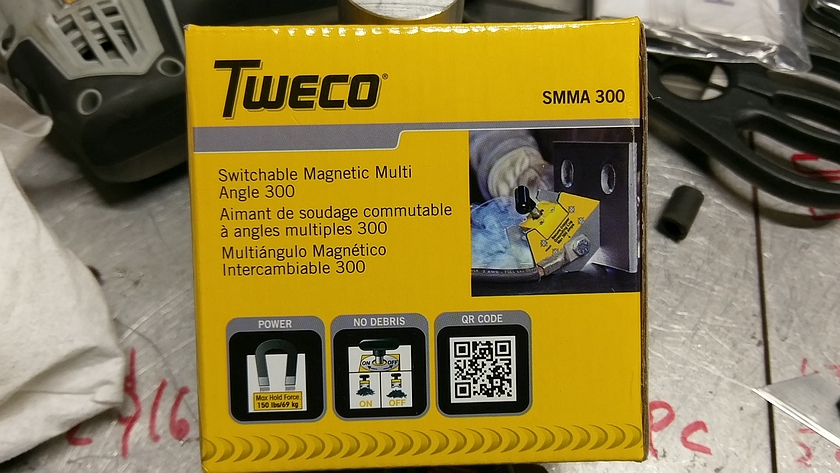
Tweco Clamp as Shipped
This is what shows up. Small cardboard box packed full of usefulness :) The one downside is that it is made in China.
Unboxing the Welding Magnet
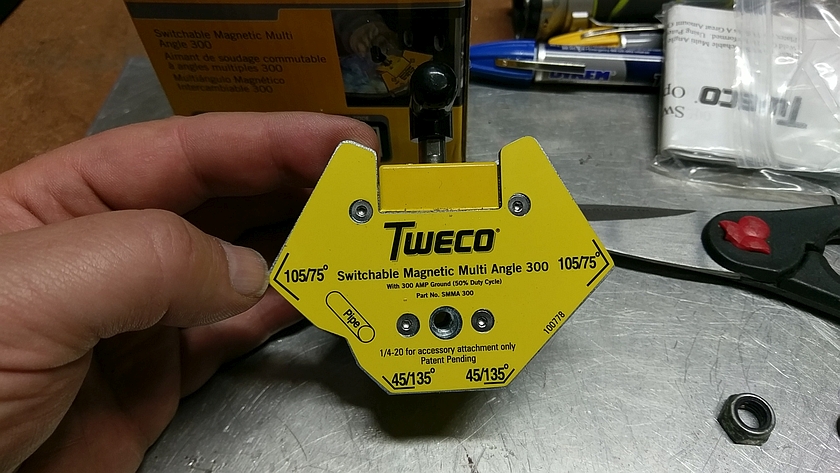
This is a cool magnet, most of the grounding magnets just hook to any flat part of your material and your good to go. This one does that as well but can hold metal at a few different angles to help you weld it up, like a third hand. And just in case it's not obvious grounding magnets ONLY WORK ON STEEL!
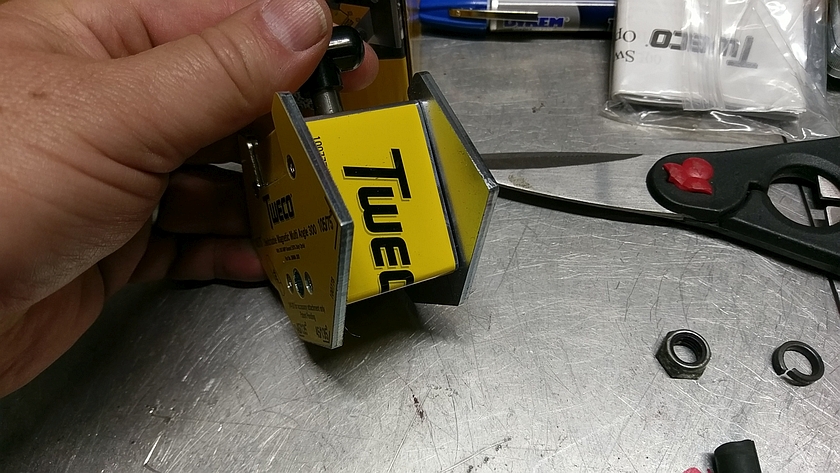
Side View of the Magnet
Title pretty much says it all
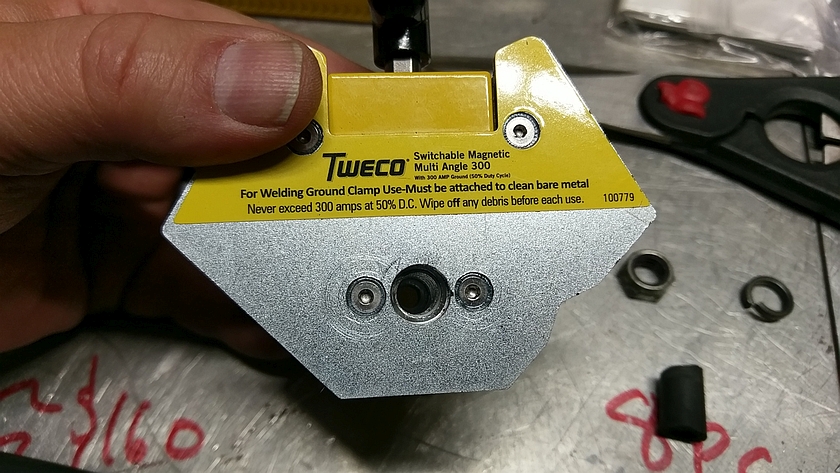
Back View of the Multi-Angle Magnet
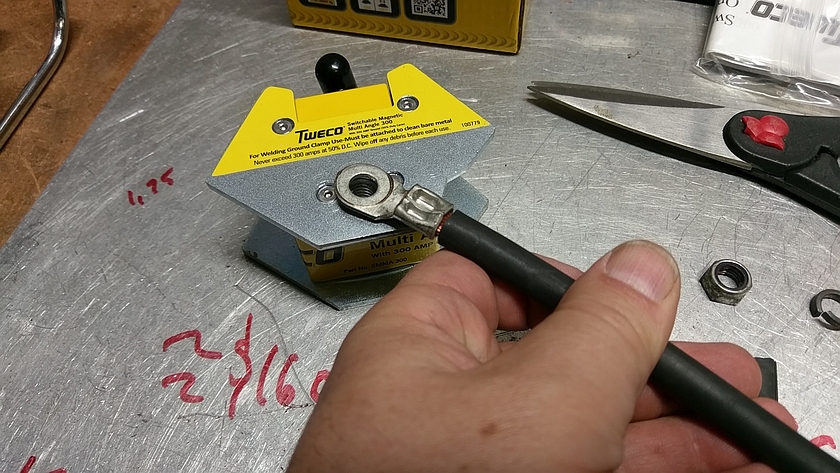
This is the back side, you can see the larger hole that is a 3/8"-16 thread. This is where you connect your cable lead to. Pretty simple when all said and done. Some warnings, etc to keep you safe, and the 'DC' limits... think about it for a moment.
Welding Cable Connection
I had a short piece of welding cable I chopped off when I replaced a super cheap grounding clap that came with one of the Miller welders. It was 1 or 2 gauge as I recall, and had a 3/8" bolt hole ready to use. I needed to fix up the other end of the cable still, so wait for that.
Fixing up the cable
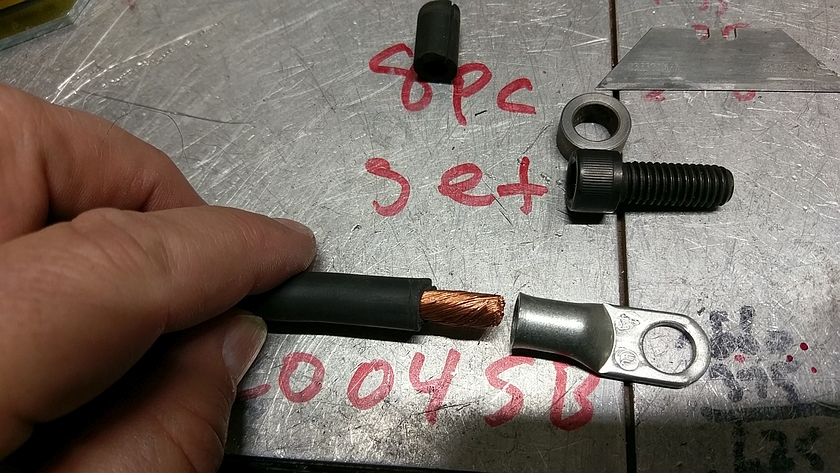
I had a few battery clamps for one of my car projects left over. Seems to we just about right (a tick large) but the crimper will hopefully fix that. Before I crimped I shoved 2 pieces of heat shrink tubing to just keep in nicer, not really a big deal if you don't have it since this is the grounding lead.
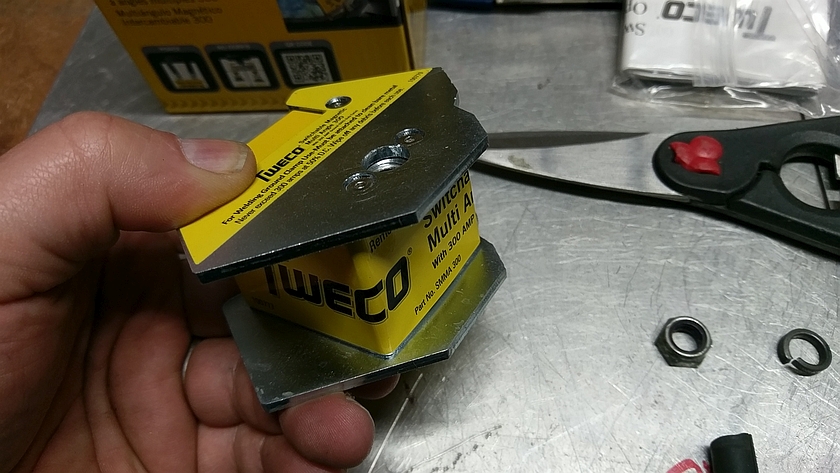
Bottom View of the Tweco
Bottom view, you can see all the different angles, and on the top of the magnet you can see a notch for pipe. Lots of useful bits here even if not using it as a grounding lead.
Hydraulic Crimper
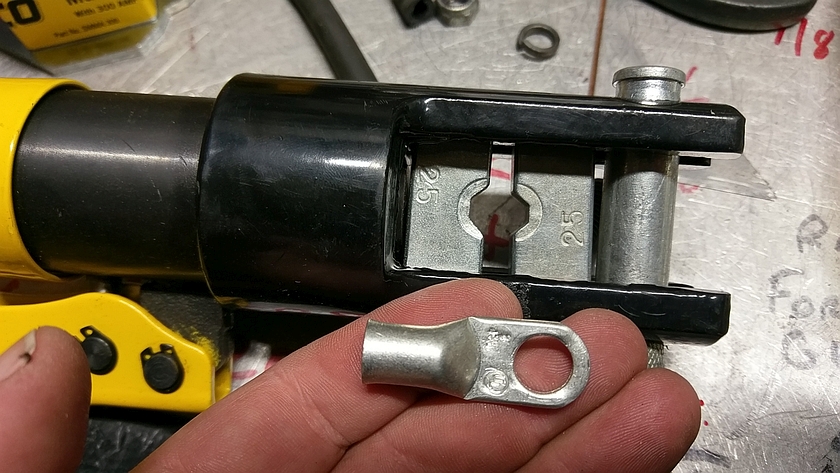
Found the right sized die for the battery clamp and crimped it up. The crimper is a low cost one that you can see more info on here GTSparkplugs Hydraulic Crimper.
Make the Grounding Clamp Block
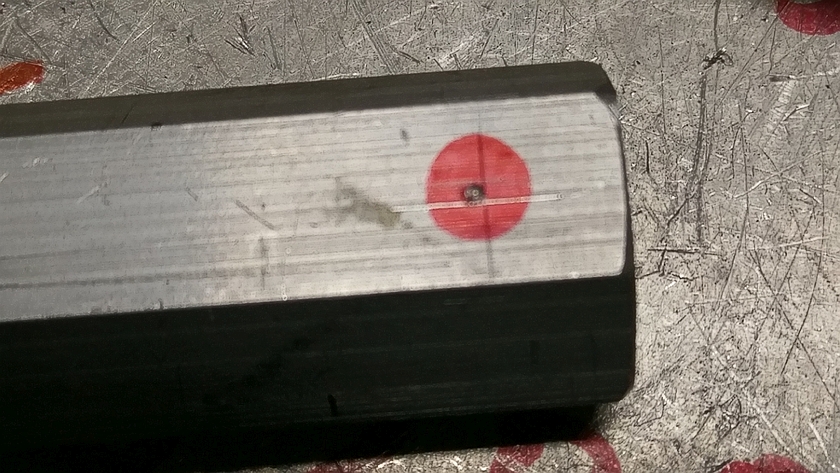
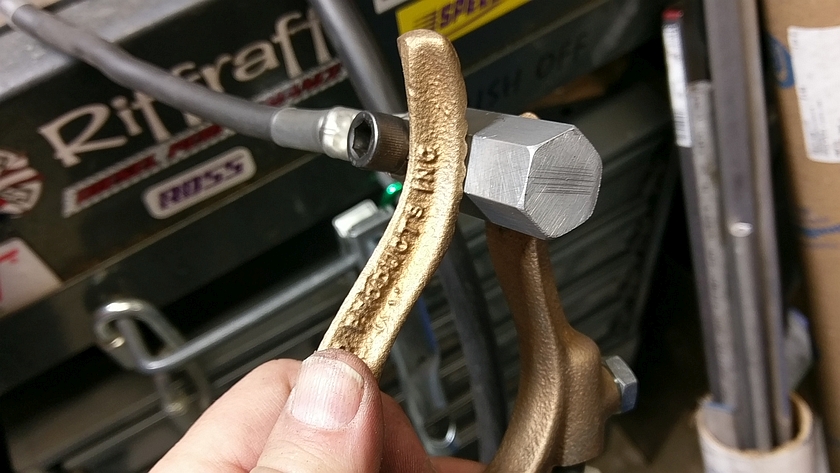
This is a scrap piece of 1" or so aluminum hex. Could be any clean sanded piece of aluminum or even steel I guess. This seemed to clamp tight in both the Tweco bronze clamp and the steel Miller style with good force. Find something that make the clamp make good contact with which will equate to a good electrical connection.
Notice the dead on center punch!
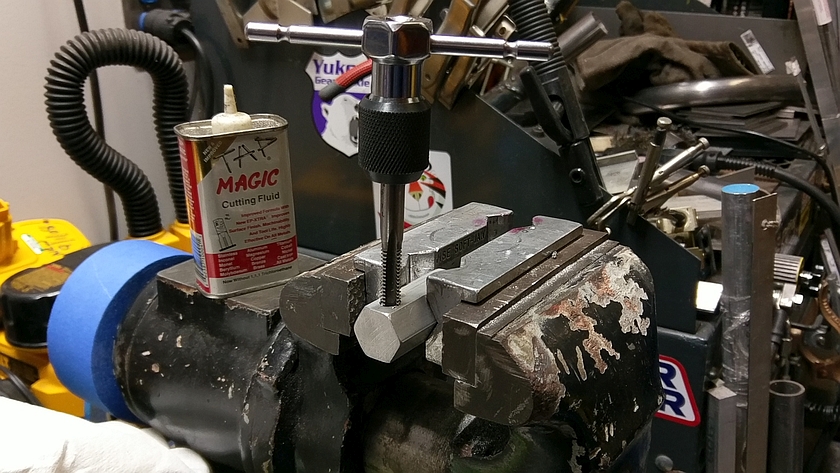
Drilling and Taping
Since I had a nice piece of bar stock I figured I would drill and tap it. You could just as easily use a bolt and a nut and go all the way though the metal. Ok, I really just wanted a reason to use Tap Magic, I like the smell...
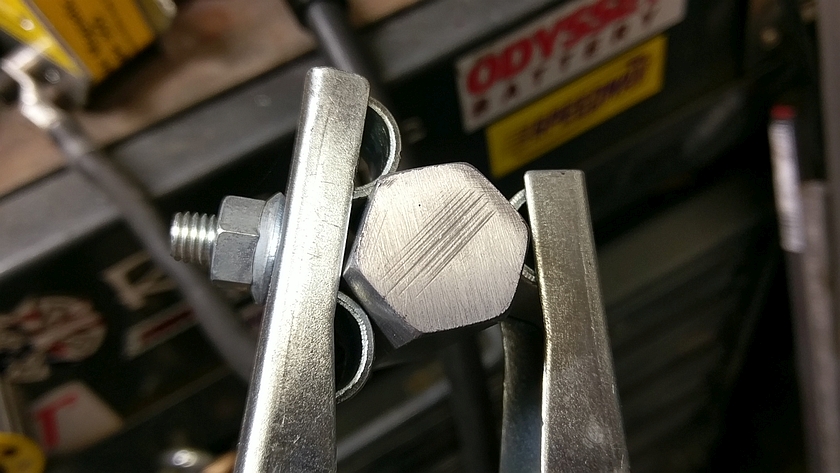
Miller Grounding Clamp Test
The Miller's come with a steel clamp with a couple of lobes that grab the material. This works really well and will not come loose easily. The el-cheep-o clamp does work better in this case.
Overall a pretty simple project, use what ever scrap material you have floating around, and about the only thing that I would be careful about is making sure you have a nice piece of cable with good clamps.
Happy Motoring and GET them projects done!
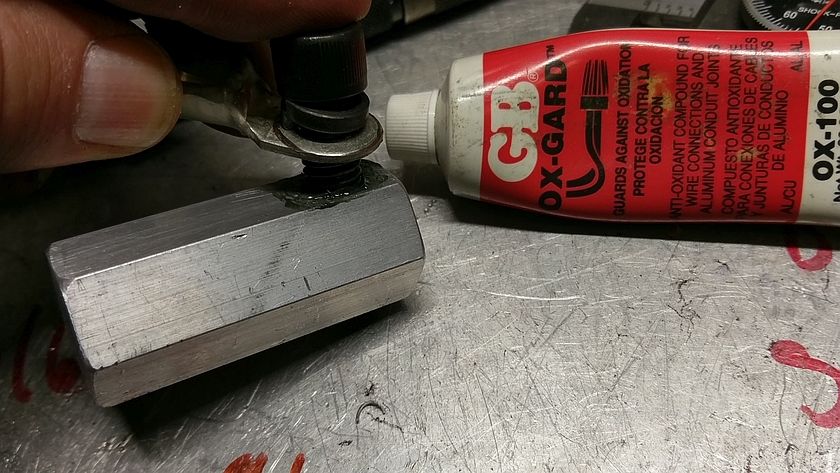
Assemble the Grounding Block
After drilling and tapping (with Tap Magic) I wire wheeled off some of the black oxide on the threads of the bolt, and then added some Gardner Bender Ox-Gard which is commonly used on electrical connections that use aluminum. Do you need to do this? Not likely, but I had it and figured WTF, add it. I also sanded the block at some point to remove the mill coatings so only raw (well oxidized) aluminum was on the surface.
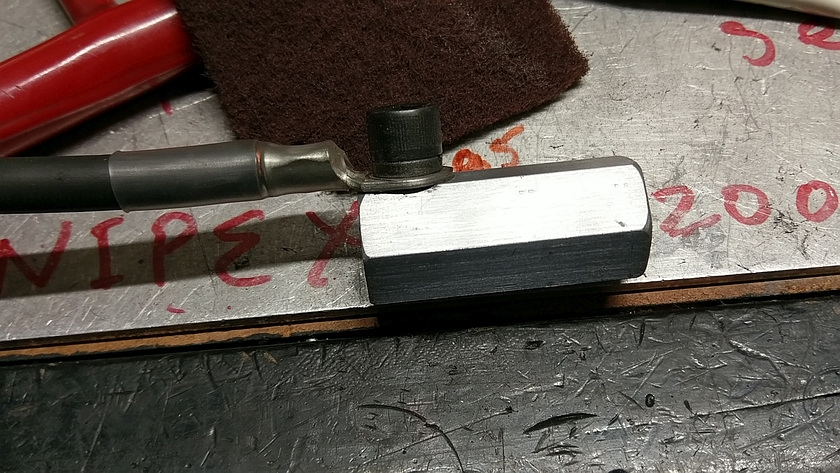
Finished Grounding Block
Pretty simple, just a block of metal for the regular grounding clamp to grab. This allows me to use the magnet with any welding in the shop, and even my friends can use if needed without trying to borrow the whole rig now.
Testing with Tweco Clamp
Testing with the Tweco style grounding clamp. These need a good amount of material to clamp otherwise they will just slip off. The larger diameter and the flats make this work ok. Could be better with a notch or something, but will do just fine.


